
Subscribe to Our Youtube Channel
Related Manuals for tepro ABINGTON


Summary of Contents for tepro ABINGTON
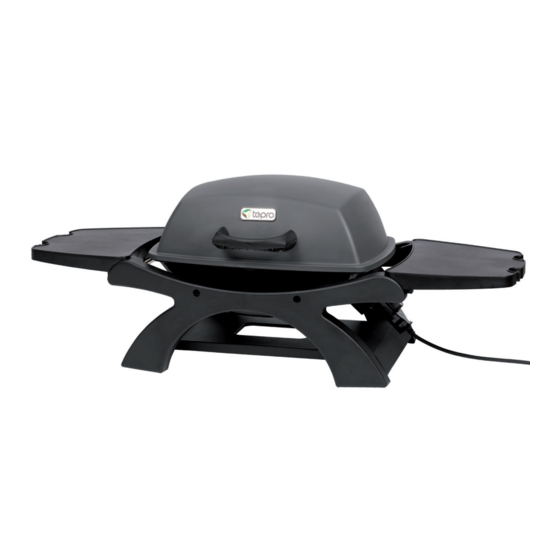
- Page 1 Instruction Manual TABLE TOP GAS GRILL „ABINGTON“ Version 2020 Art. No.: 3142N-UK P20131_TEPRO_ABINGTON_3142N_TischGasGrill_GB_20201126.indd 1 1/12/2020 2:41 PM...
- Page 2 P20131_TEPRO_ABINGTON_3142N_TischGasGrill_GB_20201126.indd 2 1/12/2020 2:41 PM...
-
Page 3: Table Of Contents
Contents Before using the device ........................4 Scope of delivery ...........................4 Intended use ............................4 For your safety ........................... 4-5 Signal symbols ...........................4 General safety instructions .........................4 Safety instructions ..........................4- 5 Assembly ............................5 - 9 Preparation ............................5 Required tools ...........................6 Assembling the BBQ ........................6 - 9 Connecting the Gas Bottle ......................... -
Page 4: Before Using The Device
Before using the device Nut M6 Splint After unpacking and before every use, check whether the item Hinge pin shows any signs of damage. Should this be the case, do not use the item, but notify your Spanner retailer. Phillips screwdriver The operating manual is based on the norms and regulations that are applicable in the European Union. -
Page 5: Assembly
– Do not move the BBQ during use. Danger Risk of injury! – Some foods produce flammable fats and juices. Clean the Both the BBQ and individual parts have some sharp BBQ regularly, preferably after each use. edges. – Never leave the BBQ unattended during use.. –... -
Page 6: Required Tools
required tools (included) Step 3 1 x Phillips screwdriver (JJ) 1 x adjustable spanner (II) Assembling the BBQ 1. First read through the assembly instructions completely. 2. Allow yourself enough time for assembly and find an even working space of two to three square meters. 3. - Page 7 Step 6 Step 8 Place the burner (F) in the fire bowl so that the end of the burner can be passed through the hole in the housing and connected to the valve (S). Fasten the burner (F) to the burner brackets (Q) with screws Attach the four insulating rings (H) to the fire bowl (G) with (AA).
- Page 8 Step 10 Step 12 Remove the nut and the washer from thermometer (B). Insert the thermometer (B) through the lid (A), align it and secure it with the washer and nut. Place the lid on the fire bowl and line up the hinges. Attach the lid to the fire bowl by inserting a hinge pin (HH) through the hinges on the left and right.
- Page 9 Step 14 Step 17 Place the control knob (U) flush on the valve (S). Step 18 Place the BBQ grates (D) over the flame tamer in the fire pan. Step 15 Place thegrease container (K) in the base plate (L). Screw the regulator with hose (T), counterclockwise (left-hand thread), onto the connection part.
-
Page 10: Connecting The Gas Bottle
Connecting the Gas Bottle Connection to the BBQ Place the gas bottle next to the BBQ on the floor. This BBQ is suited only for low-pressure butane/propane gas and must be used with the low-pressure regulator Before the gas bottle is connected to the BBQ, you must ensure (certified according to BSEN 12864:2001) and flexible hose, that there is no dirt in the heads of the gas bottle, the regulator, which is included to the scope of delivery. -
Page 11: Checking For Gas Leaks
Operation Checking for Gas leaks • Mix one part dishwashing liquid with 3 parts water. For test- Danger Risk of burning! ing, approx. 50 ml of soapy water is needed. The BBQ and the food become very hot during op- •... -
Page 12: Maintenance And Cleaning
3. Connect the regulator with the gas bottle. Turn the gas • Set the regulator on the gas hose to the Off position, before intake on the regulator to the On setting. Do not bend over starting to clean the BBQ. the BBQ surface. -
Page 13: Troubleshooting
Blockage in the gas noz- – Clean the gas nozzles zles or in the gas hose and gas hose Test Rite (UK) Ltd, TEPRO Garten GmbH/Office UK, Small flame or – LP gas bottle is too small – Use larger gas bottle... -
Page 14: Matching Accessories (Not Included In The Delivery Scope)
Gas cartridge pressure regulator tepro item number 8567 – suitable for screw valve gas cartridges with universal thread – ideal for mobile gas grills, e.g. tepro table gas grill "Abington" – inlet thread 7/16 – outlet thread H1 / 4 "left –... - Page 15 P20131_TEPRO_ABINGTON_3142N_TischGasGrill_GB_20201126.indd 15 1/12/2020 2:42 PM...
- Page 16 P20131_TEPRO_ABINGTON_3142N_TischGasGrill_GB_20201126.indd 16 1/12/2020 2:42 PM...
Need help?
Do you have a question about the ABINGTON and is the answer not in the manual?
Questions and answers