
Related Manuals for AES XXS-3


Summary of Contents for AES XXS-3
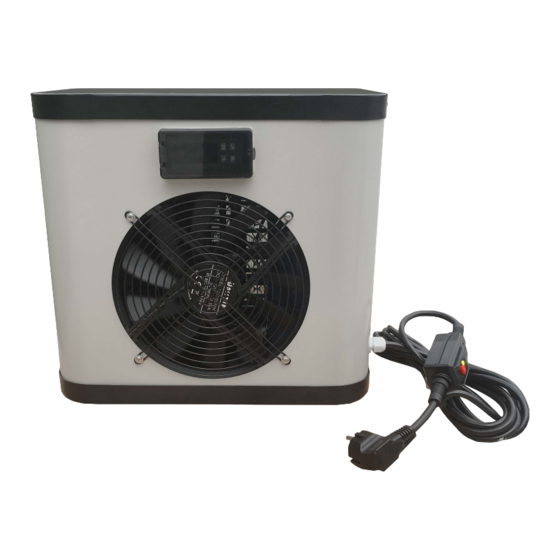
- Page 1 PROTEAM XXS Swimming Pool Heat Pump Installation & Operation Manual Model: XXS-3 XXS-4 XXS-6 - 1 -...
- Page 2 Please keep installation manual in a safe place and read it carefully before using. - The unit must be installed by professional technicians according to this manual. - If the unit is installed in an area that is prone to lightning strikes, please ensure to take appropriate lightning protection measures.
- Page 3 * INDEX 1. Specifications 2. Dimensions 3. Installation and connection 4. Electrical wiring 5. Display controller operation 6. Troubleshooting 7. Exploded diagram 8. Maintenance - 3 -...
-
Page 4: Specifications
1. Specifications Technical data pool heat pumps Model XXS-3 XXS-4 XXS-6 Advised pool volume(m3) ≤ 20 ≤ 28 ≤ 37 220V ~ 240V/1/50Hz Power Supply Heating Capacity at Air 26 ℃ ,Water 26 ℃ Hygro 80% Heating Capacity (Kw) 3.05 4.00... -
Page 5: Installation And Connection
2. Dimensions 3. Installation and connection Attention: Please observe the following rules when installing the heat pump: 1. Any addition of chemicals must take place in the piping located downstream (after) from the heat pump. 2. Always keep the heat pump in an upright position. If the unit has been held at an angle, wait at least 24 hours before starting the heat pump. - Page 6 3.2 Initial operation Note: In order to heat the water in the pool (or hot tub), the filter pump must be running so that water is circulated through the heat pump. The heat pump will not start up if the water is not circulating. 3.3 Electrical connection Before connecting the unit, verify that the supply voltage matches the operating voltage of the heat pump.
- Page 7 After all connections have been made and checked, carry out the following procedure: 1. Switch on the filter pump. Check for leaks and verify that water is flowing from and to the swimming pool. 2. Connect power to the heat pump and press the On/Off button on the control panel.
-
Page 8: Electrical Wiring
Electrical wiring 4.1 Swimming pool heat pump wiring diagram NOTE: (1) The above electrical wiring diagram is only for your reference, please check the wiring diagram on the unit. (2) The swimming pool heat pump must be properly grounded/earthed. Even though the heat exchanger is electrically isolated from the rest of the unit, grounding the unit is still required to protect against short circuits inside the unit. -
Page 9: Display Controller Operation
Display controller operation 5.1 LED wire controller Interface * When the heat pump is running or on standby, the display shows the water inlet temperature. * When the heat pump is powered on, the display shows ‘OFF’ * Red LED will go on when you turn on the machine. 5.2 Turn on/off the heat pump Press to turn on the heat pump, the LED display shows the water setting temperature for 5s, a n d... - Page 10 5.4 Parameter checking & adjustment Hold button for 5 seconds to enter parameter checking mode, Press to check the Parameters shown below. NOTE: The other parameters which are not shown below are reserved for other functions and are not applicable to this unit. Press again to enter the current parameter adjustment screen, press to make the...
-
Page 11: Troubleshooting
Troubleshooting 6.1 Error code on the LED controller Malfunction Code Reason Solution 1. Check the sensor wiring. Water temperature Water temperature sensor open 2. Replace the water temperature sensor failure circuit or short circuit. sensor. 1. Check the sensor wiring. Ambient temperature Ambient temperature sensor 2. - Page 12 1. Water temperature is reaching the set value, unit 1. Check water LED wire controller is under constant temperature setting. Heat pump is displays the actual temperature status. not running 2. Start up heat pump after a water temperature. 2. Heat pump has just started few minutes.
-
Page 13: Exploded Diagram
Exploded diagram Name Name Base tray Titanium heat exchanger Front panel Water flow switch Back support Capacitor Fan blade Switch Fan grill Controller M4 screw Handle Compressor Handle Evaporator Top cover - 10 -... -
Page 14: Maintenance
Maintenance (1) Check the water supply system regularly to make sure that no air is entering the system and to check for low water flow, as this could result in reduced performance and reliability of the unit. (2) Clean your pool and filtration system regularly to prevent damage to the unit as a result of a dirty of clogged filter.
Need help?
Do you have a question about the XXS-3 and is the answer not in the manual?
Questions and answers