Advertisement
Quick Links
Advertisement

Related Manuals for Sper scientific 900030


Summary of Contents for Sper scientific 900030
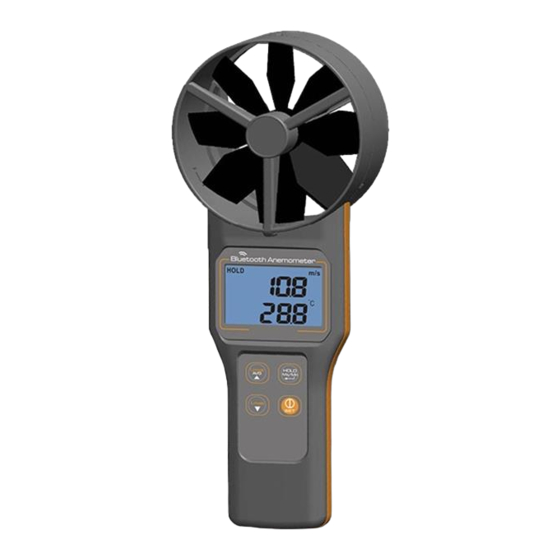
- Page 1 Bluetooth IAQ Anemometer 900030 Instruction Manual...
-
Page 2: Table Of Contents
TABLE OF CONTENTS Introduction................3 Front Panel Description............4 Measurement Procedures.............7 Set Up & Calibration............11 Nice Flow App……………………………….....…..15 Error Codes.................19 Specifications..............21 Warranty................24... -
Page 3: Introduction
INTRODUCTION Thank you for purchasing the IAQ Anemometer which measures: • CO2 • Air Temperature • Humidity • Air velocity & volume • Dew Point • Wet Bulb Temperature This unique instrument allows you to monitor air flow and air quality and at the same time. -
Page 4: Front Panel Description
LCD DISPLAY Upper display: Air velocity, RH, CO2 value (depends on model) Duration time in average. Lower display: Air volume, temp., WBT, DP value (depends on model.) HOLD: Freezes the current reading. MAX/MIN: Maximum and minimum reading. AVG: Multi-points & timed average. Battery Low voltage indicator. - Page 5 KEY PAD • Press and release the Power button to turn the meter on/off. • Hold the button down for 2 seconds to enter or exit setup mode. • Press and release HOLD to freeze the current reading. Press again to unfreeze readings. •...
- Page 6 • Press Umode to select an upper display of air velocity, RH (Relative Humidity) or CO2. • In average mode, press to view recorded and average reading of all parameters. • In setup mode press to select category or decrease value. Press simultaneously to disable auto power off.
-
Page 7: Measurement Procedures
MEASUREMENT PROCEDURES Power on/off Press and release the Power button to turn the meter on/off. Auto Power Off When turned on the meter defaults to auto-off mode which automatically turns the meter off after 20 minutes of inactivity. To override auto-off hold down simultaneously for 2 seconds. - Page 8 Max, Min 1. Press Mx/Mn for 3 seconds to view minimum reading of all parameters. “MIN will appear atop the display and the minimum values since the meter was turned on will be displayed. 2. Press Mx/Mn again for 3 seconds to display maximum readings.
- Page 9 3. Once recorded press the to see the average of all the data points recorded. AVG will flash while the number of data points will appear in the upper display and the average reading will displayed in the lower display. 4.
- Page 10 4. Press to view average readings of other parameters. 5. Press AVG again to return to normal mode. Air Volume You have 3 options for measuring air volume: 1. Enter the square dimensions of the vent or duct you wish to measure directly into the meter.
-
Page 11: Setup & Calibration
SETUP & CALIBRATION In normal mode press power “Set” for 2 seconds to enter setup mode. Press again for 2 seconds to exit setup mode. Use the up and down arrows to select among the following options: P1.0 Unit selection P2.0 Area input P3.0 RH offset P4.0 Pressure compensation. - Page 12 2. Press to change the digit and to move to the next digit. 3. When complete, press enter to return to P2.0. then press to scroll to P3.0. P3.0 RH Offset RH value can be adjusted to any known standard. 1.
- Page 13 1. Press enter to enter the pressure compensation mode. The default value of 1013 hpa flashes on the display. 2. Press to increase the air pressure value and decrease it. 3. When finished press enter again to return to P4.0. Hold power for 2 seconds to return to normal mode.
- Page 14 2. During calibration a CO2 reading of 380 to 420 will flash in the upper display. 3. After 10 minutes the reading will stop flashing, calibration is complete, and the meter returns to normal. Note: Make sure the batteries are at full voltage during to prevent interruption and a failed calibration.
-
Page 15: Nice Flow App
NICE FLOW APP System Requirements: iOs above 10.4 Android above 6.0 1. Download the free ”Nice Flow” App from your Apple App Store or Google Play Store for Android phones. 2. Turn the meter on and open the App on your smart phone. In a few seconds current data on all parameters from the meter will appear on the Air Flow page. - Page 16 3. Tap on the current reading to see further details: a. Settings - Enables you to: • Name your meter. • Select imperial or metric units of measure. • Adjust RH values to any known standard. Input the difference between your meter and your RH standard. •...
- Page 17 d. Average Press to enter timed average mode Press to enter multi-point average mode. Press to record. Press to stop recording. Files are saved automatically.
- Page 18 a. Search - Enter a file serial number or name and press to search for a file. b. View Data - Tap a file name to view average data on all parameters in that file. c. Rename - The App provides each file with a default name composed of a serial number, sequence number and date.
-
Page 19: Error Codes
E11 - RH calibration error. Try to recalibrate and if that doesn’t work return to to Sper Scientific for repair. E33 – RH measurement circuit error. Return to Sper Scientific for repair. DP and WBT E04 – Temperature or RH error. Check Temperature and RH errors... - Page 20 E03 – Velocity over range. If the error persists within range return to Sper Scientific for repair. E04 – Air velocity error. Return to Sper Scientific for repair. E03 – Temperature over range. Place the meter in room temperature for 10 minutes. If the error persists recalibrate.
-
Page 21: Specifications
SPECIFICATIONS SCALE RANGE RES. ACCURACY Temperature 4 to 140 ±0.9 C to 60 0.01 ±0.6 Relative 0 to 99.9% 0.1% ±3% at 10 to Humidity 90% RH otherwise ±5% Dew Point 8 to 140 -5 to 59.9 Wet Bulb -100 to 140 Temperature -20 to 59.9 Air Velocity... - Page 22 FCC ID: TN2-NICEFLOW This device and enclosed comply with part 15 of the FCC Rules. Operation is subject to the two following conditions: (1) this device may not cause harmful interference, and (2) this device must accept any interference received, including interference that may cause undesired operation.
- Page 23 OPTIONAL ACCESSORIES 900031 Airflow Cone Kit 900032 Extension Rod...
-
Page 24: Warranty
If your model has since been discontinued, an equivalent Sper Scientific product will be substituted if available. This warranty does not cover batteries, battery leakage, or damage resulting from accident, tampering, misuse, or abuse of the product.
Need help?
Do you have a question about the 900030 and is the answer not in the manual?
Questions and answers