Table of Contents
Advertisement
Quick Links
Advertisement
Table of Contents

Subscribe to Our Youtube Channel
Related Manuals for STOVES SIH602T13


Summary of Contents for STOVES SIH602T13
- Page 1 Stoves SIH602T13 Date: 01/07/19...
- Page 2 NZ - New Zealand DE - Germany NL - Netherlands AU - Australia ES - Spain To contact Stoves about your appliance, please call: Warranty Registration Customer Care Helpline 0800 952 1065 0344 815 3740 In case of difficulty within the UK...
- Page 3 INTRODUCTION This user guide book is designed to help you through each step of owning your new product. Please read it carefully before you start using your appliance, as we have endeavored to answer as many questions as possible, and provide you with as much support as we can. General information, spares and service information is available from our website.
- Page 4 SAFETY WARNING • If the hob surface is cracked, broken or shattered, switch off the appliance to avoid the possibility of electric shock and call for a service engineer’s visit. • During use the appliance becomes hot. Care should be taken to avoid touching heating elements.
- Page 5 the appliance. The use of inappropriate hob guards can cause accidents. • This induction hob complies with the applicable EMC and EMF standards. Therefore it should not interfere with other electronic units. Persons fitted with a pacemaker or any other electrical implant should clarify with their doctor or the producer of the implant, whether their implant is adequate and fail-safe.
- Page 6 • Other Safety Advice • There is a risk of electric shock, so always make sure you have turned off and unplugged your appliance. • This appliance must be earthed. • The appliance must never be disconnected from the mains supply during use, as this will seriously affect the safety and performance, particularly in relation to surface temperatures becoming hot and gas operated parts not working efficiently.
-
Page 7: Using Your Appliance
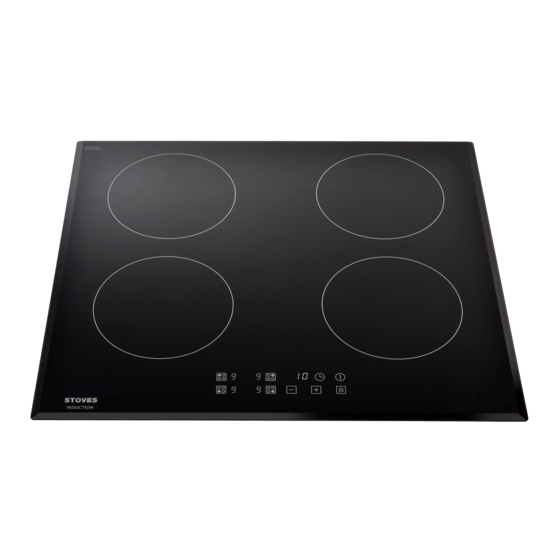
USING YOUR APPLIANCE Getting to know your product Note: Your appliance layout may differ depending on the model. Control Panel Hob functions Timer control Heating zone selection controls On/Off control Power/Timer regulating key Keylock Control 13Amp operation Your hob has been designed to allow you to connect to a 13Amp fused spur and is suitable for a variety of installations not possible with conventional electric hobs, such as direct replacement for a gas hob without the need to install a 32 Amp cooker socket, thus eliminating the need for an expensive rewire of the kitchen. -
Page 8: Touch Controls
Before using the Hob • Read this guide, taking special note of the ‘Safety Warnings’ section. • Remove any protective film that may still be on your ceramic hob. Touch controls Use the flat of your finger, not the tip. The controls respond to touch, so you don’t need to apply any pressure. -
Page 9: Start Cooking
Make sure that the base of your pan is smooth, sits flat against the glass. Use a pan which has a base diameter of at least 145mm. Using a pan which is slightly wider than the glass circle printed on the glass will maximise energy-efficiency. -
Page 10: If The Display Flashes
4. While the zone selection indicator is flashing, touch the plus or minus key to select the required power level. • If a power level is not selected within 1 minute, the induction hob will automatically switch off. • When needing to modify the power level, touch the relevant heating selection zone key again until the power level indicator is flashing. -
Page 11: Timer Control
Locking and unlocking the Controls • You can lock the controls to prevent unintended use (for example children accidentally turning the cooking zones on). • When the controls are locked, all the controls except the On/Off control are disabled. To lock 1. - Page 12 3. While the timer display is flashing, touching the plus and minus keys together returns the time to ‘00’ and cancels the minute minder function. 4. A few seconds after the last touch of the plus or minus key, the minute minder duration time is accepted and starts to count down.
-
Page 13: Residual Heat Warning
4. About 5 seconds after the last press of the plus or minus key, the timer display stops flashing, and the cooking duration time is accepted and starts to count down on the display. A white dot will flash next to the relevant power level indicator to show which zone is currently being controlled by the timer. -
Page 14: Heat Settings
Heat Settings The settings below are guidelines only. The exact setting will depend on several factors, including your cookware and the amount you are cooking. Experiment with the Ceramic hob to find the settings that best suit you. Heat setting Suitability •... -
Page 15: Troubleshooting
Troubleshooting Failure code Problem Solution Auto-Recovery Supply voltage is above the rated There may have been a power surge or issue voltage. with the power supply. Please contact your electricity supplier. Supply voltage is below the rated Power on after the power supply has returned voltage. - Page 16 Specific Failure & Solution Failure Problem Solution A Solution B Check that appliance is No power supplied. switched on at the fused spur cooker point on the wall. Request a service visit from an Engineer to check the connection Check the connection. The LED does not between the power come on when board and display...
-
Page 17: Cleaning Your Appliance
CLEANING YOUR APPLIANCE Note: Always switch off your appliance and allow it to cool down before you clean any part of it. Note: Please take extra care when cleaning over the symbols on the control panel, as this can lead to them fading. -
Page 18: Installation
Installation Preparing the worktop cut out Cut the cut-out in the worktop according to the dimensions shown in the table. For the purpose of installation and use, a minimum of 50mm space shall be preserved around the hole. Be sure the thickness of the work surface is at least 30mm. Please ensure the worktop is made of heat-resistant material to prevent deformations caused by heat from the appliance. -
Page 19: Before Locating The Fixing Brackets
Before installation check: • The work surface is square and level, and no structural members interfere with space requirements. • The work surface is made of a heat-resistant material. • If the hob is installed above an oven, the oven has a built-in cooling fan. •... -
Page 20: Connecting To The Electricity Supply
Connecting to the electricity supply Warning: This appliance must be earthed. For hobs that are supplied/manufactured with a 13Amp supply cord and plug only. Warning: Ensure that the power rating of the appliance is compatible with a 13Amp supply before con- necting to the electricity supply. - Page 21 Please keep this handbook for future reference, or for anyone else who may use the appliance.
- Page 22 Please keep this handbook for future reference, or for anyone else who may use the appliance.
- Page 23 Please keep this handbook for future reference, or for anyone else who may use the appliance.
-
Page 24: Technical Data
TECHNICAL DATA Hob Details Cooking hob SIH602T13 Cooking Zones 4 Zones Product Size D x W x H (mm) 520 x 590 x 60 Building-in Dimensions A x B (mm) 561 x 491 Supply Voltage 220-240V~ 50Hz or 60Hz Installed Electric Power (kW) 2.99...
Need help?
Do you have a question about the SIH602T13 and is the answer not in the manual?
Questions and answers