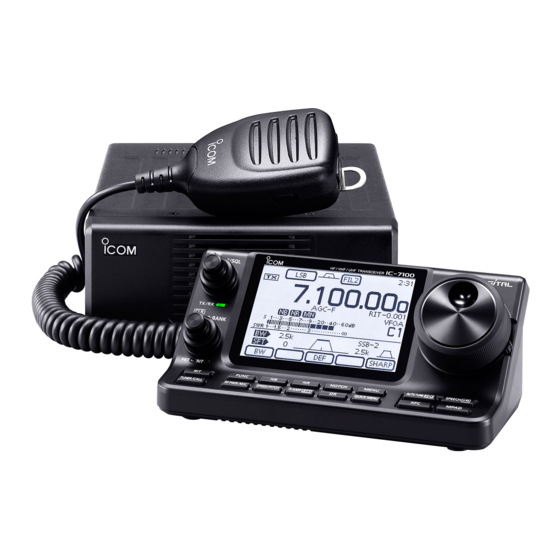
Icom IC-7100 Reference Manual
Tips for the usb port settings
Hide thumbs
Also See for IC-7100:
- Advanced instructions (375 pages) ,
- Service manual addendum (294 pages) ,
- Instruction manual (197 pages)
Subscribe to Our Youtube Channel
Summary of Contents for Icom IC-7100
- Page 1 Version 1.0 March 2016 Reference MANUAL Tips for the USB port settings RMX-USB_PORT_SETTING-ENG-V1.0...
- Page 2 To connect between your Icom transceiver and PC through a USB cable, you do not need to think of signal level or signal format, and you do not need an interface unit to connect both units. Therefore, the connection becomes very simple.
-
Page 3: Table Of Contents
TIPS FOR THE USB PORT SETTINGS TABLE OF CONTENTS SECTION 1 ABOUT “DTR” AND “RTS” ....................4 SECTION 2 ABOUT LINK SETTING FOR BETWEEN USB PORT AND REMOTE JACK ..... 6 SECTION 3 WHY TWO VIRTUAL COM PORTS ARE RECOGNIZED ON ONE PHYSICAL USB PORT .......................... -
Page 4: About "Dtr" And "Rts
Applicable products: IC-7300, IC-7851 (as of March 2016) When connecting the above Icom amateur base transceivers to a PC using a USB cable, and operating an RTTY or logging software application, set either the “DTR” or “RTS” items in the transceiver Set mode settings of “USB SEND,”... - Page 5 TIPS FOR THE USB PORT SETTINGS Recent PCs have a USB port instead of an RS-232C port. To +DATA allow an easier connection and mutual communication, a USB port is also built into the transceiver. With using an RS-232C communication port, signal lines such as RTS and DTR are needed to exchange data between the PC and –DATA the transceiver.
-
Page 6: About Link Setting For Between Usb Port And Remote Jack
Applicable products: IC-7300, IC-7851 (as of March 2016) You can switch USB port and [REMOTE] link ON and OFF in the above Icom’s amateur base transceivers. In case the transceivers that two COM ports are recognized, the link setting is available for only USB1. -
Page 7: Why Two Virtual Com Ports Are Recognized On One Physical Usb Port
SECTION 3 WHY TWO VIRTUAL COM PORTS ARE RECOGNIZED ON ONE PHYSICAL USB PORT Applicable products: IC-7100, IC-7851, IC-9100 (as of March 2016) Two COM ports will be recognized when connecting the above transceivers to a PC that the specified USB driver has been installed on, because two internal circuits are connected through a built-in USB HUB. -
Page 8: How To Check The Internal Circuit For Each Com Port
TIPS FOR THE USB PORT SETTINGS How to check the internal circuit for each COM port You can check the corresponding internal circuit, USB 1 or USB 2, for each COM port in the Device Manager. (1) Open the Device Manager screen. ®... - Page 9 TIPS FOR THE USB PORT SETTINGS (3) Click the “Details” tab. (4) Click “Property” and select the “Device Instance Path” displayed in the drop-down list. (5) Check the contents displayed in “Value.” • If the end of the displayed contents is “A,” the COM port is for USB 1. •...
-
Page 10: How To Change The Com Port Number
TIPS FOR THE USB PORT SETTINGS How to change the COM port number You can manually change the COM port number with the following procedures, such as when the automatically assigned COM port number cannot be selected in your software. (1) Open the Device Manager screen. - Page 11 TIPS FOR THE USB PORT SETTINGS (5) Click “COM Port Number” and select a desired number from the drop-down list. • The COM port number that has already been assigned to another device on your PC, is marked “in use.” Click then select (6) Click <OK>...


Need help?
Do you have a question about the IC-7100 and is the answer not in the manual?
Questions and answers