Table of Contents
Advertisement
Quick Links
Advertisement
Table of Contents

Summary of Contents for Klein Tools 93PLL
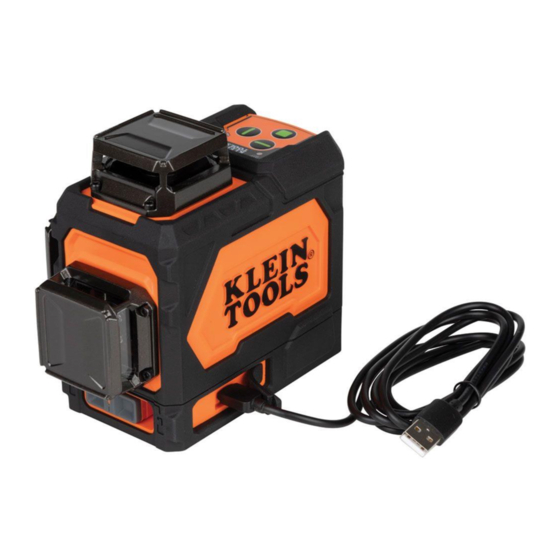
- Page 1 93PLL ENGLISH INSTRUCTION MANUAL Rechargeable Self-Leveling Green Planar Laser Level • THREE ORTHOGONAL THREE ORTHOGONAL 360° PLANAR LINES PLANAR LINES IP54 GlobalTestSupply www. .com Find Quality Products Online at: sales@GlobalTestSupply.com...
-
Page 2: General Specifications
ENGLISH GENERAL SPECIFICATIONS Klein Tools 93PLL is a self-leveling laser alignment instrument that can be used to deliver three orthogonal 360° planar lines in the X, Y, and Z planes. • Operating Altitude: 6562 ft. (2000 m) • Relative Humidity: <80% non-condensing •... - Page 3 Retain these instructions for future reference. WARNING: LASER RADIATION. DO NOT STARE INTO BEAM. Class 2 Laser. Warning label on side Warning label on bottom IP5 4 Model No. 93PLL Planar Laser Level Input: www.kleintools.com LASER RADIATION: DO NOT STARE INTO BEAM CLASS II LASER PRODUCT Max.
-
Page 4: Symbols On Instrument
ENGLISH WARNINGS • Exposing eyes to laser radiation can result in severe and permanent eye injuries. NEVER look directly into the laser beam emitted by this instrument. • Do not use the instrument if it appears to be damaged. • Do not modify the instrument in any way, as to do so could result in emission of hazardous laser radiation than could result in severe eye injuries. -
Page 5: Feature Details
FEATURE DETAILS FRONT BOTTOM BOTTOM BRACKET SIDE BATTERY NOTE: No user-serviceable parts inside. IP54 X-Plane Line On/Off Button Power/Pendulum Lock/Unlock Switch , 1.5A Y-Plane Line On/Off Button Bracket 1/4-20 Tripod Mount 0400 mAh 38.5Wh Input: Z-Plane Line On/Off Button Battery Door Input: IP5 4 DC 5V, 1.5A... - Page 6 ENGLISH OPERATING INSTRUCTIONS TURNING LASER BEAMS ON/OFF Push the ON/OFF buttons for the X-Plane , Y-Plane , and Z-Plane lines to turn ON and OFF their respective laser lines. These buttons are only active once the Pendulum Lock/Unlock Slider Switch has been set to the Unlocked position.
-
Page 7: Recharging Battery
4. A full charge can take up to 8.5 hours, depending on the charger’s output. Charge completely before using. TABLE 1 Charging Battery via Battery Pack USB-C Port: Green Yellow Blinking Illuminated 1. Ensure 93PLL is turned off by Status % Charged locking the Power/Pendulum Solid green Switch Solid green 100% charged Solid yellow 2. -
Page 8: Maintenance
ENGLISH MAINTENANCE • Regularly inspect ports and charging cable for and debris, dirt, damage, and corrosion. • DO NOT attempt to repair device or cable; replace as needed. CLEANING Be sure instrument is turned off and disconnected from all power sources. Wipe with a clean, dry lint-free cloth.


Need help?
Do you have a question about the 93PLL and is the answer not in the manual?
Questions and answers