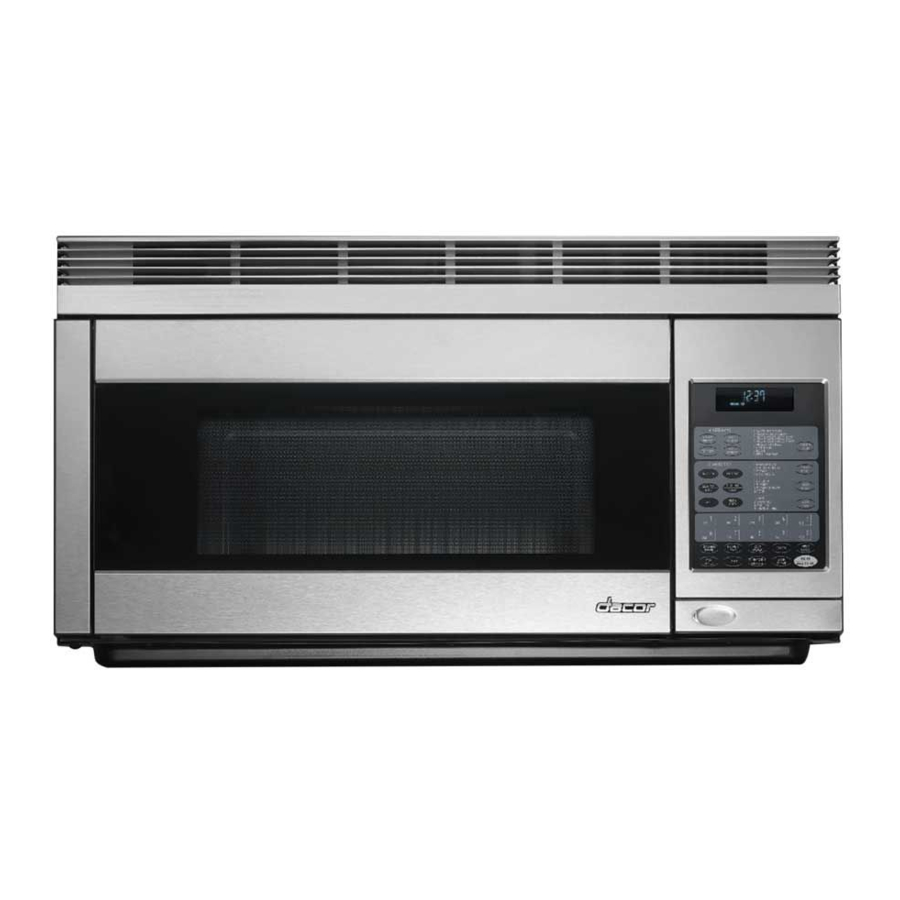
Dacor PCOR30S Installation Instructions Manual
Over the range convection microwave oven
Hide thumbs
Also See for PCOR30S:
- Use and care manual (36 pages) ,
- Use & care manual (30 pages) ,
- Installation instructions manual (8 pages)
Table of Contents
Advertisement
Quick Links
Part No. 107002 Rev. D
Ta b l e o f C o n t e n t s
Befor You Begin .................................................. 1
Mounting Space .................................................. 1
Wall Construction .............................................. 1
Electrical Grounding Instructions ............................ 2
Hood Exhaust Duct ............................................. 2
Tools Recomended for Installation ......................... 3
Installation Hardware .......................................... 3
Over The Range Convection
Microwave Oven
PCOR30S
Installation Instructions
Oven Installation ................................................... 6
Mounting Plate ................................................... 6
Mounting Oven to the Wall .................................. 6
..............................................
Check List for Installation .......................................8
8
TINSEB319MRR1
Advertisement
Table of Contents

Subscribe to Our Youtube Channel
Related Manuals for Dacor PCOR30S


Summary of Contents for Dacor PCOR30S
-
Page 1: Table Of Contents
Installation Instructions Over The Range Convection Microwave Oven PCOR30S Part No. 107002 Rev. D Ta b l e o f C o n t e n t s Befor You Begin ..........1 Ventilation System (Preparing Oven for Installation) ... 4 Mounting Space .......... -
Page 2: Befor You Begin
Before You Begin... Please read all instructions thoroughly before installing the over the range microwave oven/hood system. Two people are recommended to install this product. If a new electrical outlet is required, its installation should be completed by a qualified electrician before the over the range microwave oven/hood system is installed. -
Page 3: Electrical Grounding Instructions
3 ELECTRICAL GROUNDING INSTRUCTIONS This appliance must be grounded. This oven is equipped with a cord having a grounding wire with a grounding plug. It must be wire for the electric current. WARNING Improper use of the grounding plug can result in a risk of electric shock. Electrical Requirements Figure 2 Ground... -
Page 4: Tools Recomended For Installation
5 TOOLS RECOMMENDED FOR INSTALLATION • Phillips screwdriver • Pencil (if needed) • Tape measure • Protective drop cloth for product and • Tape range - you may also use carton for protection (if metal cabinet is used) 6 INSTALLATION HARDWARE The installation hardware (items 1 - 8 ITEM NAME... -
Page 5: Ventilation System (Preparing Oven For Installation)
7 VENTILATION SYSTEM (PREPARING OVEN FOR INSTALLATION) your installation. Vertical Exhaust Horizontal Exhaust Recirculating Figure 5 (A) VERTICAL EXHAUST: OUTSIDE VENTILATION Exhaust Damper Assembly outercase cabinet by sliding it into the slits in the same direc- (B) HORIZONTAL EXHAUST: OUTSIDE VENTILATION operation. - Page 6 Fan Cover Bracket Hood Fan Unit Figure 8 Figure 9 Figure 10 Mounting Plate (back side) (C) RECIRCULATING: Non-Vented, Ductless Operation Figure 11 as shown in Fig. 6. blades should be visible through the openings facing toward the front of the oven. again.
-
Page 7: Oven Installation
8 OVEN INSTALLATION MOUNTING PLATE 3. Position the mounting plate with the toggle bolts attached at the wall location and insert toggle nuts and bolts through the open on the other side of the wall. Also, once a toggle nut opens, it cannot be withdrawn from the hole; therefore make sure all of the toggles are in the correct position before insertion. - Page 8 Figure 17 Figure 18 Hang at these locations Figure 19 Figure 20 Mounting Screws Figure 21 Grommet (for metal cabinet only)
-
Page 9: Mounting Deflector
MOUNTING DEFLECTOR DEFLECTOR CHECKLIST FOR INSTALLATION 2. Plug in the power cord. 3. Keep the use and care manual. - Page 10 Notes...
- Page 11 Notes...
Need help?
Do you have a question about the PCOR30S and is the answer not in the manual?
Questions and answers