CommScope FAC T FRAME Installation Instruction
Inter connect door kit
Hide thumbs
Also See for FAC T FRAME:
- Installation instructions manual (9 pages) ,
- Installation instruction (8 pages) ,
- Installation instruction (8 pages)
Advertisement
Quick Links
Advertisement

Related Manuals for CommScope FAC T FRAME


Summary of Contents for CommScope FAC T FRAME
- Page 1 FAC T FRAME INSTALLATION INSTRUCTION: Inter Connect Door Kit...
-
Page 2: Table Of Contents
Exposure to laser radiation can seriously damage the retina of the eye. Do not look into the ends of any optical fiber. Do not assume the laser power is turned off or that the fiber is disconnected at the other end. Page 2 of 12 860648992 © 2019 CommScope, Inc. All Rights Reserved Rev. B... -
Page 3: Kit Content
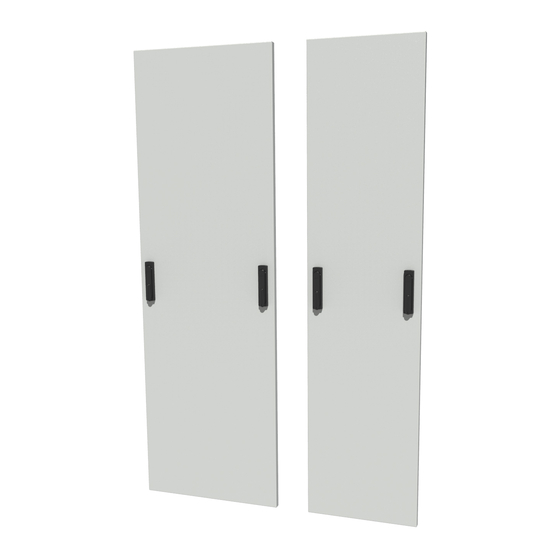
Kit content Door Grounding Spring Door Support M6x12 Countersunk M6 Bolt + Washer Door IC Page 3 of 12 © 2019 CommScope, Inc. All Rights Reserved... -
Page 4: Mounting Door Supports
4. Mounting Door Supports - Step 1 Door Support + M6x12 Countersunk Step 1: 8 Door supports + M6 bolts are needed (4 per door). Mount these at the circled areas. Page 4 of 12 © 2019 CommScope, Inc. All Rights Reserved... - Page 5 4. Mounting Door Supports - Step 1 Page 5 of 12 © 2019 CommScope, Inc. All Rights Reserved...
-
Page 6: Mounting Grounding Springs
Mount the grounding springs at the top/middle of the frame. Mount one spring per door. Use 2x M6 bolts + washers for this. Use the alignment features (circled) to position the spring in the right position. Page 6 of 12 © 2019 CommScope, Inc. All Rights Reserved... -
Page 7: Mounting Doors
6. Mounting Doors - Step 3 Step 3a: Rotate the handles inwards (90°). The handles can be used to lift and align the door in the door supports. Page 7 of 12 © 2019 CommScope, Inc. All Rights Reserved... - Page 8 Rotate the handle (of the side that is aligned with the door supports) back to it’s original position (90° down). The pins should lock into the holes. Page 8 of 12 © 2019 CommScope, Inc. All Rights Reserved...
- Page 9 Step 3d: Close the door. Rotate the other handle to it’s Repeat step 3a- 3c for the second door. original position (90° down). The door should be fully locked now. Page 9 of 12 © 2019 CommScope, Inc. All Rights Reserved...
-
Page 12: Trade-Marks
7. Trade-marks: All trademarks identified by ® or ™ are registered trademarks or trademarks, respectively, of CommScope, Inc. This document is for planning purposes only and is not intended to modify or supplement any specifications or warranties relating to CommScope products or services. CommScope is committed to the highest standards of business integrity and environmental sustainability, with a number of CommScope’s facilities across the globe...
Need help?
Do you have a question about the FAC T FRAME and is the answer not in the manual?
Questions and answers