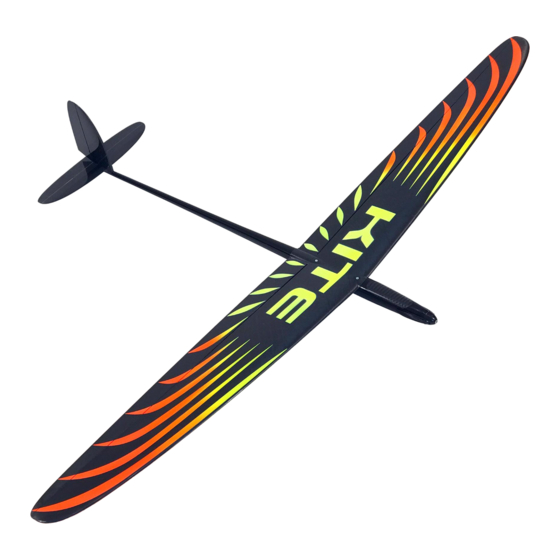
Summary of Contents for SOARING MODELS Kite 2P
- Page 1 Kite 2P Soaring Models Assembly instruction 2021 Kit components Wing Stabilizer Wing joiner Aileron carbon rods Fuselage with nose cone Plastic tubes for tail wires Accessories...
- Page 2 Kite 2P Soaring Models Assembly instruction 2021 Accessories components Tail torsions Ailerons horns T-peg Reinforcement for ailerons axis Crimping tubes for tail rods Rear wing screw M3*10 (+1 spare) Aileron axis Front wing screw M3*12 (+1 spare) Aileron rod ends...
- Page 3 Kite 2P Soaring Models Assembly instruction 2021 Recommended electronic components Battery 1S 300-500 mAh Servos KST X-08H*2 + D47*2 Receiver 4-6 channels Tools and materials for assembling Ruler Files Sand paper Knife Cyanoacrylate Epoxy Two-side tape...
- Page 4 Kite 2P Soaring Models Assembly instruction 2021 Tail assembling Cut the slots for the control horns and aileron rods with a knife according to the pictures. In rudder on the right side in the middle. In elevator at the top side.
- Page 5 Kite 2P Soaring Models Assembly instruction 2021 Wing assembling Clean up from foam slots for aileron horns and check is it fits good without glue.
- Page 6 Kite 2P Soaring Models Assembly instruction 2021 File out control horns axis and spot for axis gluing. Paste in control horns using epoxy with filler.
- Page 7 Kite 2P Soaring Models Assembly instruction 2021 While epoxy is liquid press down axis to the slot in wing and fix it with CA.
- Page 8 Kite 2P Soaring Models Assembly instruction 2021 Glue two layers of carbon about 8mm width from accessories set to reinforce axis fixation using CA and a piece of film Cut the rest of carbon and sand.
- Page 9 Kite 2P Soaring Models Assembly instruction 2021 Prepare t-peg for gluing using file Make a slot for peg using knife, file and wire.
- Page 10 Kite 2P Soaring Models Assembly instruction 2021 Fill slot with epoxy and paste t-peg...
- Page 11 Kite 2P Soaring Models Assembly instruction 2021 Servos installation Fix LiPo in the fuselage with 2-side tape and check if nose cone fits good Wrap servos with paper tape and thread. Cut servos control horns. Center distance should be about 7-8 mm.
- Page 12 Kite 2P Soaring Models Assembly instruction 2021 Make a holes for tail servos horns with a file or Dremel. Holes dimensions 2*16mm. Distance from left and right sides 2mm. Glue servos like on photos.
- Page 13 Kite 2P Soaring Models Assembly instruction 2021 File out steel ends of ailerons rods and make scratches for better gluing. Split end of carbon tube insert steel rod (aileron side first), fill with glue and wrap it in aramid thread fast.
- Page 14 Kite 2P Soaring Models Assembly instruction 2021 Make holes for aileron rods according to the pictures.
- Page 15 Kite 2P Soaring Models Assembly instruction 2021 Connect rods to aileron horns, screw up wing to fuselage and glue forward ends of rods. Servos should be in zero position and ailerons 15 mm down.
- Page 16 Kite 2P Soaring Models Assembly instruction 2021...
- Page 17 Kite 2P Soaring Models Assembly instruction 2021 Tail linkage Fix wire on tail horns with the crimping tubes. For stabilizer removing make a loop with 50-80mm spread or wire for easy assembling. Set neutral position of tail servos, rudder and elevator.
- Page 18 Kite 2P Soaring Models Assembly instruction 2021 Settings and flight modes All settings have advisory character and depends of your piloting style Settings can be changed because of just a little deviation of CG position and weather All models should be carefully checked and trimmed before full launch...


Need help?
Do you have a question about the Kite 2P and is the answer not in the manual?
Questions and answers