Table of Contents
Advertisement
Quick Links
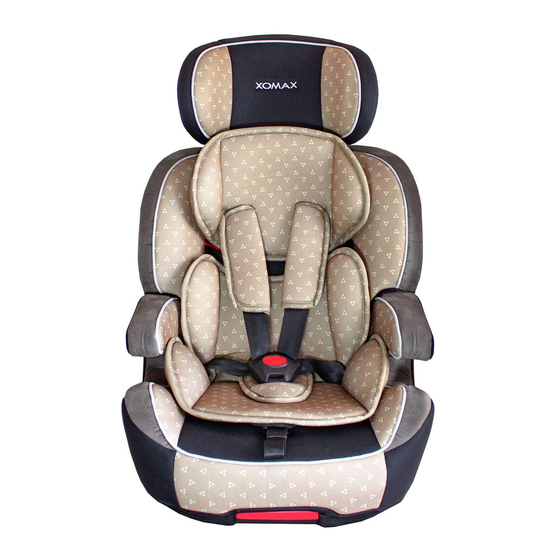
ISOFIX CAR SEAT (with top tether) Group 1,2,3
INSTRUCTIONS: PLEASE READ CAREFULLY
AND KEEP FOR FUTURE REFERENCE. YOUR
CHILD'S SAFETY MAY BE AFFECTED IF YOU
DO NOT FOLLOW THESE INSTRUCTIONS. This
product conforms to ECE R44.04 Group 1,2,3
child car seat.
Suitable for children from 9kg to 36kg (approx 9
months to 12 years old)
INSTRUCTIONS
XL-518
Advertisement
Table of Contents

Related Manuals for Xomax XL-518


Summary of Contents for Xomax XL-518
- Page 1 INSTRUCTIONS XL-518 ISOFIX CAR SEAT (with top tether) Group 1,2,3 INSTRUCTIONS: PLEASE READ CAREFULLY AND KEEP FOR FUTURE REFERENCE. YOUR CHILD’S SAFETY MAY BE AFFECTED IF YOU DO NOT FOLLOW THESE INSTRUCTIONS. This product conforms to ECE R44.04 Group 1,2,3 child car seat.
- Page 2 1.1 NOTICES 1. This child car seat is approved for two different types of fitting: a) “Universal ISOFIX” for use as a group 1 [9-18kg] car seat locked onto the vehicle’s ISOFIX anchor points in conjunction with the car seat’s integral 5-point harness.
-
Page 3: Getting Started
1.2 GETTING STARTED Read carefully before attempting to fit the child car seat WARNING: NEVER leave your child unattended – your child’s safety is your responsibility. WARNING: The child car seat must be fitted in accordance with the manufacturer’s instructions. Incorrect installation could be dangerous. - Page 4 WARNING: Allow the child a break during long car journeys and make sure they don’t get out of the car unaided and without supervision. WARNING: The child car seat must be fitted securely to the passenger seat. Ensure that it is not loose or wobbly after you have fitted it. If it is loose, re-fit it.
- Page 5 the extra padding - and thus out of the seat. Let the car warm up or cool down prior to placing your child in there if possible. If your child is cold, place a blanket over the top of the harness. WARNING: Never use any load bearing contact points other than those described in these instructions or marked on the child car seat.
-
Page 6: Part Checklist
WARNING: You MUST replace the child car seat if it is involved in an accident – it may have unseen damage and may not protect your child as well as they should. At the very least send the child car seat to the manufacturers for inspection, together with the accident report. -
Page 7: Positioning The Car Seat
1.4 POSITIONING THE CAR SEAT The child car seat MUST ONLY ever be used on a forward facing passenger seat WITHOUT an active airbag. Whilst in group 1 mode, the child car seat can only be installed using the ISOFIX anchor points WITH the top tether. It MUST NOT be installed with out the top tether whilst in group 1 mode. - Page 8 To check if you have ISOFIX points, eel between the joint of the passenger seat back and passenger seat base (A) for two metal brackets similar to (B). If unsure or in any doubt then consult your vehicle manufacturer. Locate your vehicle’s top tether anchor points. These may be either located high up near a parcel shelf (Type 1), or low down on the vehicle floor (Type 2) or on the back of the passenger seat(Type 3).
- Page 9 1.5 ADJUSTING THE HEAD/HARNESS HEIGHT The headrest height can be adjusted by pulling out the adjustment button and at the same time pushing the headrest up and down. Make sure the headrest is locked into place. 1.Remove the harness strap loops from the yoke. 2.Pull the harness straps through the backrest.
- Page 10 1.6 FIVE POINT POSITIONING Position the height of harness according to the child’s height.The harness straps should be level with or just above child’s shoulders.Do not use the child restraint with the harness if thechild’s shoulders are above the highest slots in the backrest or if the child’s weight exceeds 18kg.
- Page 11 1.7 REMOVE THE 5 POINT HARNESS From the back of the carseat can release the velcro of the shoulder. From the bottom of the carseat can take over the metal plate, then remove all 5 point harness. Remove the metal plate, need cut of the front of the webbing which has already sewn.
-
Page 12: Adjusting The Buckle
1.8 ADJUSTING THE BUCKLE 1.Join the 2 buckle metal connectors. 2.Pass both connectors through the slot in the upper part of the buckle until you hear a “click”. 3.Always make sure the harness is properly fastened by pulling the harness straps upwards. 4.To unfasten the harness press the red button on the buckle downwards. - Page 13 1.Pull the harness straps up to remove the slack from the lap section of the harness, then pull the harness regulating strap until the harness is fully stretched. 2.The harness should be as tight as possible without causing discomfort to your child. 3.Make sure the lap section of the harness is positioned as low as possible, surrounding your child’s hips and not his stomach.
- Page 14 1.11 ADJUSTING THE ISOFIX Pulling the red handle attached to the base meanwhile pull out both ISOFIX arms as far as they will go.If you want to remove ISOFIX fitted, Pulling the red handle attached to the base meanwhile pull in both ISOFIX arms as far as they will go.
- Page 15 red ISOFIX/EASYFIX system strap(Refer to 1.11). 3. Position the car seat on the rear seat of the vehicle bring the ISOFIX/EASYFIX connectors in line with the seat’s ISOFIX anchor points . 4. Click the ISOFIX/EASYFIX connectors into the anchor points; the indicators on each connector should turn from red to green.
- Page 17 10. If you want to remove ISOFIX fitted, Pulling the red handle attached to Group the base meanwhile pull in both ISOFIX arms as far as they will go. 2&3 (15-36kg) with 3-point Safety Belts, Universal u Ensure the child car seat is correctly installed using either the ISOFIX system or if no ISOFIX system is available, that the child car seat is pushed firmly into the vehicle seat.
- Page 18 Group 2&3 (15-36kg) with 3-point Safety Belts + Additional Attachments (FIT), Semi-universal use If you are just using the 3-point seatbelt +additional attachments (FIT) to install the car seat, then you MUST NOT use the top tether. Please refer to 1.7 Remove the 5 point harness. 1.Put the child seat on a forward-facing vehicle seat.
-
Page 20: Removing The Cover
REMOVING THE COVER Remove the headrest cover. Remove the backrest cover. Remove the cushion cover`. CARE & MAINTENANCE 1) Store this child car seat in a safe place when not in use. 2)DO NOT place heavy objects on top of it. 3) Always store the child car seat in a dry environment. - Page 21 The child car seat may have a slight rattle when not in use, this is normal. If in any doubt, contact distributor immediately. Check the adjustable parts of your child seat at intervals of about 6 months to ensure it is still fits correctly for your growing child.
Need help?
Do you have a question about the XL-518 and is the answer not in the manual?
Questions and answers