Advertisement
Quick Links
Advertisement

Related Manuals for komodo KD2PCINFKYA


Summary of Contents for komodo KD2PCINFKYA
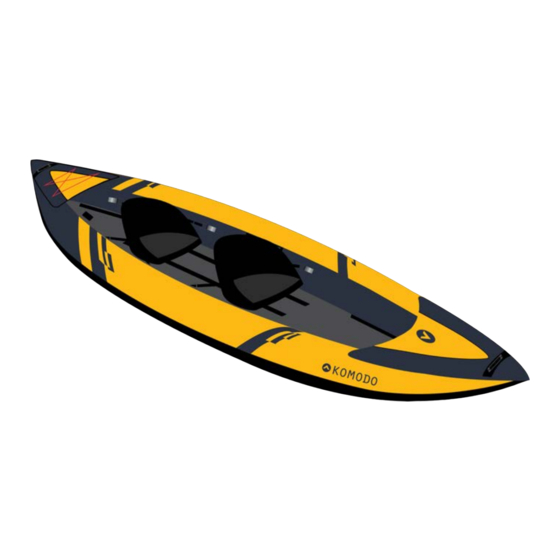
- Page 1 1-2 PERSON INFLATABLE CRUISING KAYAK KD2PCINFKYA...
-
Page 3: Safety And Warnings
SAFETY & WARNINGS WARNINGS: To ensure optimum operation of this product, please follow these instructions: • Before using the product, read this user guide carefully. This guide is part of the product, keep it for future reference. Familiarise yourself with the features of the kayak and ask for professional training if you are inexperienced in handling this type of kayak. -
Page 4: Important Warning
• Learn about your kayaking area. Ask locals about tides and currents. • Check weather forecasts, sea conditions (tides, currents, pollution, protected areas), water body condition (floods, pollution, protected areas) • Take into account the other users of the aquatic environment (surfers, swimmers, fishermen…) •... - Page 5 • Do not allow unattended children in the kayak. Always make sure that at least one responsible adult is supervising all children and those who do not know how to swim. • Always maintain the proper kayak safety equipment in an easily accessible place in your kayak.
- Page 6 COMPONENTS Kayak Removable fin Paddles (x2) Adjustable seats (x2) Pressure gauge Dual action Repair kit Carry bag hand pump...
- Page 7 OVERVIEW Pressure Gauge Pressure Gauge SF adapter suitable for Boston valve (screw type) BV adapter suitable for transparent pinch valves (Push-in type) • Unit of manometer scale ranges: 0 to 1Bar/0 to 15PSI • The manometer comes with 2 types of adapters that fits with Boston valves and Pinch valves for simple inflatable measurement.
- Page 8 ASSEMBLY Inflation Inflatable Cruising Kayak is provided with a dual action hand pump, equipped with a nozzle pipe fitting valve in the back. We advise you to flex your knees for a better comfort while inflating. WARNING: Any use of a high-pressure compressor is prohibited. Kayak could suffer irreparable damage.
- Page 9 4. The correct pressure for this item is: 0.1 bar / 1.5 PSI (= 100 mbar). Do not exceed it. 5. Check the pressure using the supplied pressure: If the pressure is above 1.5 PSI, deflate the kayak until you reach the recommended pressure.
-
Page 10: Operation
OPERATION Checking the Air Pressure Boston valve (screw type): Simply screw in the pressure gauge on top of the adapter A, Insert adapter pin into the valve, rotate it slightly until the metal pin slides into one of the holes; the insert it completely. - Page 11 Preparation before departure Acquire the necessary information and inform other passengers: Get information on local laws, regulation and hazards related to water activities and kayak operation. Check the weather forecast, local currents, tides and wind conditions. Advise someone on the land of the time you plan to be back. Determine the distance you can cover and remember that bad weather conditions can alter this.
- Page 12 Neither the operator or passengers shall be inebriated while using the kayak. This includes, but is not limited to, being under the influence of alcohol, drugs, or strong medications. Make sure to remain seated inside the kayak at all times. No bow-riding.
-
Page 13: Cleaning And Care
CLEANING & CARE • Remove oars/paddles and other accessories. • To deflate, unscrew the valves’ insert. Remove the fin. • Clean and check the kayak as well as all the accessories after each use. Rinse it thoroughly making sure to remove any residues of salt if used in salt water. •... - Page 14 When the third layer of glue is dry, apply the patch without pressing and adjust the positioning if required, press the air bubbles which may have formed under the patch by smoothing the patch with a round object such as a spoon, do this procedure by starting in the centre of the patch towards the outside, clean the excess glue with a solvent.
- Page 15 NOTES...
- Page 16 Need more information? We hope that this user guide has given you the assistance needed for a simple set-up. For the most up-to-date guide for your product, as well as any additional assistance you may require, head online to help.kogan.com...
Need help?
Do you have a question about the KD2PCINFKYA and is the answer not in the manual?
Questions and answers