
Subscribe to Our Youtube Channel
Related Manuals for Gama Sonic GS-105FPW


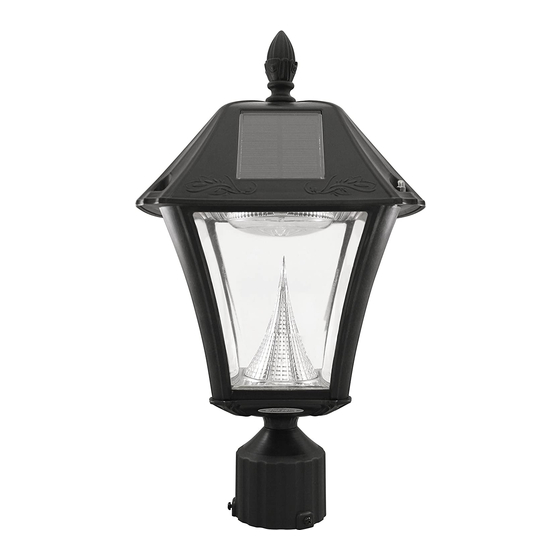
Summary of Contents for Gama Sonic GS-105FPW
- Page 1 BAYTOWN II SOLAR LAMP US Patent #7172307 Instruction Manual Model: GS-105FPW Visit our website or download the latest version of your instruction manual: www.gamasonic.com www.gamasonic.com/user-guides...
- Page 2 Introduction Thank you for your purchase. ® solar charged accent lighting eliminates the GAMA SONIC problems associated with most solar lighting available today. ® solar charged lights GAMA SONIC are brighter and last all night with a typical solar charge. Unique design, superior light output and numerous installation options confirm the outstanding value of our products.
- Page 3 2. Solar Light Location For optimum light duration throughout the night, it is very important to place your solar lamp in a spot where it will receive the maximum amount of direct sunlight throughout the day. NOTE: For best results, the solar lamp post must be charged for two sunny days in the “ON” position.
- Page 4 3. Assembly Instructions: GS-105F: Note: If you are replacing an existing gas/electric post light, you must consult a certified technician to disconnect them before installation. Attach the fixture (D) to the base (H) with the four supplied screws, as shown (Fig.1). Fig.1 GS-105P Note: There are specific types of screws for specific surfaces.
- Page 5 After assembling your specific bracket, follow these steps to finish the installation of the unit. These steps apply to ALL three brackets: 1. Place the window frame (C) into the fixture 2. Turn on the switch to desired setting. (D). 4.
- Page 6 2. Unscrew the battery compartments screws located on the silver reflector and remove the compartment’s door to locate the empty compartment (Fig.7). 3. Make sure the battery is a Gama Sonic - 3.2V/1,500mAh, Li-ion Rechargeable Battery with a connector. 4. Clip on the new additional battery and install it into the battery compartment. Screw back battery compartment screw.
- Page 7 2. Unscrew the battery compartment (Fig.6) screw located on the silver reflector and remove the compartment door. 3. Unclip the connector and remove the old battery (Fig.8). Make sure the new battery is a Gama Sonic - 3.2V/1,500mAh, Li-ion Rechargeable Battery with a connector.
Need help?
Do you have a question about the GS-105FPW and is the answer not in the manual?
Questions and answers
Why do the lights stay on continuously. Even switching between summer and winter settings, the lights remain on.