Table of Contents
Advertisement
QUICK-START INSTALLATION GUIDE
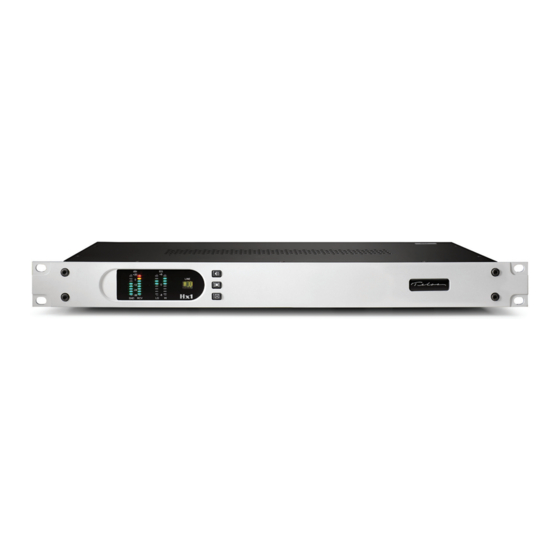
Telos Hx1 / Hx2
Digital Hybrid Telephone Interface
THANK YOU FOR PURCHASING THE TELOS HX1 / HX2
DIGITAL HYBRID TELEPHONE INTERFACE.
We have made these Telos Hybrid Systems easy to set up and configure. This quick-start guide will take you
through the basic steps to configure your new Hx1 or Hx2 to start delivering clean, clear caller audio to your show
in no time. Before we get started, let's make sure you have what you need.
THE FOLLOWING ITEMS ARE REQUIRED FOR INSTALLATION:
• Telos Hx1 or Hx2 Digital Hybrid
Telephone Interface
• AC Power Cable
• Rack Mount Hardware
• RJ-11 cable for POTS Line
• An available 1RU 19 inch rack mount enclosure slot
• POTS Phone Set
• Regular analog POTS line from the Telco
Advertisement
Table of Contents

Summary of Contents for Telos Hx1
- Page 1 We have made these Telos Hybrid Systems easy to set up and configure. This quick-start guide will take you through the basic steps to configure your new Hx1 or Hx2 to start delivering clean, clear caller audio to your show in no time.
- Page 2 INITIAL SET UP PHYSICAL CONNECTIONS 1. Install your Hx1 / Hx2 in a 1 RU high space on a standard 19” rack. 2. Connect your POTS line to the “LINE” RJ-11 jack (A) with a supplied RJ-11 cable. 3. Connect your POTS Phone to the “PHONE” RJ-11 jack (B) with an RJ-11 cable.
- Page 3 (side-tone), so it is not necessary and undesirable to send the caller’s audio back to the caller. 2. Based on your model, proceed to the appropriate steps to set up either your Hx1 or Hx2. HX1 AUDIO CONFIGURATION...
- Page 4 When this is done, the signal at SEND IN #1 will be sent to both callers and each callers’ audio will be sent to the opposite hybrid for conferencing. CONTINUE TO DIP SWITCH CONFIGURATION The audio configurations for your Hx1 / Hx2 are complete. Continue to the "DIP Switch Configuration" instructions.
- Page 5 REAR PANEL DIP SWITCH CONTROL 1. NOTE: If you are using the Hx1 or Hx2 outside of the United States of America, please refer to the "Country Specific Configuration Settings" Section in the manual for instructions and tables for setting the internal DIP SWITCHES to the proper Telco Country setting.
- Page 6 RCV meters, check your mix minus. 6. Press the Hybrid OFF button (O) to end the test. YOUR SETUP IS COMPLETE! That’s it! You are now ready to experience the Telos Hx1/ Hx2 for optimal caller audio quality. USING THE ATTACHED PHONE 1.
- Page 7 This Page Intentionally Left Blank...
- Page 8 24/7 Tech Support Radio: +1 (216) 622-0247 TV: +1 (717) 735-3611 Radio: support@telosalliance.com TV: support@linearacoustic.com 1241 Superior Ave. • Cleveland, Ohio, 44114, USA • +1.216.241.7225 • TelosAlliance.com © 2021 Telos Alliance. All Rights Reserved. C21/1/17016 • 1490-00166-002 — QUICK START GUIDE: Hx1/Hx2...


Need help?
Do you have a question about the Hx1 and is the answer not in the manual?
Questions and answers