Advertisement
Owner's
Manual
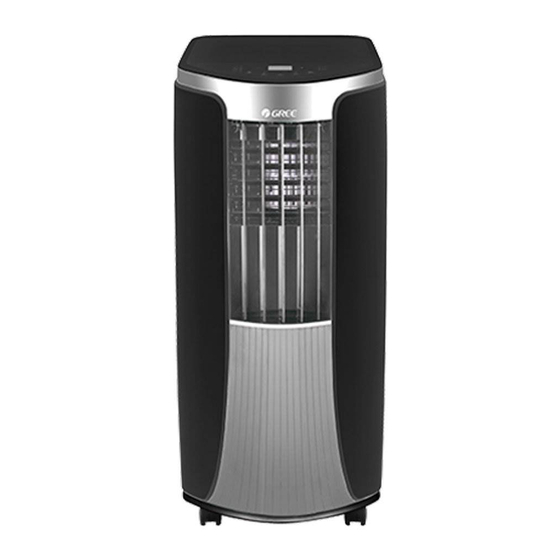
Portable Room
Air Conditioner
G17-12PACSW
G17-12PACSH
G17-135PACSW With Heat Pump
Write the model and serial numbers below for your records:
Model #
Serial #
Date Purchased
Please read the entire manual carefully to
ensure proper operation of the product.
To find an electronic version of this manual,
please visit www.greeproducts.com
Phone: 1-866-658-0466
Email: customerservice@greeproducts.com
Advertisement


Need help?
Do you have a question about the G17-12PACSW and is the answer not in the manual?
Questions and answers
How to get a replacement remote that has F temperature
The document does not provide information on how to obtain a replacement remote for the Gree G17-12PACSW that displays Fahrenheit temperature. You are advised to contact Gree Customer Service for assistance.
This answer is automatically generated
As you see in the picture I need the Three things the exhaust hose connector the hose and the window plate connector if you can send me these parts we can use the unit.
How do you clean if it molded due to high humidity