Table of Contents
Advertisement
Quick Links
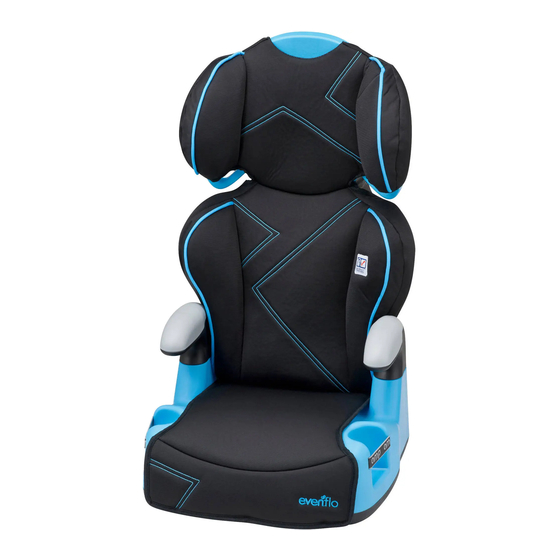
Big Kid® Sport™
Booster Seat
Owner's Manual
Keep instructions for future use.
Child Requirements*
18 to 45.3 kg
(40 to 100 lbs)
112 to 145 cm
(44 to 57 in.)
At least 4 years old
* See page
Para instrucciones en Español,
llamar al: 1-800-233-5921
WARNING!
To reduce the risk of serious injury
or death, read this owner's manual prior
to installing and using this child restraint.
© 2018 Evenflo Company, Inc.
for complete requirements.
4
25701356
4/18
Advertisement
Table of Contents

Related Manuals for Evenflo Big Kid Sport


Summary of Contents for Evenflo Big Kid Sport
- Page 1 * See page for complete requirements. Para instrucciones en Español, llamar al: 1-800-233-5921 WARNING! To reduce the risk of serious injury or death, read this owner’s manual prior to installing and using this child restraint. © 2018 Evenflo Company, Inc. 25701356 4/18...
-
Page 2: Table Of Contents
More children are killed every year as passengers in car crashes than by any other type of injury. To reduce INTERACTIVE PDF the risk of SERIOUS INJURY or DEATH, read this owner’s manual and your vehicle owner’s manual before installing and using this booster seat. -
Page 3: Booster Seat Child Requirements
WARNING! DEATH or SERIOUS Booster Seat Child Requirements INJURY can occur. Airbag Warning Warning: Failure to follow these Child Requirements could result in serious injury or death. • DO NOT use this restraint in the front seat of a vehicle This booster seat is designed for use by children in booster equipped with an air bag. -
Page 4: Warnings
Consult your vehicle owner’s manual, devices not made by Evenflo to the booster seat. Items try a different seating location, or call Evenflo at not tested with the booster seat could injure the child. -
Page 5: Safe Practices
The information you provide must be complete. Evenflo Company, Inc. Or register online at www.evenflo.com/registercarseatcanada. ATTENTION : Cette carte pourait être importante à la sécurité de votre enfant. Veuillez remplir cette carte à l’encre bleue ou noire driving. -
Page 6: Booster Seat Features
Booster Seat Features Booster Seat Features (cont.) Front Description 1. Shoulder Belt Guide 2. Seat Pad 3. Cup Holder* 4. Base 5. Adjustment Handle 6. Instruction Storage Area 7. Shoulder Belt Clip * Not all features are available on all models. Styles may vary. Back... - Page 7 Child Restraint Features (cont.) Using the Cup Holder Cup Holder WARNING • DO NOT use the cup holder to store cans, bottles, or hard containers. Only for use with soft cups. • DO NOT place any cups that contain hot liquids in the cup holder.
-
Page 8: Attaching The Seat Pad To The Base
Attaching the Seat Pad to the Base Attaching the Seat Pad to the Base (cont.) 1. Push the cup holders through the openings, one at a time. 3. Position seat facing up. Wrap the seat pad around the front of the seat. Make sure the seat pad is straight and positioned correctly on the seat. -
Page 9: Assembling Backrest
Attaching the Backrest Pad Assembling Backrest 1. Assemble the backrest. Insert three posts on the headrest into the backrest, as shown. Make certain the headrest locks securely into the backrest. Note: This is a one-time assembly and may require additional force to connect properly. Wrap the backrest pad around the back. - Page 10 Attaching the Backrest Pad (cont.) Assembling Your Booster Seat 1. Install the backrest. Slide the backrest assembly into the base. Make certain the backrest locks into place. 2. Check your work. Inspect the booster seat to make sure that the headrest is securely attached to the backrest, the seat pad is hooked into place, and that the backrest assembly is securely locked into the base.
-
Page 11: When To Put Your Child In A Booster Seat
How can you tell if your child is ready to transition to When to Put Your Child in a booster seat? a Booster Seat You should consider using a booster seat if the following conditions apply: Booster seats raise the child up and help to position the •... -
Page 12: With The Backrest
Using Your Booster Seat Installation Checklist with the Backrest 1. Place the booster seat on the vehicle seat. 2. Set the child in the booster seat. Child Requirements Make sure the child’s back and bottom are flat against • Weight: 18 – 45.3 kg (40 – 100 lbs) the back and bottom surfaces of the booster seat. -
Page 13: Without The Backrest
Using Your Booster Seat Installation Checklist without the Backrest 1. Remove the backrest from the booster seat. (See Removing the Backrest, page “Removing the Child Requirements Backrest” on page 26.) • Weight: 18 – 45.3 kg (40 – 100 lbs) 2. -
Page 14: Removing The Backrest
Adjusting the Backrest Removing the Backrest 1. Lay the booster seat on its side. To adjust the backrest, pull and hold the adjustment handle then slide the backrest up or down. The backrest is 2. Squeeze the lever on the bottom of the base and positioned properly when the bottom of the shoulder belt remove the backrest from the base. -
Page 15: Using The Shoulder Belt Clip
Care and Cleaning Using the Shoulder Belt Clip Note: Use the Shoulder Belt Clip only when necessary • Plastic parts may be wiped clean with mild soap and to position the belt so it lays across the child’s chest water and dried with a soft cloth. Do not use abrasive midway between his/her shoulder and neck. -
Page 16: Replacement Parts
Seat Pad Proper Disposal of this Child Restraint When this child restraint reaches the expiration date found on the date of manufacture label, Evenflo encourages you to dispose of it properly. Most components of this child restraint are recyclable. 1. Remove all fabric and padding. -
Page 17: Limited Warranty
Evenflo’s sole obligation under this express limited warranty shall be, at Evenflo’s option, to repair or replace any Product that is determined to be defective by Evenflo and determined to be covered by this warranty.
Need help?
Do you have a question about the Big Kid Sport and is the answer not in the manual?
Questions and answers