Table of Contents
Advertisement
Quick Links
Advertisement
Table of Contents

Related Manuals for FLYSURFER BOOST4


Summary of Contents for FLYSURFER BOOST4
- Page 1 USER MANUAL BOOST 4...
- Page 2 BOOST4 User Manual ENGLISH 03-2021 Änderungen vorbehalten / data subject to change © FLYSURFER Kiteboarding 2021, www.flysurfer.com...
-
Page 3: Table Of Contents
CONTENT Release of Liability ........................4 02 Safety Notes ..........................5 02.01 Do not fly with kites................................5 03 Overview of the kite .........................6 03.01 Features ....................................7 04 Handling ...........................8 04.01 Inflating the L.E.I kite ..............................8 04.02 Securing ....................................8 04.03 Connecting the bar to a L.E.I Kite ..........................8 05 Launching ..........................9 05.01 Wind window edge with helper on the L.E.I kite .......................9 06 Relaunch ..........................10... -
Page 4: Release Of Liability
FLYSURFER Product and any of its components. To release Skywalk GmbH & Co. KG and all related parties from any and all liability for any loss, damage, injury or expense that you or any users of your FLYSURFER product may suffer, or that your next of kin may suffer, as a result of the use of the FLYSURFER product, due to any cause whatsoever, including negligence or breach of contract on the part of Skywalk GmbH &... -
Page 5: Safety Notes
01. Kitesurfing is a potentially dangerous sport, that holds risks for the athlete or the people surrounding them. Incorrect use of this product may result in serious injury or even death for the user or third parties. Every user should be qualified by a FLYSURFER kiteschool or a FLYSURFER dealer. -
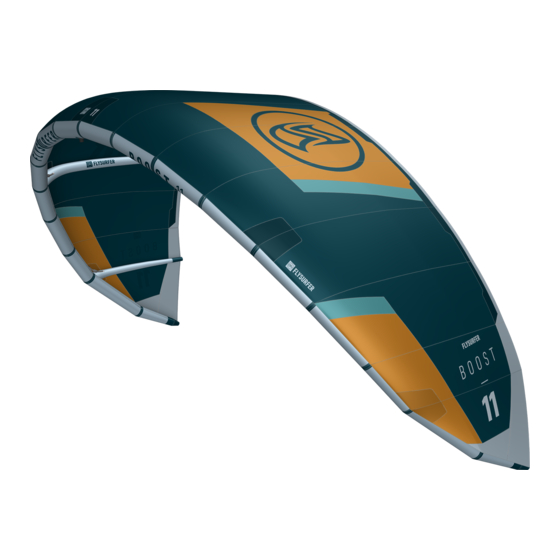
Page 6: Overview Of The Kite
03 OvERviEW Of THE KiTE... -
Page 7: Features
03.01 features HiGH LOAD fORCE fRAME RESCUE HANDLE The sturdy frame is made of tightly woven, high-strength fiber The handles are on the inside of the front tube, built into the from DuPont, fixed with resin, and tempered. Minimal stretching, tip on both sides, for self-rescue on the water. -
Page 8: Handling
04 HANDLiNG Inflate the kite until the strut and leading edge are full. Note the PSI guidelines next to the valve! Close the valve caps before Always secure the kite! going on the water. A kite that flies away can pose a great danger to anyone downwind. -
Page 9: Launching
05 LAUNCHiNG Start at the leading edge and sort the bridle lines. Then con- nect your front lines with a larkshead at the end of the bridle line as shown in the picture. Attach your colored backlines with a lar- Please check not only the wind and weather conditions, but kshead with the colored pigtail to the tip of the kite. -
Page 10: Relaunch
06 RELAUNCH The kite will now spin around. As soon as the leading edge of the kite points up let go of the remaining leader line and put 06.01 Reverse Launch on L.E.i kite your hand back on the bar. Depower the kite till its back in the sky towards the zenith. -
Page 11: Landing With A Helper
08 SAfETy SySTEM Signal a helper who knows how to land your kite, that you FLYSURFER kites are equipped with a Frontline Safety (FLS). want to land. The helper should be standing well upwind of the After triggering the Quick Release, the Control Bar will slide up kite. -
Page 12: Packing Up
09 PACKiNG UP Hook in the chickenloop and secure it with the chickendick. Slowly release the endline bit by bit. Make sure that it has not wrapped itself around any part of your body. Do not let the end- Wind the lines round the bar until you get to the mixer. Secu- line slip too quickly through your fingers to avoid getting burns re the lines with the elastics or a half hitch. -
Page 13: Emergencies
10 EMERGENCiES 11 KiTE CARE In an emergency situation it is important not to panic, and to FLYSURFER kites stand for innovation, functionality, and high- react purposefully and goal orientated. quality workmanship. Their lifespan can be increased signifi- cantly with the right care. -
Page 14: Maintenance
12 MAiNTENANCE 12.04 Bladder replacement or repair The main parts to check for wear on a FLYSURFER tube kite are The replacement or repair of a bladder is a complex process and all valves, connecting hoses, and pulleys. Depending on usage, should be carried out by a specialist. - Page 15 Remove the free-flow hoses on the struts by pushing the Place the bladder with the free flow valve in front of or on the neoprene sleeves to expose the cable ties, and cut all cable ties. kite. Attach the lines to the bladder ends. Fold the bladder and use the lines to carefully pull it into the tube.
-
Page 16: Strut Bladder Replacement Or Repair
12.05 Strut bladder replacement or repair Use the leash to carefully pull the bladder into the strut. Position the valve and align the bladder along the strut. Close Remove the free-flow hose from the strut by pushing up the the end of the strut. neoprene sleeves and removing the cable tie. - Page 18 FLYSURFER Kiteboarding Brand of Skywalk GmbH & Co. KG Windeckstr. 4 83250 Marquartstein, GERMANY WEBSITE: www.flysurfer.com EMAIL: info@flysurfer.com PHONE: +49 (0) 86 41 69 48 - 30...
Need help?
Do you have a question about the BOOST4 and is the answer not in the manual?
Questions and answers