Advertisement
Available languages
Available languages
Quick Links
Advertisement

Related Manuals for Kimex 044-3 Series


Summary of Contents for Kimex 044-3 Series
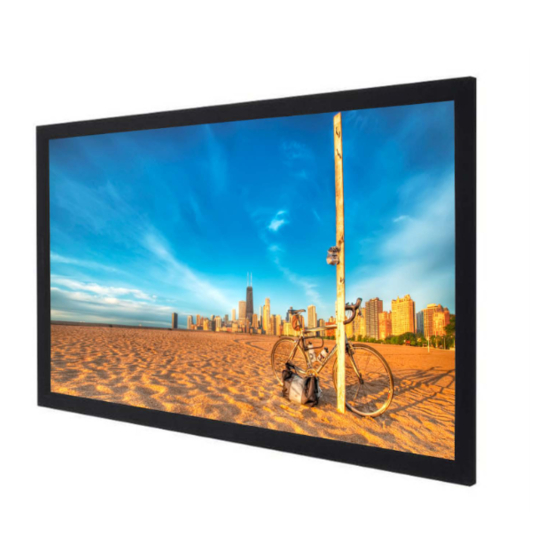
- Page 1 Manuel de montage Ecran cadre fixe Référence : 044-3XXX...
- Page 2 Notes Veuillez bien lire attentivement la notice avant d'utiliser cet écran de projection. Une installation adéquate e t une utilisation Faux appropriée conférera une longue vie à votre produit. Remarques • ■ Merci de bien vouloir faire attention à la face avant et la face arrière avant installation ! •...
- Page 3 Assemblage Toile de projection/ � � 3. Faire glisser les tiges PVC dans la toile. Il est recommandé de Cette écran ne convient qu'avec une projection frontale. Positionner le faire cette manipulation à deux. cadre en conséquence. • 4. Déployer la toile (prêter attention à la surface correcte) et commencer par fixer 2 crochets à �...
-
Page 4: Contenu Du Colis
� Montage Contenu du colis � 1. Poser les barres en aluminium parallèlement sur une surface plane et douce (2 © horizontales & 2 verticales) (Image 3). Emboîter les barres grâce aux jointures Barre en aluminium horizontale: 2 pièces (Image 4,5 & 6) Jointure Barre en aluminium verticale: 2 pièces @ Crochets: quantité... - Page 5 Installation manual Fixed frame screen Reference : 044-3XXX...
- Page 6 Notes Please read the instructions carefully before using this projection screen. Proper installation and proper use will give your product a long life. False Remarks • ■ Please pay attention to the front side and the back side before installation! Please check the presence of all the parts and any marks or scratches.
- Page 7 Assembly Projection screen/ � � 3. Slide the PVC rods into the pockets. It is recommended to do this manipulation in pairs. Only front projection screens (Image 1) is available. Position the frame accordingly. • 4. Unfold the canvas (pay attention to the correct surface) and start by attaching 2 hooks to �...
-
Page 8: Scope Of Delivery
� Assembly Scope of delivery � 1. Lay the aluminum bars in parallel on a flat and soft surface (2 horizontal & vertical) © (Image 3). Fit them on the joints (Image 4,5 & 6) Horizontal aluminum bar: 2 pieces Vertical aluminum bar: 2 pieces @ Hooks: quantity according to size Screws for joints...
Need help?
Do you have a question about the 044-3 Series and is the answer not in the manual?
Questions and answers