Advertisement
Available languages
Available languages
Quick Links
Advertisement

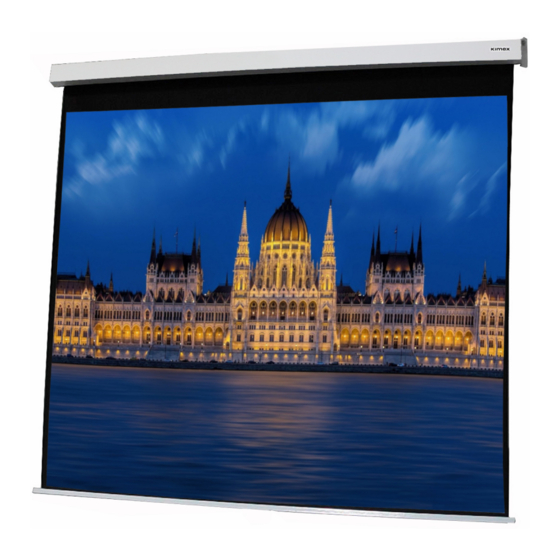
Summary of Contents for Kimex 042-3 Series
- Page 1 Manuel de montage Ecran de projection motorisé Référence : 042-3XXX...
- Page 2 Informations de sécurité et d‘utilisation Veuillez lire attentivement ces consignes de sécurité • Veuillez lire et comprendre les instructions avant d’installer et d’utiliser l’écran de projection. • Veuillez surveiller attentivement l’écran pendant l’utilisation ou lorsqu’il est à proximité d’enfants. Ne laissez pas l’écran sans surveillance pendant son utilisation.
-
Page 3: Informations Techniques
Informations techniques Tension : 100V – 120V, 60Hz ou 220V – 240V, 50Hz Consommation : 130W (Max) 0,4W (en mode veille) Installation Installez l’écran dans un endroit facilement accessible à tous les spectateurs. Idéale- ment, le centre de l’écran, une fois complètement déroulé, devrait être à la hauteur des yeux des spectateurs (Tiers inférieur de la toile). - Page 4 Installation Fixation au plafond (à l’aide de vis) Mesurer l’écart entre les trous sur le carter, et reportez ces mesures sur le plafond. Prêtez une attention particulière au parallélisme. Ensuite, percez les trous ainsi mar- qués, et rajouter les chevilles si nécessaire. Enfi n, fi xez l’écran au plafond à l’aide de vis. Veillez à...
- Page 5 Utilisation Pilotage avec le boitier mural (Fig.1) Branchez la fiche dans une prise murale (Veillez à la tension correc- te). Le câble ne devrait pas être étendu sur des surfaces blanches ou tendu. Dans le cas d’une utilisation d’une rallonge, veillez à observer la bonne tension électrique.
- Page 6 Reprogrammation récepteur / télécommande Si votre télécommande ne fonctionne pas, deux causes peuvent être à l'origine de ce problème : Soit la pile est usée ou défectueuse. Il faut donc la remplacer (lumière off). Soit votre télécommande est déprogrammée et il faut donc procéder à une reprogrammation (lumière on).
- Page 7 Installation manual Motorized projection screen Reference : 042-3XXX...
- Page 8 Safety and usage information Please read these safety instructions carefully Please read and understand the instructions before installing and using the • projection screen. Please carefully monitor the display during use or when it is near children. Do not • leave the display unattended while in use.
-
Page 9: Technical Informations
Technical informations Voltage : 100V – 120V, 60Hz or 220V – 240V, 50Hz Consumption : 130W (Max) 0,4W (sleep mode) Installation Install the screen in a location easily accessible to all viewers. Ideally, the center of the screen, when fully unrolled, should be at the level of the viewers' eyes (lower third of the canvas). - Page 10 Installation Ceiling fixing (using screws) Measure the distance between the holes on the housing, and record these measurements on the ceiling. Pay special attention to parallelism. Then, drill the marked holes, and add the dowels if necessary. Finally, secure the screen to the ceiling with screws.
- Page 11 Utilization Piloting with the wall box (Fig.1) Connect the plug to a wall socket (make sure the voltage is correct). The cable should not be laid on white surfaces or stretched. When using an extension cord, be sure to observe the correct voltage. The box must be fixed with the cable outlet on the bottom.
-
Page 12: Maintenance Advice
Receiver / remote control reprogramming If your remote is not working, there are two possible causes for this problem: Either the battery is worn out or defective. It must therefore be replaced (light off). Either your remote control is deprogrammed and you must therefore reprogram (light on).


Need help?
Do you have a question about the 042-3 Series and is the answer not in the manual?
Questions and answers