
Related Manuals for Gtech HyLite2 SCV300


Summary of Contents for Gtech HyLite2 SCV300
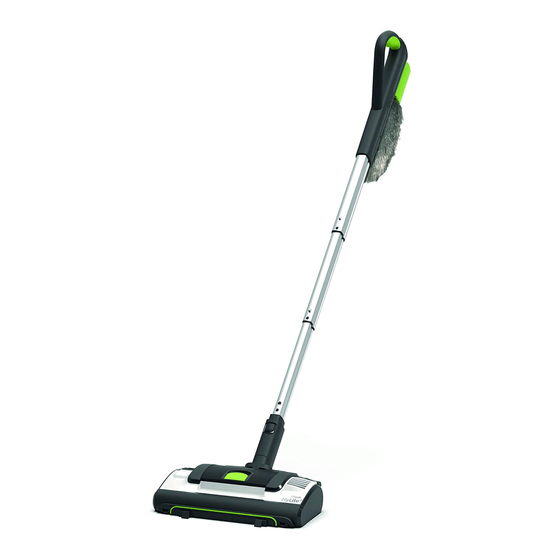
- Page 1 Model number: SCV300 OPERATING MANUAL 4483_HyLite2_Manual_aw.indd 1 4483_HyLite2_Manual_aw.indd 1 20/08/2020 17:06 20/08/2020 17:06...
-
Page 2: Important Safeguards
• Only use batteries and chargers supplied by • Unplug the charger from the mains socket Gtech. before removing the battery and before • Never modify the charger in any way. cleaning and maintaining the appliance. • The charger has been designed for a specific •... -
Page 3: Battery Safety
Repairs by unqualified persons could be heated (see Troubleshooting section). dangerous and will render the warranty void. • The Gtech HyLite can be used in hand-held mode. • Never modify the appliance in any way, as this may increase the risk of personal injury. -
Page 4: What's In The Box
Thank you for choosing Gtech “I started Gtech to create sensible, easy to use products that do a great job. Your opinion is important to us and we’ll use your feedback to improve our products and services, and to let other people know what it’s like to be part of the Gtech family.”... - Page 5 Assembly To fit the steering module to the handle simply To attach the handle to the main unit there is push the end of the handle into the neck of the no need to lift the vacuum from the floor. Just steering module until it clicks into place.
-
Page 6: Operation
Operation Place your foot on the left side of the unit and Press the power button to turn it on. You recline the handle. can also do this with your hand when it is in hand-held mode - be careful of the rotating brush-bar. -
Page 7: Removing The Handle
Removing the handle To remove the handle, hold the main unit To remove the steering module press the down with your foot and pull upwards on the button and pull the handle out. handle. You can also remove the handle while the steering module is still attached to the main unit to use the handle with the duster. -
Page 8: Hand-Held Operation
Hand-held operation When cleaning surfaces such as carpets and For use on stairs, grip and move the vacuum upholstery, hold the vacuum and slide it back over each step. Extra care should be taken and forth. Please be aware of the constantly when vacuuming stairs. - Page 9 Brush-bar removal Remove the battery before maintaining any Pull the latch out to remove the brush-bar. part of your product. Rotate the latch from the ‘locked’ position to the ‘unlocked’ position. WARNING: remove battery before carrying out any form of assembly. To remove hair from the brush-bar, run the blade of the hair removal tool between the brushes to cut the strands.
-
Page 10: Battery Removal
Brush-bar hair removal You can then use the comb end of the hair When replacing the brush-bar, ensure that it removal tool to pull the hair from the brush-bar. locates onto the steel pin at the other end of Never operate the product without the brush- the head, then turn the latch to the ‘locked’... -
Page 11: Recharging The Battery
Recharging the battery hours hours 14.4V Plug the charger into the mains and connect it to The battery can be charged on or off the main the battery. Switch the power on at the mains. vacuum unit. For optimum battery performance, we recommend turning the plug socket off once the battery is fully charged. - Page 12 Using the duster The duster can be stowed on the handle. To remove the duster simply slide it upwards and off the handle. Attach the duster to the end of the handle, This allows you to clean low, or with the handle clicking the latch into place extended, up high.
- Page 13 You can then remove the bag. (You can get more bags at www.gtech.co.uk) Do not reuse bags as this could damage and reduce the performance of the Product.
-
Page 14: Replacing The Bag
Replacing the bag Put the new bag in the bag-chamber, fitting the To expand the bag, pull the hoop at the end collar over the inlet. of the bag over the hook at the edge of the chamber. Place the lid back onto the chamber and press down. -
Page 15: Product Care
The brush-bar is jammed: 5 seconds 1. Turn off the Product, remove the battery and clear the blockage. The unit has over-heated: 1. Leave to cool down. ‘G’ on battery shows red Contact Gtech. 4483_HyLite2_Manual_aw.indd 15 4483_HyLite2_Manual_aw.indd 15 20/08/2020 17:06 20/08/2020 17:06... -
Page 16: Product Support
Product support If these initial tips don’t solve your problem, we have various other ways to help. Visit: www.gtech.co.uk/support Online Live chat support support@gtech.co.uk How-to videos TECHNICAL SPECIFICATION Battery model 165A0005 Battery 14.4V 2000mAh Li-Ion Charging period 2 hours Battery charger output 17.3V DC 1.0A... -
Page 17: Warranty Registration
If you purchased directly from Gtech, your details are already registered and your 2-year warranty will start automatically. If you purchased from an authorised Gtech retailer, please register your warranty within 3 months. You will need to provide proof of purchase to support any claim(s) against your warranty. - Page 18 4483_HyLite2_Manual_aw.indd 18 4483_HyLite2_Manual_aw.indd 18 20/08/2020 17:06 20/08/2020 17:06...
- Page 19 4483_HyLite2_Manual_aw.indd 19 4483_HyLite2_Manual_aw.indd 19 20/08/2020 17:06 20/08/2020 17:06...
- Page 20 Grey Technology Limited Brindley Road, Warndon, Worcester WR4 9FB email: support@gtech.co.uk telephone: 01905 345891 www.gtech.co.uk 4483_HyLite2_Manual_aw.indd 20 4483_HyLite2_Manual_aw.indd 20 20/08/2020 17:06 20/08/2020 17:06...
Need help?
Do you have a question about the HyLite2 SCV300 and is the answer not in the manual?
Questions and answers
Brush bar auto ejects when switched on
The Gtech HyLite2 SCV300 brush bar auto ejects in case of a jam to allow removal of obstructions and prevent damage.
This answer is automatically generated
How to open chamber
Lift and remove the bag-chamber lid.
This answer is automatically generated
hylite2 G on battery shows red ?
The battery indicator on the Gtech HyLite2 SCV300 shows red because the unit has overheated. The recommended action is to turn off the product, remove the battery, and allow it to cool down. If the issue persists, contact Gtech support.
This answer is automatically generated