Advertisement
Quick Links
Advertisement

Subscribe to Our Youtube Channel
Related Manuals for Entes DTR-10t


Summary of Contents for Entes DTR-10t
- Page 1 DTR-10t User Manual and Menu Map Adr: Dudullu OSB; 1. Cadde; No:23 34776 Ümraniye - İSTANBUL / TÜRKİYE Tel: +90 216 313 01 10 Fax: +90 216 314 16 15 E-mail: contact@entes.eu Web: www.entes.eu Call Center Technical Support: 0850 888 84 25 A5320/Rev.5...
-
Page 2: Manual Mode
: It is used to switch between monitoring menus. In the programming mode, it is used to cancel In order to use the relay outputs manually, DTR-10t has to be in the monitoring mode. The DOWN button is used to a parameter change or to return to the previous menu. -
Page 3: Monitoring Menu
If the “SAVE” option doesn’t get accepted when returning to the monitoring menu, the changes which are made in the DTR-10t menus will be discarded. This isn’t the case for “TIME SETING” menu. The changes which for 60 seconds in any menu other than the real time and date, it returns to the real time and date screen. - Page 4 Selection of Activation Days: The day/days in which the program will be activated is adjusted in this menu. If • Settings Observation Menu: “ALL DAYS” “YES” is selected, the program will be activated for all days of the week. If “NO” is selected, the user will be The user can observe the sub-menu settings with 3 second intervals in this menu.
- Page 5 • Regional Settings Menu: Geographical settings are done in this menu. The changes which are made in this • Time Settings Menu: menu are saved to the memory when the “SAVE” query is confirmed by the user while returning to the monitoring The time settings are done in this menu.
- Page 6 • Display Settings Menu: • Password Settings Menu: The contrast is adjusted between 00 an 15 in this menu. The activation and changing of a password is done in this menu. The factory default value for the password is “0000”. The 4 digit password is prompted before entering this menu. If the password is activated, it isn’t prompted again before entering this menu since the password was entered before entering the main programming menu.
- Page 7 Password Change Menu: The password is changed in this menu. It is done as following: • Factory Setting Menu: The device is returned to its factory settings in this menu. The 4 digit password is prompted before entering this menu. If the password is activated, it isn’t prompted again before entering this menu since the password was entered before entering the main programming menu.
-
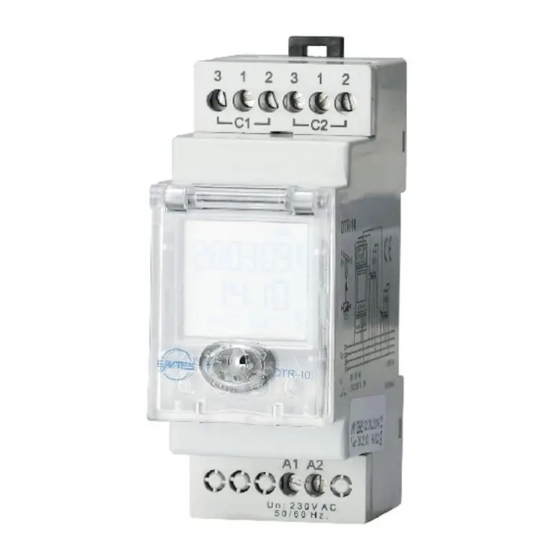
Page 8: Connection Diagram
DIMENSIONS CONNECTION DIAGRAM TECHNICAL FEATURES Electrical Features Operating Voltage (Un) Please look at the side label Output Contact 1 C/O , 16 A / 4000 VA Refresh Time 1 sec Power Consumption < 5 VA Accuracy ≤1 sec. /Day Screen Size 1,3”... - Page 9 City Names and Their Screen Parameter in Turkish selection Displays for the Language set in the Regional Settings...
- Page 10 Parameters in German selection Parameters in Spanish selection...
- Page 11 APPLICATION EXAMPLE 1: On every weekday, the C1 relay will be activated 1 hour 35 minutes 51 seconds before the sunrise and be deactivated at 9 o’clock. Note: The parameter selection in the example program diagrams must be done with the UP or DOWN buttons.
- Page 12 APPLICATION EXAMPLE 2: C2 relay will be activated every monday at 18:30 and will be deactivated at sunrise time.
- Page 13 MENU MAP If the “SAVE” query is not confirmed by the user while returning to the monitoring menu, the changes which are committed in the menus will be discarded(This doesn’t apply to the Time Settings Menu). * The device shows the entered programs in the order of their program flow in the menu display. The programs can be browsed with the UP or DOWN buttons.
- Page 15 In the settings observation menu, the set parameters of the sub-menus are shown. The sub-menu titles are shown on the menu flow diagram. These parameters are shown for 3 seconds. To prolong this time; ESC, UP or DOWN buttons should be pressed. If the SET button is pressed the shown parameter changes immediately.
- Page 18 When this menu is selecetd without making any changes in the device menu, monitoring menu is shown without the SAVE prompt.
Need help?
Do you have a question about the DTR-10t and is the answer not in the manual?
Questions and answers