Table of Contents
Advertisement
Advertisement
Chapters
Table of Contents

Related Manuals for Bunn H5E H5X


Summary of Contents for Bunn H5E H5X
- Page 1 BUNN OPERATING & SERVICE MANUAL BUNN-O-MATIC CORPORATION SPRINGFIELD, ILLINOIS 62708-3227 PHONE: (217) 529-6601 FAX: (217) 529-6644 10420.0000G 7/00 © 1989 BUNN-O-MATIC CORPORATION ® a t e i t h POST OFFICE BOX 3227 r e !
-
Page 2: Table Of Contents
SPECIFIED HEREIN, TO REPAIR OR, AT BUNN’S SOLE OPTION, REPLACEMENT OR REFUND. In no event shall Bunn be liable for any other damage or loss, including, but not limited to, lost profits, lost sales, loss of use of equipment, claims of Buyer’s customers, cost of capital, cost of down time, cost of substitute equipment, facilities or services, or any other special, incidental or consequential damages. -
Page 3: User Notices
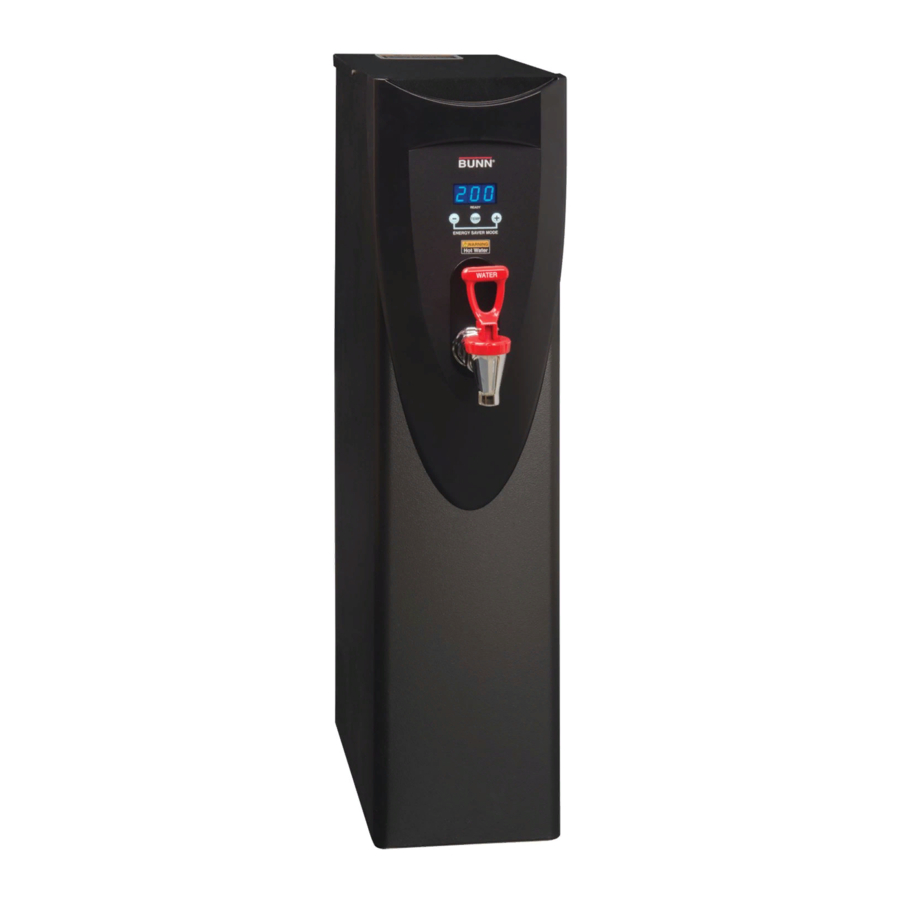
USER NOTICES The notices on this dispenser should be kept in good condition. Replace unreadable or damaged labels. 12593.0000 00831.0000 00656.0000 10044.0000 10420 072500... -
Page 4: Electrical Requirements
It can be purchased direct from Bunn-O-Matic (part number 00326-0000). Bunn-O-Matic does not recommend the use of a saddle valve to install the dispenser. The size and shape of the hole made in the supply line by this type of device may restrict water flow. -
Page 5: Initial Set-Up
3. Remove the 4-40 screws at the sides of the top panel. 4. Gently remove one of the grommets from the tank lid. 5. Insert a tube to the bottom of the tank and syphon ALL of the water out. Bunn-O-Matic has a syphon assem- bly available (#12440.0000) for this purpose. -
Page 6: Troubleshooting
TROUBLESHOOTING A troubleshooting guide is provided to suggest probable causes and remedies for the most likely problems encountered. If the problem remains after exhausting the troubleshooting steps, contact the Bunn-O-Matic Tech- nical Service Department. • Inspection, testing, and repair of electrical equipment should be performed only by qualified service person- nel. - Page 7 TROUBLESHOOTING (cont.) Problem Automatic refill will not operate after drawing hot water. Water flows into the tank con- tinuously (Dispenser discon- nected from power source). Water flows into the tank con- tinuously (Dispenser connected to power source). Water is cold. CAUTION –...
- Page 8 TROUBLESHOOTING (cont.) Problem Water boils continuously. CAUTION – Tanks and tank components should be delimed reglarly depending on local water conditions. Exces- sive mineral build-up on stainless steel surfaces can initiate corrosive reactions resulting in serious leaks. Dispenser is making unusual noises.
-
Page 9: Service
SERVICE This section provides procedures for testing and replacing various major components used in this dis- penser should service become necessary. Refer to Troubleshooting for assistance in determining the cause of any problem. Component Access WARNING – Disconnect the dispenser from the power source before the removal of any panel or the replace- ment of any component. -
Page 10: Electronic Controls
SERVICE (cont.) Electronic Controls U nt il W T ur at er H ot C om W at to m T an at ic F ro C of al ly st em fe e W he rd an B re s –... - Page 11 SERVICE (cont.) Electronic Controls (cont.) Liquid Level Control Test Procedure 1. Disconnect the dispenser from the power source. 2. Check the voltage across terminals 3 & 4 of the electronic control assembly with a voltmeter. Con- nect the dispenser to the power source. The indi- cation must be: a.) 100 to 120 volts ac for 100 to 120 volt models b.) 200 to 240 volts ac for 200 to 240 volt models.
- Page 12 SERVICE (cont.) Electronic Controls (cont.) 7. Reconnect the pink wire to terminal 5 of the elec- tronic control assembly. 8. Loosen the compression fitting, remove the probe from the tank lid, and inspect it for mineral depos- its. Replace it if necessary. Keep the exposed ends of the probe away from any metal surface of the dispenser.
- Page 13 If voltage was present as described, the temperature control of the system is operating properly. If voltage was not present as described, contact Bunn- O-Matic to order an electronic control assembly, tem- perature sensor, and triac assembly for evaluation and proceed to #9.
- Page 14 NOTE - Each triac installation requires the use of an approved silicone heat sink compound. Bunn-O-Matic recommends the use of Dow Corning 340 compound or equivalent. It can be purchased direct from Bunn-O- Matic (part # 12572.0002). 1. Place the tank heater switch on the electronic con- trol assembly in the “OFF”...
- Page 15 SERVICE (cont.) Electronic Controls (cont.) Adjustments This dispenser can maintain any temperature between 85 and 208°F by selecting and setting one of five vari- able range control potentiometers. 1. Fill the dispenser according to the steps in the Ini- tial Set-up. 2.
-
Page 16: Limit Thermostat
SERVICE (cont.) Limit Thermostat Location: The limit thermostat is located on the tank lid. To test the limit thermostat, access will also be needed to the terminal block located at the rear of the dispenser. FIG. 6 LIMIT THERMOSTAT Test Procedure: 1. -
Page 17: Safety Overflow Switch
SERVICE (cont.) Safety Overflow Switch ti l W a te to m a te a ti F ro te m ff e s – te r re w rd a e rs it Is te r it c h il u –... -
Page 18: Solenoid Valve
SERVICE (cont.) Solenoid Valve Location: The solenoid valve is located inside the rear of the dis- penser on the right side near the bottom. To test the solenoid valve, access will also be needed to the electronic control assembly. Fi ll th er te r m os... -
Page 19: Tank Heater
SERVICE (cont.) Tank Heater Location: The tank heater is located in the tank lid. ti l W a te to m a te a ti FIG. 12 TANK HEATER Test Procedure: 1. Disconnect the dispenser from the power source. 2. Check the voltage across the terminals of the tank heater with a voltmeter. -
Page 20: Wiring Diagrams
2 WIRE SINGLE PHASE SCHEMATIC WIRING DIAGRAM H5X LIMIT THERMOSTAT t° TANK HEATER ELECTRONIC CONTROL ASSY t° 10410.0000E 6/91 © 1989 BUNN-O-MATIC CORPORATION GRN/YEL LIMIT THERMOSTAT TANK HEATER t° TANK HEATER ELECTRONIC CONTROL ASSY t° 10411.0000E 2/99 © 1989 BUNN-O-MATIC CORPORATION... - Page 21 2 WIRE SINGLE PHASE SCHEMATIC WIRING DIAGRAM H5E LIMIT THERMOSTAT TANK HEATER t° TANK HEATER ELECTRONIC CONTROL ASSY 10331.0000G 8/99 © 1989 BUNN-O-MATIC CORPORATION GRN/YEL LIMIT THERMOSTAT TANK HEATER t° TANK HEATER ELECTRONIC CONTROL ASSY 10332.0000E 6/91 © 1989 BUNN-O-MATIC CORPORATION...
Need help?
Do you have a question about the H5E H5X and is the answer not in the manual?
Questions and answers