Advertisement
Quick Links
Advertisement

Related Manuals for Warrior Table Soccer Warrior Pro

Summary of Contents for Warrior Table Soccer Warrior Pro
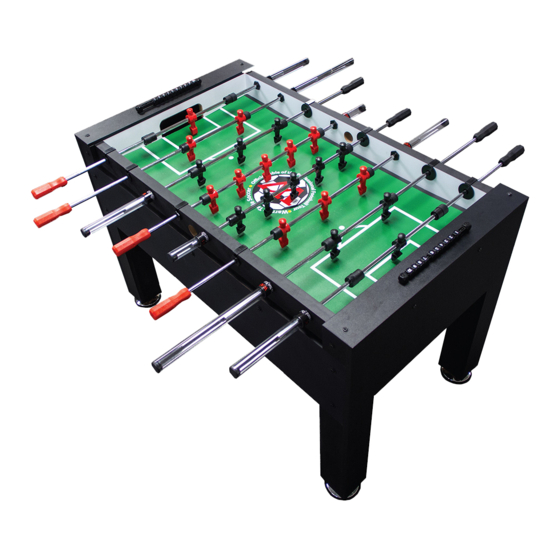
- Page 1 Updated: 5/4/16 www.WarriorTableSoccer.com SOCCER TABLE Assembly Instructions...
- Page 2 Table of Contents Parts Identifier .......... 3 Hardware Identifier…………………………. 4 Table Assembly Instructions ..... 5 Table Assembly Pictures ………..….…….. 6, 7, 8 www.WarriorTableSoccer.com P a g e...
-
Page 3: Parts Identifier
Parts Identifier Box 1 Side panels (2) Assembled rods (8), Bearing Halves (16), Bearing Nuts,(8)Rod guards (8) Balls (2), Extra Men (2), Bearing wrench (1) Silicone Box 2 Leg panels (2) Ball Catch (1) Top Panels (2) Leg levelers (4) Box 3 Table top (1) Goal boxes (2) -
Page 4: Hardware Identifier
Hardware Identifier Description Purpose 5/16” x 1 ¾” (8) Side Panels / Legs, (6) Play Field 1/4" x 1 ¾” (4) Corner Blocks (4) Goal Boxes (2) Ball Catch (4) Top Plate 3/16” x 1 ½” (4) Score Beads If purchased with light bracket 1/4”... - Page 5 Table Assembly Instructions Note: No additional tools required for assembly. Nuts are pre-installed in the table. It is recommended to get all bolts “Started” only. After bolts have been started check alignment of “top No Impact/Power tools plates”, “leg panels” & “side panels” before tightening bolts completely. 1.
- Page 6 Assembly Pictures 1. Install Leg Leveler by turning clockwise into bottom of legs. Turn all the way into the lowest point in leg. 2. Leg Panels w/ 1 Side Panel 4. Insert Metal Plate 3. Attach Goal Box and collar 6a –...
- Page 7 Assembly Pictures 6b – Install runner completely over collar 6c – Install collars into ball catch 6d – Install runner completely over collars 7. Place tabletop into cabinet 9. Attach Top Plate 8. Install Corner Block with black finished sides exposed as shown www.WarriorTableSoccer.com P a g e...
- Page 8 Assembly Pictures 11.Guide handle through opening in near wall in proper position. Pull all the way in to allow other end of rod to clear far wall. 10. Attach Score Beads to Top Plate 12.Take 2 bearing halves (#1 and #2) and connect them over rod and then place them 13.Slide bearing nut over handle &...
- Page 9 Notes: www.WarriorTableSoccer.com P a g e...
Need help?
Do you have a question about the Warrior Pro and is the answer not in the manual?
Questions and answers