Argo GREENSTYLE 9000 UI User Manual And Installation Manual
Single split air conditioners - r32
Hide thumbs
Also See for GREENSTYLE 9000 UI:
- User manual (37 pages) ,
- User manual and installation manual (30 pages) ,
- Service manual (42 pages)
Advertisement
Table of Contents
- 1 Table of Contents
- 2 General Warnings
- 3 Safety Precautions
- 4 Notices for Usage
- 5 Description of Parts
- 6 Remote Controller Guide
- 7 Wifi Guide
- 8 Clean and Care
- 9 Troubleshooting
- 10 Notices for Installation
- 11 Indoor Unit Installation
- 12 Outdoor Unit Installation
- 13 Maintenance Notes
- Download this manual
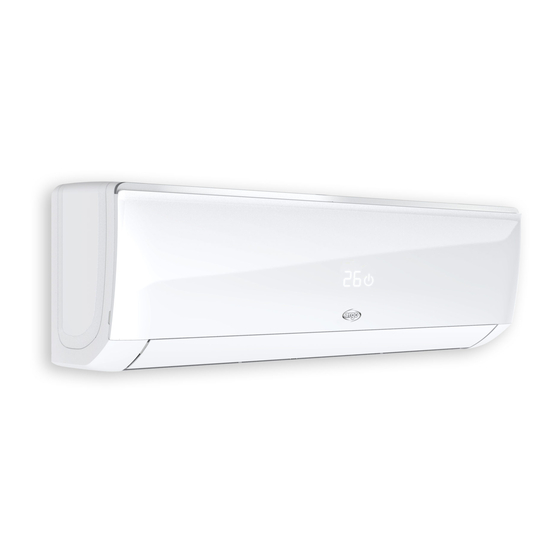
USER MANUAL and INSTALLATION GUIDE
INDOOR UNIT
GREENSTYLE 9000 UI
GREENSTYLE 12000 UI
GREENSTYLE 18000 UI
GREENSTYLE 24000 UI
Please read this manual carefully before installing and using the air conditioner, and retain for future reference.
V 02/21
GREENSTYLE
SINGLE SPLIT AIR
CONDITIONERS – R32
OUTDOOR UNIT
GREENSTYLE 9000 UE
GREENSTYLE 12000 UE
GREENSTYLE 18000 UE
GREENSTYLE 24000 UE
V 02/21
37
Advertisement
Table of Contents


Need help?
Do you have a question about the GREENSTYLE 9000 UI and is the answer not in the manual?
Questions and answers