
Related Manuals for DURAVIT Starck 3 030160


Summary of Contents for DURAVIT Starck 3 030160
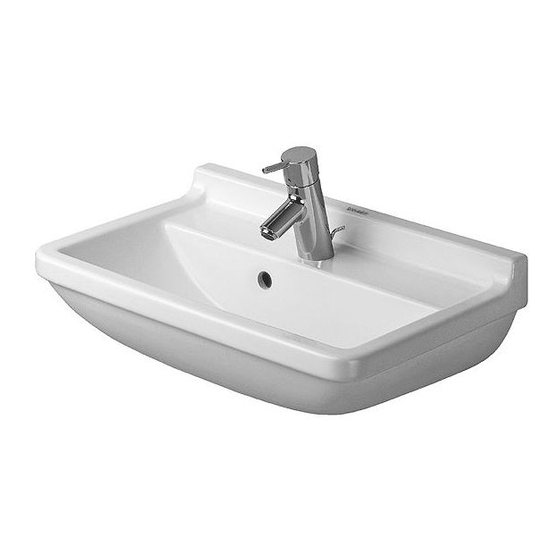
- Page 1 Installation instructions Washbasin MI_Allg_WT_51193_21_03_3.indb 1 MI_Allg_WT_51193_21_03_3.indb 1 23.06.2021 09:53:37 23.06.2021 09:53:37...
- Page 2 MAL_51193/21.03.3 MI_Allg_WT_51193_21_03_3.indb 2 MI_Allg_WT_51193_21_03_3.indb 2 23.06.2021 09:53:37 23.06.2021 09:53:37...
- Page 3 Important information Installation MAL_51193/21.03.3 MI_Allg_WT_51193_21_03_3.indb 3 MI_Allg_WT_51193_21_03_3.indb 3 23.06.2021 09:53:37 23.06.2021 09:53:37...
- Page 4 About these instructions These mounting instructions come as part of the Duravit washbasin and are to be read carefully prior to the installation. Target readership and qualifications This is a professional grade product. A working knowledge of construction techniques and code compliant plumbing installation are required for proper installation and user satisfaction.
-
Page 5: Delivery Contents
Delivery contents The washbasin will include mounting hardware model # 695100 0000. The plastic anchors provided are for concrete wall applications. For wood stud walls, the lag bolts should be screwed into the wood backing. MAL_51193/21.03.3 MI_Allg_WT_51193_21_03_3.indb 5 MI_Allg_WT_51193_21_03_3.indb 5 23.06.2021 09:53:52 23.06.2021 09:53:52... - Page 6 When mounting the washbasin on a When mounting the washbasin Washbasins with siphon cover pre-wall carrier, install the mounting into a wood stud wall, > Continue with mounting A bolts to the element. there must be adequate bracing. We recommend doubling up Washbasin with pedestal 2x6‘s or 2x8‘s between the studs >...
- Page 7 Please note if the washbasin will > Install Shut off valves according > Carefully slide washbasin onto the be mounted on a concrete wall to manufacturer’s installation mounting bolts. application, anchors must be used. instructions. > Insert white plastic sleeve over the bolt and into the hole of the >...
- Page 8 Pedestal may only be installed with corresponding listed washbasin. > Scan QR Code on packaging label or visit the webadress qr.duravit.com/”articlenumber” to get listed washbasin. Ø ⅝" Ø 14 mm > Mark the location of the mounting >...
- Page 9 > Install Shut off valves according > Carefully slide washbasin onto the > Leveling the washbasin: the white to manufacturer’s installation mounting bolts. plastic sleeves protect the china instructions. > Insert white plastic sleeve over from the metal bolt and allow for the bolt and into the hole of the slight adjustment in the height of washbasin.
- Page 10 > Test faucet and drain to ensure > Gently lift the front of the > Tighten mounting bolts with wrench there are no leaks. washbasin to allow pedestal to to secure. Inspect and adjust for slide underneath. Slightly loosen proper level. mounting if needed to allow for safe >...
- Page 11 MI_Allg_WT_51193_21_03_3.indb 11 MI_Allg_WT_51193_21_03_3.indb 11 23.06.2021 09:54:18 23.06.2021 09:54:18...
- Page 12 DURAVIT USA, INC. 2635 North Berkeley Lake Rd., Ste. 100 Duluth, GA 30096 Toll Free 888-DURAVIT Phone 770-931-3575 Fax 770-931-8454 info@us.duravit.com www.duravit.us MI_Allg_WT_51193_21_03_3.indb 12 MI_Allg_WT_51193_21_03_3.indb 12 23.06.2021 09:54:18 23.06.2021 09:54:18...
Need help?
Do you have a question about the Starck 3 030160 and is the answer not in the manual?
Questions and answers