
Related Manuals for Dvico TVIX T410


Summary of Contents for Dvico TVIX T410
- Page 1 TVIX HD TUNER • All specifications and information are subject to change without further notices.
- Page 2 2. Specifications MODEL TUNER Resolution Internal Power Power Input Size Weight TVIX TUNER T410 Xceive XC3028 Resolutions up to 1920 * 1080i Via Pin connector to M-4000PA/SA (included) 3.7 (W) over-the-air Digital TV (ATSC) 114 x 42 x 20 (mm)
- Page 3 Usage Precautions and Notes Do not drop the device. It may cause critical damage to the hard drive. Do not touch the power plug with wet hands or use defective power cables & electric outlets. It may cause electric shocks or fire. Keep all magnetic materials away from the TViX.
-
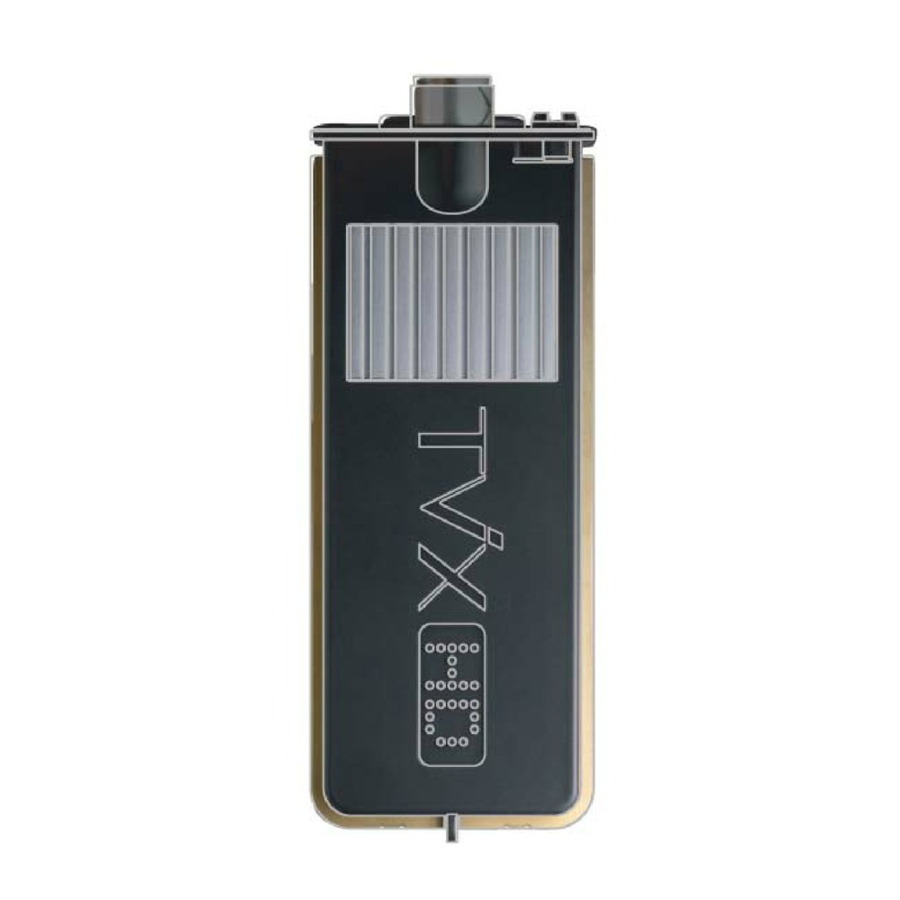
Page 4: Name Of Each Part
About the TViX HD Tuner 3. Name of Each Part • 22 pin connector : Connects to the TViX 4000PA/SA main unit. • Air Antenna : Connects to the terrestrial TV antenna signal • Locking knob : This knob is used to lock or unlock the body. 4. -
Page 5: Installation And Connection
Installation and Connection 1. TUNER Connection Before the TViX is connected to the tuner, the power of TViX should be turned off. Connecting the tuner when the power of TViX is "ON" will damage the TViX or the tuner and void your warranty. Separate Tuner Cover from TViX. -
Page 6: Video/Audio Connection
2. Video/Audio Connection Connect the audio and video cables from the TViX's output jacks to the TV input jacks. Please refer to 3.2 Video Connection and 3.3 Audio connection on the TViX 4000 series manual. You can download the latest manual on the tvix homepage. (www.tvix.co.kr/eng) VIDEO Connection AUDIO Connection... - Page 7 3. TViX HDTV SETUP Setting The HDTV setting can be shown on the screen when the tuner is connected. boot mode : Select HDTV to start in HDTV mode or File Player to start in File mode (main menu). If the HD tuner is not connected, TViX will start in file mode automatically. DTV Time Auto Sync : is used to adjust the EPG time and VFD time.
- Page 8 Using TVIX HD TUNER 1. Channel scanning ① Before you can use any of the special channel buttons, the available channels must be scanned and memorized. Press DTV button on the remote control, and the Tuner LED lights. ② HDTV Tuner will scan and store all of the digital (DTV) channels that are available in your local area automatically.
-
Page 9: Changing The Channel
※ Checking Digital signal Reception ① Press the INFO button on the remote control. ② The Signal strength meter will appear on the left-bottom. ③ If signal strength meter indicates less than 14.9db, adjust your antenna to increase the signal strength. - Page 10 • When recording, if the available storage space lacks, the recording will automatically stop. • When recording, Press the INFO button on the remote control, and you can see Disk info/file size/Elapsed recording time. • To delete the schedule list, Press BOOKMARK button and delete the scheduled list. •...
-
Page 11: Manual Recording
Record Notice • The first partition of the internal hard disk must use the NTFS format. FAT32 format can cause an error message. • When the signal is weak or unstable, recording cannot work properly. • When the hard disk is unstable, recording cannot work properly. So you must sometimes run Check Disk. - Page 12 ③ To Edit/delete the scheduled list, press the BOOKMARK button on the DTV mode. Press the up/down button to select a specific listing and then you can edit or delete it by pressing the OK or DELETE buttons. Press stop or BOOKMARK button on the remote control to exit the list. ④...
-
Page 13: Extra Features
Extra Features INFO button • First Press : Show station name and signal strength. While recording, show file name and disk space. • Second Press : Show signal strength only. • Third Press : Information off SETUP button Picture adjustment. Contrast-->Brightness-->Saturation. You can change the level using the direction keys. - Page 14 In the file mode, the GUIDE button opens the recording schedule for editing. VIDEO button Changes from HDTV mode to file mode. Please refer to the TViX 4000 manual for operation in file mode. AUDIO button Changes to second audio when the program has multi audio. ZOOM button •...
- Page 15 Using Remote Power button Change Player to DTV Change DTV to Player @ : / _ - Scroll button Volume Display the information of channel or signal strength Show scanned channel Picture adjustment. Contrast Brightness Saturation Manual Recording Delete channel/cancel recording Mute Select audio tune to a particular channel...
Need help?
Do you have a question about the TVIX T410 and is the answer not in the manual?
Questions and answers