Sign In
Upload
Download
Table of Contents
Contents
Add to my manuals
Delete from my manuals
Share
URL of this page:
HTML Link:
Bookmark this page
Add
Manual will be automatically added to "My Manuals"
Print this page
×
Bookmark added
×
Added to my manuals
Manuals
Brands
Mahindra Manuals
Tractor
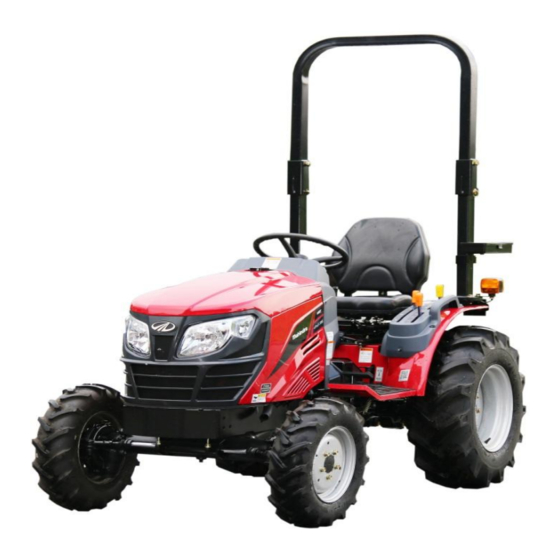
eMax 22L HST
Operator's manual
Mahindra eMax 22L HST Operator's Manual
Hide thumbs
1
2
3
Table Of Contents
4
5
6
7
8
9
10
11
12
13
14
15
16
17
18
19
20
21
22
23
24
25
26
27
28
29
30
31
32
33
34
35
36
37
38
39
40
41
42
43
44
45
46
47
48
49
50
51
52
53
54
55
56
57
58
59
60
61
62
63
64
65
66
67
68
69
70
71
72
73
74
75
76
77
78
79
80
81
82
83
84
85
86
87
88
89
90
91
92
page
of
92
Go
/
92
Contents
Table of Contents
Bookmarks
Table of Contents
Table of Contents
Tractor Identification
About this Manual
Introduction & Description
Owner Assistance
ROPS (Roll over Protection Structures)
Safety Instructions, Do's & Don
Safety Signs
Universal Symbols
Section a
Controls, Instruments & Operations
Section B
Lubrication & Maintenance
Section C
Cabin
Section D
Specifications
Fuel Saving Tips
Fault Tracking
Wiring Diagram
Tractor History Card
Service Record
Daily Operating Log
Part Replacement Record
Advertisement
Quick Links
1
Table of Contents
2
Controls, Instruments & Operations
3
Lubrication & Maintenance
4
Specifications
5
Wiring Diagram
Download this manual
■
■
■
■
■
■
The Mahindra Group
Mahindra USA, INC
9020 Jackrabbit Road
Houston, Texas 77095
1-877-449-7771
Mahindrausa.com
Table of
Contents
Previous
Page
Next
Page
1
2
3
4
5
Advertisement
Table of Contents
Need help?
Do you have a question about the eMax 22L HST and is the answer not in the manual?
Ask a question
Questions and answers
Related Manuals for Mahindra eMax 22L HST
Tractor Mahindra 2810 Service Manual
(223 pages)
Tractor Mahindra '15' Series 2015 4WD Operator's Manual
Operators manual (133 pages)
Tractor Mahindra '16' Series Operator's Manual
(140 pages)
Tractor Mahindra '16' Series Operator's Manual
(140 pages)
Tractor Mahindra YUVRAJ 215 Service Manual
(86 pages)
Tractor Mahindra eMax 25L HST Operator's Manual
(92 pages)
Tractor Mahindra 2655 HST Workshop Manual
(267 pages)
Tractor Mahindra JINMA-200 Operation Manual
Jinma series wheeled tractors (73 pages)
Tractor Mahindra 10 Cab Series 4510C Operator's Manual
10 cab series (116 pages)
Tractor Mahindra 3016 User Manual
(22 pages)
Tractor Mahindra 35 Series Service Manual
4wd (368 pages)
Tractor Mahindra e Max 22 HSTs Operator's Manual
(91 pages)
Tractor Mahindra Jivo 365 DI Service Manual
(95 pages)
Tractor Mahindra 10 Series Operator's Manual
Gear cab (121 pages)
Tractor Mahindra 6065 2WD Operator's Manual
Tier-4 (116 pages)
This manual is also suitable for:
Emax 25l hst
Table of Contents
Save PDF
Print
Rename the bookmark
Delete bookmark?
Delete from my manuals?
Login
Sign In
OR
Sign in with Facebook
Sign in with Google
Upload manual
Upload from disk
Upload from URL


Need help?
Do you have a question about the eMax 22L HST and is the answer not in the manual?
Questions and answers