Advertisement
NX 60i / 80i/ 100i
ROBOTIC MOWER
ROBOT-TONDEUSE
GB
FR
Original Installation Guide
Guide d'installation d'origine
MÄHROBOTER
DE
ROBOTMAAIER
NL
Original Installationsanleitung
Originele handleiding
ROBOSEKACKA
CZ
PL
ROBOT KOSZĄCY
Originální instalační průvodce
Oryginalna instrukcja
> 10 cm
30 cm
A
<
5 cm
30 cm
30 cm
< 10 cm
max.
30 cm
8 m
min.
2 m
Advertisement

Related Manuals for Yard force NX 60i


Summary of Contents for Yard force NX 60i
- Page 1 30 cm < 10 cm > 10 cm max. 30 cm 30 cm NX 60i / 80i/ 100i min. ROBOTIC MOWER ROBOT-TONDEUSE Original Installation Guide Guide d’installation d’origine MÄHROBOTER ROBOTMAAIER < 5 cm Original Installationsanleitung Originele handleiding ROBOSEKACKA ROBOT KOSZĄCY Originální...
-
Page 2: Table Of Contents
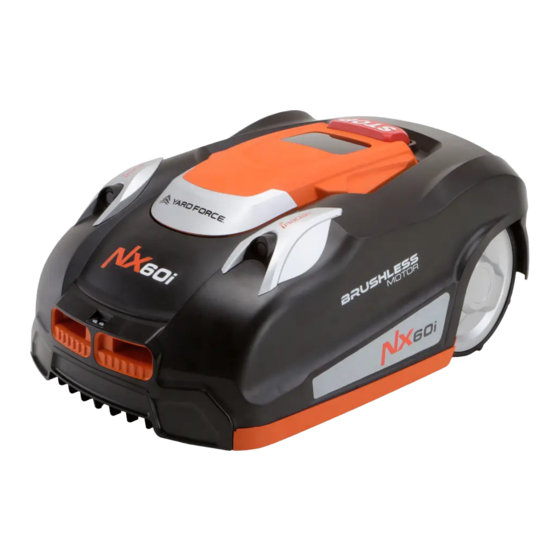
CONTENT Description of product STOP button Ultrasonic sensor Description of the product ..........1 Charging inlet Rear wheel Installation ..............2 Height adjustment dial Control panel Operation ..............10 Blade plate Carry handle Technical data ..............14 Power switch button Maintenance and storage ..........15 Troubleshooting ............17 Scope of delivery Robotic Mower... -
Page 3: Installation
Installation Installation Guide This chapter explains how to install the Robotic Mower. Please read this completely before you start the installation. Introduction We recommend creating a drawing of your lawn, including all obstacles and how these should be protected. This makes it easier to find a good position for the docking station and how to correctly place the boundary wire around your garden perimeter protecting bushes, flower beds etc. - Page 4 > +/- 5° > +/- 5° Uneven lawn surfaces Uneven lawn areas may cause the blades to touch the ground. We recommend leveling the lawn If your lawn has a soft or uneven surface, we recommend fortifying the area around the docking before using your Robotic Mower or excluding uneven areas with the boundary wire.
- Page 5 correct distance from lawn edges (30 cm) and obstacles. Ponds and Pools While the Robotic Mower is protected against rain and spray water, being submerged is likely to cause severe damage to the electronic parts. Flowerbeds Therefore, it is imperative to exclude any pools from the cutting area. For added safety, we Use the boundary wire to exclude any flowerbeds from the cutting area.
- Page 6 Insert the mains plug into a properly installed socket. Once the blue LED confirms all is OK, test Signal selection the Robotic Mower's function. Check the LED regularly to ensure fixing the boundary wire has not Note: the default signal is S1, no need to change the signal when there isn’t a influence signal affected the connection and signal shows S1 on the charging satation.
-
Page 7: Operation
Before starting your robotic mower Operation Please follow below steps to adjust the time setting before starting your robotic mower. Control panel 1. Press the button to enter the menu setting. Timer Sensor English 2. Press the button to enter time setting System date System time 3. - Page 8 Sensor setting Enter New PIN Code 1. Press the button to enter the menu setting. Enter Old PIN Code Timer Sensor English Re-Enter New PIN Code 2. Press the button to enter the sensor setting. UltraSonic Setting UltraSonic Setting - After re- enter the new PIN, press button OK complete this setting.
-
Page 9: Technical Data
Technical Data Cutting height adjustment The cutting height can be adjusted by rotating the height adjustment dial located on the top Model NX 60i NX 80i NX 100i of the machine. Cutting height range from 20 mm - 60 mm. -
Page 10: Maintenance And Storage
Maintenance and storage Replacing the battery While the actual battery life will depend on usage and environmental factors, the typical service Maintenance work that has not been described in these instructions must be carried out by a life is several years. Spare batteries are available from customer support. To replace the battery, servicing agency authorised by the manufacturer. -
Page 11: Troubleshooting
Reversing or replacing the blades Troubleshooting WARNING! Ensure the Robotic Mower is completely shut off before cleaning, adjusting or Robotic Mower cannot dock with docking station replacing the blades. Always wear protective gloves. • Check that the boundary wire in front and underneath the charger is in a straight line. •... - Page 12 Charging trouble shooting Problem Possible cause Corrective action Power cable runs parallel/close to Reposition of boundary wire wire Problem Possible cause Corrective action Front wheel is stuck Clean front wheel area Incorrect wire connection Check wire connections "F and B" Signal interfere with robot in Change to alternative boundary No light on charge base...
Need help?
Do you have a question about the NX 60i and is the answer not in the manual?
Questions and answers