
Related Manuals for Taga Harmony TSW-212


Summary of Contents for Taga Harmony TSW-212
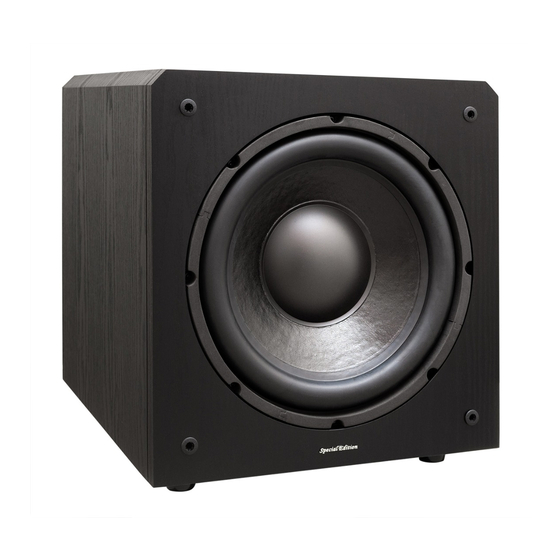
- Page 1 Active Subwoofers TSW-212 / TSW-210 / TSW-90 v.4 / TSW-80 Instruction Manual Edition 11-2020...
-
Page 2: Introduction
Introduction Thank you for purchasing this TAGA Harmony subwoofer. This subwoofer is a single-driver and rear bass port construction with a built-in high-current amplifier. The built-in amplifier delivers big power output and is characterized by high efficiency and current drive which results in low distortions, smooth and flat response and fast amp operation with significantly reduced operation noises. -
Page 3: Table Of Contents
Contents Introduction Safety Instructions Unpacking the Subwoofer Placement Controls and Connections - Rear Panel Hooking Up The Subwoofer Operation Additional Information... -
Page 4: Safety Instructions
Safety Instructions IMPORTANT READ THIS SECTION CAREFULLY BEFORE PROCEEDING! WARNING: TO REDUCE THE RISK OF FIRE OR ELECTRIC SHOCK, DO NOT EXPOSE THIS PRODUCT TO RAIN OR MOISTURE. DO NOT REMOVE COVER (OR BACK). NO USER-SERVICEABLE PARTS INSIDE. REFER SERVICING TO QUALIFIED SERVICE PERSONNEL. The triangle containing a lightning symbol is intended to alert the user to the presence of uninsulated dangerous voltages within the product’s enclosure that may be of sufficient magnitude to constitute a risk of electric shock to persons. - Page 5 Safety Instructions 1. Read Instructions - All the safety and operating instructions 13. Overloading - Do not overload wall outlets, extension cords or should be read before the product is operated. integral convenience receptacles as this can result in a risk of fire 2.
-
Page 6: Unpacking The Subwoofer
Unpacking the subwoofer Place the carton with the subwoofer on the floor in the upside down position and open it from the bottom, remove the internal packaging which protects the subwoofer on the bottom. Carefully turn the carton with the subwoofer upside down. When the subwoofer is securely placed on the floor remove the carton and internal packaging - your subwoofer is ready for placement in your room. -
Page 7: Controls And Connections - Rear Panel
Controls and Connections - Rear Panel Available controls and inputs as well as their placement on the rear panel may vary depending on the model. The above figure shows the TSW-90 v.4 subwoofer rear panel. Rear Panel: 1. Power Switch (ON and OFF) 2. -
Page 8: Hooking Up The Subwoofer
Hooking Up The Subwoofer Check „Kit Content” for a list of cables supplied with this product. Before connecting make sure that your subwoofer and audio equipment are turned off - otherwise you may damage this subwoofer and/or audio equipment. This may void your warranty. 1. - Page 9 Hooking Up The Subwoofer I. CONNECT USING LFE (SUB OUT) SUBWOOFER OUTPUT This connection is recommended if your audio equipment is equipped with a single filtered RCA subwoofer output (usually marked as LFE, SUB OUT, SUBWOOFER etc.). There are 2 options of connection: a.
-
Page 10: Operation
Operation 1. Plug the Power Cable to the subwoofer and into the electrical outlet. 2. Turn on the subwoofer – press the Power Switch to the ON position. The Power Status LED Indicator will be flashing for a few seconds and then it should be illuminated continuously. - Page 11 Operation CROSSOVER Regulator: This control is active only for: Low Input L and R, High Input Speaker Connectors (L and R). The regulator allows the adjustment of the low-pass filter and affects the upper frequency limit of the subwoofer. The adjustment can be smoothly made between the frequency ranges which are provided on this regulator description on the rear panel.
-
Page 12: Additional Information
Additional Information Break-In Your TAGA Harmony subwoofer sounds great immediately after it is taken out of the carton, but the internal components of this subwoofer require a “break-in” period to reach its full sonic capabilities. During the “break-in” period it is recommended to operate the subwoofer at moderate volume levels. - Page 13 We strongly advise to contact a professional installer or dealer in order to install TAGA Harmony products. We recommend using high quality TAGA Harmony cables and other installation accessories. Kit Content Subwoofer Single RCA-RCA subwoofer cable Power Cable Instruction Manual Your product is marked with the symbol as showed on the left.
- Page 14 Notes...
- Page 15 Notes...
- Page 16 Notes...
Need help?
Do you have a question about the TSW-212 and is the answer not in the manual?
Questions and answers