
Related Manuals for Techly ICA-PLB 132


Summary of Contents for Techly ICA-PLB 132
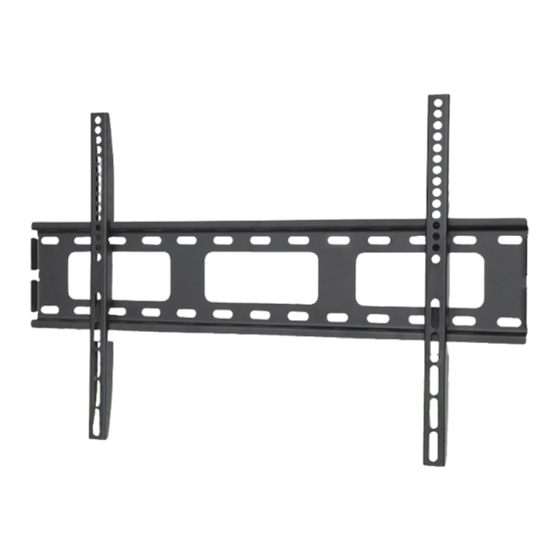
- Page 1 Led Lcd tv Fixed Wall Mount Istruzioni installazione Installation Instruction IcA-PLB 132 www.techly.it...
- Page 2 Led Lcd tv Fixed Wall Mount Gentile Cliente, Dear Customer, grazie per aver scelto un prodotto Techly. thanks for choosing a Techly product. Enjoy the using. Istruzioni disimballaggio Unpacking Instructions • Aprire il cartone con cura, rimuovere il contenuto e distenderlo su • Carefully open the carton, remove contents and lay out on un cartone o altro materiale protettivo per evitare danni.
- Page 3 Led Lcd tv Fixed Wall Mount LISTA DELLE PARTI FORNITE | SUPPLIED PARTS LIST (1) Placca a muro-a (1) Staffa monitor sinistra-b (1) Staffa monitor destra-c (1) Wall Plate-a (1) Left Monitor Bracket-b (1) Right Monitor Bracket-c (4) M4x12 viti-d (4) M5x12 viti-e (4) M6x12 viti-f (4) M8x16 viti-g (4) M4x12 Bolt-e (4) M5x12 Bolt-f (4) M6x12 Bolt-g (4) M8x16 Bolt-h (4) M4x30 viti-h (4) M5x30 viti–i (4) M6x35 viti-j (4) M8x40 viti-k (4) M4x30 Bolt-i (4) M5x30 Bolt-j (4) M6x35 Bolt-k (4) M8x40 Bolt-l (4) M4 rondelle dentellate-l (4) M5 rondelle dentellate-m (4) M6 rondelle detellate-n (4) M8 rondelle dentellate-o (4) M4 Lock Washer-m (4) M5 Lock Washer-n (4) M6 Lock Washer-o...
- Page 4 Warning: Some TVs may require two people to lift! We are not responsible for personal injury or product damage. Brick, Solid Concrete and Concrete Block mounting: First hook the Monitor Brackets(b,c) over the top of the wall Plate(a), then let the bottom of the Use the Wall Plate(a) as a template to mark 6 hole locations on the wall. Three in Monitor Brackets rotate to the bottom of the Wall Plate as shown in the Diagram A. Use the screw the top row of slots and three more in the bottom row.Pre-Drill these holes with a driver to tighten the safety bolts. Then the Monitor Bracket will sit behind the bottom tab on the 3/8"(10mm) masonry bit to at least 2.4"(60mm) in depth. Insert a Concrete Anchor(v) Wall Plate as shown in the Diagram B. into each of these holes. Make sure the anchor is seated completely flush with the concrete surface even if there is a layer of drywall or other material in front. Attach the Wall Plate to the wall using 6pcs Lag Bolts(t), 6pcs Lag Bolt Washers(u) and 6pcs Concrete Anchor(v), shown in Diagram. Schema A Schema B Diagram A Diagram B b, c b, c vite di sicurezza safety bolt muro muro wall wall www.techly.it...
Need help?
Do you have a question about the ICA-PLB 132 and is the answer not in the manual?
Questions and answers