
Related Manuals for Techly ICA-CPLB 102


Summary of Contents for Techly ICA-CPLB 102
- Page 1 LED LCD TV Ceiling Mount Istruzioni installazione Installation Instruction ICA-CPLB 102 www.techly.it...
- Page 2 LED LCD TV Ceiling Mount Gentile Cliente, Dear Customer, grazie per aver scelto un prodotto Techly. thanks for choosing a Techly product. Enjoy the using. Istruzioni disimballaggio Unpacking Instructions • Aprire il cartone con cura, rimuovere il contenuto e distenderlo su • Carefully open the carton, remove contents and lay out on...
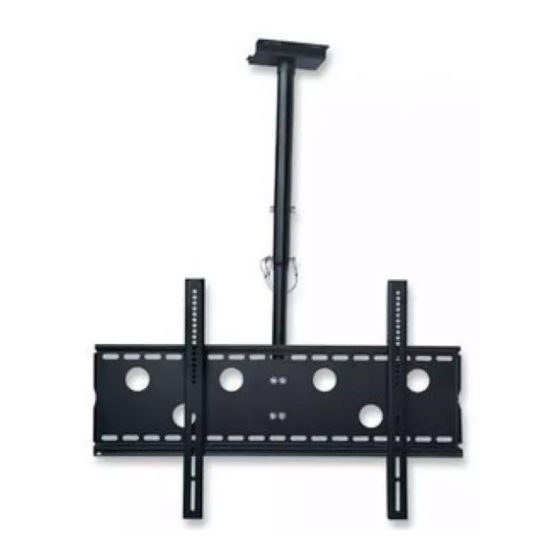
- Page 3 LED LCD TV Ceiling Mount LISTA DELLE PARTI FORNITE | SUPPLIED PARTS LIST (1) Placca a muro-a (2) Staffa per monitor-b (1) Elemento di connessione-c (1) barra di bloccaggio-d (1) Wall Plate-a (2) Monitor Bracket-b (1) Connection Part-c (1) Locking Bar-d (4) M4x12 viti –e (4) M5x12 viti –f (4) M6x12 viti-g (4) M8x16 viti-h (4) M4x12 Bolt-e...
- Page 4 Per i dettagli visionate lo schema 4B. Warning: Some TVs may require two people to lift! We are not responsible for personal injury or product damage. First hook the Monitor Brackets(b) over the top of the wall Plate(a), then let the bottom of the Monitor Brackets rotated to the bottom of the Wall Plate. This process is shown in Diagram 4A. Insert the Locking Bar(d) into the slots in the bottom of the Monitor Brackets Schema 4A Schema 4B so that is sits behind the bottom tab on the Wall Plate. Once the Locking Bar passes out from the other side of wall plate, a padlock can be added for additional security. Details see Diagram 4B. Diagram 4A Diagram 4B muro wall www.techly.it...
Need help?
Do you have a question about the ICA-CPLB 102 and is the answer not in the manual?
Questions and answers