Advertisement
Assembly Instructions
and Operations Handbook
Congratulations!
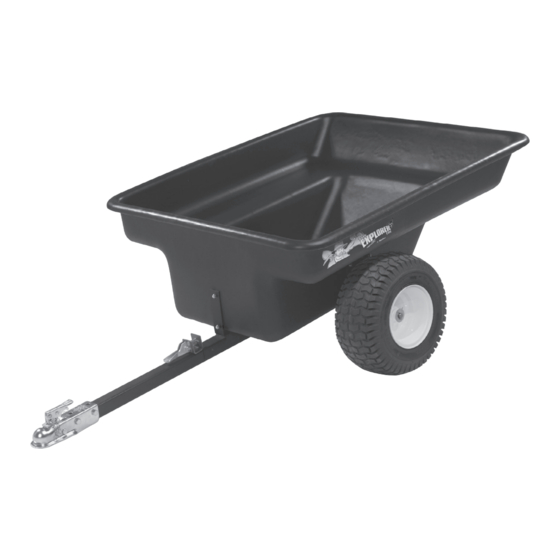
You are the proud owner of the Explorer TRF ATV Trailer. Your Explorer TRF is partially
knocked-down for easy shipment, assembly is required. Follow the simple instructions inside.
Save this brochure - DO NOT DISCARD.
BROKEN OR MISSING PARTS?
QUESTIONS?
DO NOT RETURN TO THE MERCHANT
TO OBTAIN PARTS THAT WILL BE SENT TO YOU FREE OF CHARGE,
info@eqnx.biz
1-800-665-7487
PLEASE CALL OUR HELP LINE
OR E-MAIL
Required Tools
1 Year Limited Warranty
- Drill
- 10mm Drill Bit
- Vice Grips (for Carriage Bolts / Cotter Pins)
- #3 Philips Screwdriver (for M8 Pan Head Bolts)
Wrenches (or Crescent Wrench):
- 13mm (for M8 Bolts)
- 17mm (for M10 Bolts) (x2 or + Ratchet and Socket)
- 19mm (for M12 Bolts) (x2 or + Ratchet and Socket)
Advertisement
Table of Contents

Related Manuals for Equinox Systems Explorer TRF


Summary of Contents for Equinox Systems Explorer TRF
- Page 1 Assembly Instructions and Operations Handbook Congratulations! You are the proud owner of the Explorer TRF ATV Trailer. Your Explorer TRF is partially knocked-down for easy shipment, assembly is required. Follow the simple instructions inside. Save this brochure - DO NOT DISCARD.
- Page 2 Part # Description Quantity TRAILER BODY – Explorer TRF 18” Turf Tire and Rim Hitch Bar Channel Axle Ball Coupler Tipper Latch L-Bracket Cotter Pins M10 Lock Nut M10 x 65 mm Hex Head Bolt M10 x 75 mm Hex Head Bolt...
- Page 3 M10 lock nut on each bolt. making the top of the axle level with Tighten nuts and bolts. the flat part of the channel. FIGURE 3 FIGURE 4 L-BRACKETS: EXPLORER TRF EXPLORER TRF...
- Page 4 Figure #7. FIGURE 6 FIGURE 7 Turn the Explorer TRF body upside down to begin FIGURE 8 installation. Place the Explorer TRF frame on the body. Make sure that you centre the frame on the body. See Figure #8.
- Page 5 Stage 3: Attaching Wheels For this stage you will require: (1) Frame Assembly (from previous stage) (2) Tire and Rim (2) Cotter Pins (2) M21 Washers FIGURE 9 FIGURE 10 FIGURE 11 Place wheels on each spindle with Ensure both tabs of the cotter pins are separated after placement. the grease nipple facing inwards.
- Page 6 Warranty Information Equinox recreational division is committed to producing high quality components and stands behind all our products. Equinox guarantees that all products will leave our building free from manufacturer’s defects for the time period listed on our product warranty. What does this Warranty not cover? How can you get warranty service? Any defect caused by abuse, misuse, neglect, carelessness,...
Need help?
Do you have a question about the Explorer TRF and is the answer not in the manual?
Questions and answers