Advertisement
Quick Links
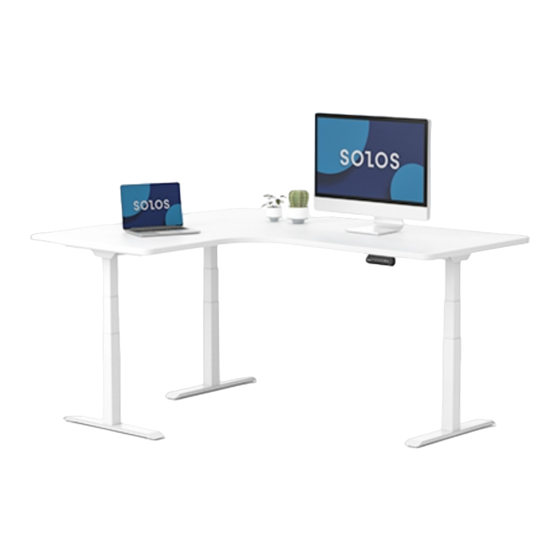
SOLOS L-shaped Standing Desk User Manual
T echnical data
Column Qty
Max. Weight
Capacity
Height Range
Width Range
Component list
Qty No.
No.
Part
1
3
Feet
Qty No.
No.
Part
3
2
Cable Management
Qty No.
No.
Part
5
1
Auxiliary beam
Qty No.
No.
Part
7
1
Hand Switch
Qty No.
No.
Part
9
1
Power cable
3
331 lbs
22.8"-48.4"
43.3"-74.8"
49.6"-73.2"
Qty
Part
2
3
Lifting Column
Qty
Part
4
1
Supporting Beam
Qty
Part
3
6
Supporting plate
Qty
Part
8
1
Control Box
Qty
Part
10
1
Cable
SD-LD16137-WH
Accessory list
Attention: The drawings below are only for reference which might be slightly
different from the actual object, please in kind prevail. Any tools missing or
installation problems, please contact the customer service firstly
Image
No.
A
B
C
D
E
F
5
6
2
1
Spec
M6
M6
M6
M6
St4.2
Allen Key
0.16"x0.16"
8
3
9
10
.
Qty
6
8
1 2
1 6
24
1
7
Advertisement

Related Manuals for Solos L-shaped Standing Desk SD-LD16137-WH


Summary of Contents for Solos L-shaped Standing Desk SD-LD16137-WH
- Page 1 SOLOS L-shaped Standing Desk User Manual SD-LD16137-WH Accessory list Attention: The drawings below are only for reference which might be slightly different from the actual object, please in kind prevail. Any tools missing or installation problems, please contact the customer service firstly...
- Page 2 STEP 1 Install supporting beam(4) Install auxiliary beam(5) x 12 0.16"x0.16" Install lifting column (2) and auxiliary beam (5) Install lifting column (2)and supporting beam (4) together, use wrench (F) to tighten the screws(D). together , use wrench (F) to tighten the screws (D). STEP 2 Install feet (1) 0.16"x0.16"...
- Page 3 STEP 4 Connect All the Cables onto the Control Box(8) Power port Port for cable Port for connected to the hand switch lifting column STEP 5 Install the Tabletop, Hand Switch(7) and Control Box (8) Loosen 0.16"x0.16" Pull The control box need to install on the tabletop Tighten...
- Page 4 STEP 6-B Install the Cable Management Tray (3) Way 2 0.16"x0.16" The cable management tray (3) should be mounted on the middle connecting rod when the frame is stretched more than 1720 mm. The length of the supporting beam should not exceed this The Installation of cable management hole position.
Need help?
Do you have a question about the L-shaped Standing Desk SD-LD16137-WH and is the answer not in the manual?
Questions and answers