Table of Contents
Advertisement
Quick Links
Congratulations
You are now the owner of one of the finest remote control searchlights available today. Thank you for letting Larson
Electronics assist you in your lighting application needs. We're proud of our products and the technology that we've
developed to ensure our customers the most durable, versatile and power-ful searchlights in the lighting industry.
Please read these instructions before using your new Golight® Radioray.
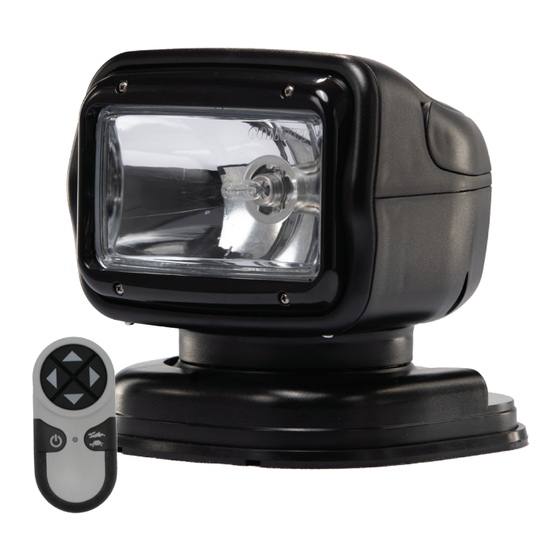
The Golight RadioRay GL-7XXXGT Series portable spotlights are
designed to be attached to a vehicle using a magnetic or permanent
mount shoe and operated by a wireless remote control. Each spotlight
has 370° horizontal rotation and 135° vertical tilt.
The RadioRay GT Includes:
• RadioRay Portable Spotlight
• Wireless Handheld Remote with two A23 12V Batteries
• Magnetic Mount Shoe
OR
Permanent Mount Shoe
• Rockguard (If Applicable)
MOUNTING INSTRUCTIONS - SPOTLIGHT
Magnetic Mount Shoe
1. Select the best location for mounting the magnetic shoe. Make sure the metal area under the magnetic shoe is
flat and clean to ensure a strong bond.
2. Aluminum vehicles will require a magnetic base. Visit our web store at https://www.larsonelectronics.com/
Permanent Mount Shoe
1. Determine the location for the light on your vehicle. This should be a
flat surface. The small arrow on the base indicates the normal
forward direction of the light. The light will rotate to the left of this
arrow 185 degrees and to the right 185 degrees. The lamp will tilt
down 45 degrees and tilt up 90 degrees. The location should take into
consideration this range of motion to maximize usability. Keep in
mind the swing diameter is 261.4 mm (10.3 inches) from the center of
the permanent mount shoe – see Figure 1. This allows for clearance
as the light is rotating.
2. The permanent mount shoe is designed to be mounted with either
sheet metal screws or a combination of cap screws, nuts and
washers. You should choose hardware appropriate to the surface to
which you intend to attach the light. Drill holes in mounting surface for
either type of hardware depending upon your preference. Refer to
Figure 1 for hole pattern dimensions.
3. Place the black mounting gasket under the mounting shoe and attach
the shoe and gasket to vehicle using preferred hard-ware. Silicone or
other like sealants should not be used around the mounting gasket as
it will limit the ability to drain water properly.
Larson Electronics, LLC
Golight RadioRay GL-7XXXGT Series
Instruction Manual
Phone: (800) 369-6671
Figure 1
Figure 1 – Permanent Mount Shoe/Spotlight – Bottom View
Looking Up - Dimensions in mm
Fax: (903) 498-3364
GL-7XXXGT Series
www.larsonelectronics.com
1 of 4
Advertisement
Table of Contents

Subscribe to Our Youtube Channel
Related Manuals for Larson Electronics Golight RadioRay GL-7 GT Series


Summary of Contents for Larson Electronics Golight RadioRay GL-7 GT Series
- Page 1 Looking Up - Dimensions in mm it will limit the ability to drain water properly. 1 of 4 Larson Electronics, LLC Phone: (800) 369-6671 Fax: (903) 498-3364 www.larsonelectronics.com...
- Page 2 3. Batteries must be installed with proper polarity (positive and negative) as shown inside battery compartment. 4. Properly dispose of used batteries at your local recycling center. 2 of 4 Larson Electronics, LLC Phone: (800) 369-6671 Fax: (903) 498-3364 www.larsonelectronics.com...
- Page 3 If you do not hear anything when you press the power button, the issue could be the receiver. 3 of 4 Larson Electronics, LLC Phone: (800) 369-6671 Fax: (903) 498-3364...
- Page 4 (2) this light and remote must accept any interference received, including interference that may cause undesired operation. ⚠ WARNING: Changes or modifications made by the user not expressly approved by Larson Electronics for compliance could void the user’s authority to operate the equipment. ⚠...
Need help?
Do you have a question about the Golight RadioRay GL-7 GT Series and is the answer not in the manual?
Questions and answers