Table of Contents
Advertisement
Quick Links
Advertisement
Table of Contents

Related Manuals for Goldair GMH280


Summary of Contents for Goldair GMH280
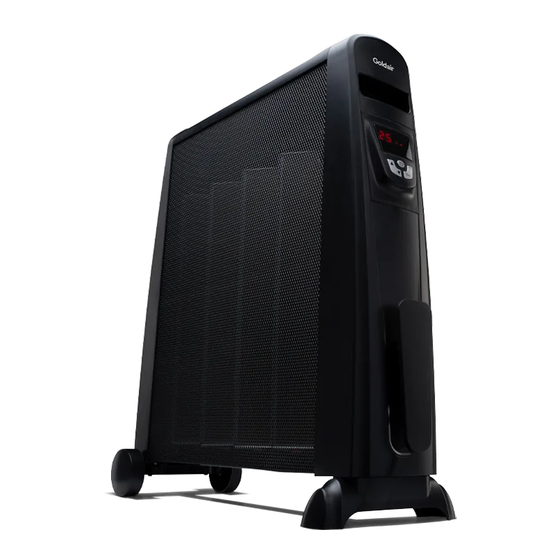
- Page 1 Operating Instructions 2400W Electronic Micathermic Heater Model: GMH280...
- Page 2 This page is intentionally left blank...
- Page 3 General Care and Safety Guide YOUR SAFETY IS IMPORTANT TO US. PLEASE ENSURE YOU TAKE NOTE OF THE INSTRUCTIONS AND WARNINGS OUTLINED IN THIS MANUAL. CAUTION: In order to avoid a hazard due to inadvertent resetting of the thermal cut-out, this appliance must not be supplied through an external switching device, such as a timer, or connected to a circuit that is regularly switched on and off by the utility.
- Page 4 General Care and Safety Guide • Never use the appliance to dry clothes. • Always unplug appliance when not in use. • When the appliance has been unpacked, check it for transport damage and ensure all parts have been delivered. If parts are missing or the appliance has been damaged, contact the Customer Services Team.
- Page 5 General Care and Safety Guide • The appliance must not be immersed in any liquids. • There are no user serviceable parts installed in the unit. • Do not place the unit in wardrobes or other enclosed spaces as this may cause fire hazards.
- Page 6 Assembly Instructions WARNING: Heater must not be used without the feet, castors, wheels fitted. This appliance has been supplied with ‘1 way screws’ for permanent installation of the feet. This is a safety requirement for the New Zealand and Australian market. Before using this appliance, it must have the castor plates with castors fitted.
-
Page 7: Operating Your Heater
Operating Your Heater Always choose a safe location for the heater, keeping in mind the safety precautions outlined. Ensure all packaging has been removed from the unit before use. Please follow the below instructions. WARNING: In order to avoid overheating or fire, do not cover the heater. WARNING: Keep all objects at least 1 metre from the front, sides and rear of the appliance. -
Page 8: Control Panel
Operating Your Heater HEATER POWER SWITCH • Check that the heat control switch at the back of the heater is set to Off position before plugging the heater in and turning on the mains supply. • Turn the Power Switch at the back of the heater to the “I” position. CONTROL PANEL DIGITAL DISPLAY LOW HEAT (1200W) -
Page 9: Remote Control
Operating Your Heater TIMER • Press the Timer button then use the “▲” and “▼” buttons to adjust the length of time from 1–18 hours that you would like the heater to run for before turning off automatically. • Each press of the “▲” and “▼” buttons will adjust the length of time by an hour. •... -
Page 10: Technical Specification
Model No: GMH280 Supply: 240VAC 50/60Hz Wattage: 2400W SUPPORT AND TECHNICAL ADVICE Goldair – New Zealand Goldair – Australia Monday – Friday 8am-5pm Monday – Friday 8am-5pm Phone +64 (0)9 917 4000 Phone +61 (0)3 9365 5100 Phone 0800 232 633 Phone 1300 465 324 info@cdb.co.nz... -
Page 11: Two Year Warranty
In non-domestic use Goldair limits the voluntary warranty to three months. Goldair undertake to repair or replace this product at no charge if found to be defective due to a manufacturing fault during the warranty period. - Page 12 New Zealand PO Box 100707, North Shore Mail Centre, Auckland, 0745 www.goldair.co.nz Australia PO Box 574, South Morang, Victoria, 3752 www.goldair.com.au...
Need help?
Do you have a question about the GMH280 and is the answer not in the manual?
Questions and answers