Table of Contents
Advertisement
Advertisement
Table of Contents

Subscribe to Our Youtube Channel
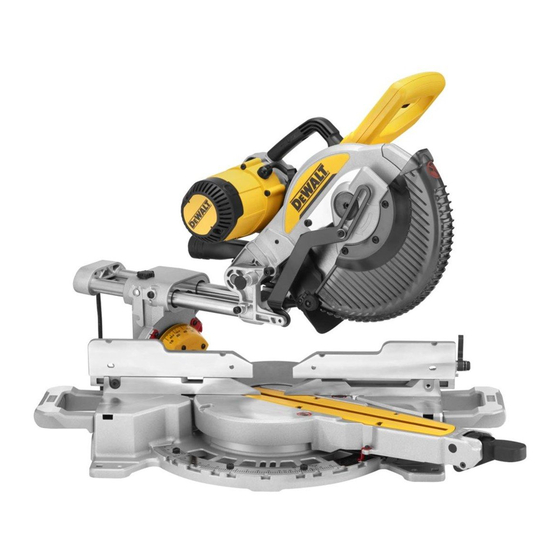
Summary of Contents for DeWalt DWS727
- Page 1 DWS727 Final Page Size: 172 x 240 mm...
- Page 2 English (original instructions)
- Page 3 Fig. A1 XXXX XX XX Fig. A2...
- Page 4 Fig. B Fig. C Fig. D Fig. E Fig. F Fig. G1...
- Page 5 Fig. G2 Fig. G3 Fig. G4 Fig. H Fig. J Fig. I...
- Page 6 Fig. K Fig. L Fig. M Fig. N1 Fig. N2 Fig. O...
- Page 7 Fig. P Fig. Q Fig. R Fig. S “A” Fig. T Fig. U1...
- Page 8 Fig. U2 Fig. V1 Fig. V2 Fig. W1 Fig. W2 Fig. X...
- Page 9 Fig. Y Fig. Z...
-
Page 10: Definitions: Safety Guidelines
English MITRE SAW DWS727 Congratulations! maintained, the vibration and/or noise emission may differ. This may significantly increase the exposure level over the total working period. You have chosen a D WALT tool. Years of experience, thorough product An estimation of the level of exposure to vibration and/or noise should... -
Page 11: Personal Safety
English SAVE ALL WARNINGS AND INSTRUCTIONS 4) Power Tool Use and Care FOR FUTURE REFERENCE. a ) Do not force the power tool. Use the correct power tool for your application. The correct power tool will do the job better and safer at The term “power tool”... -
Page 12: Additional Safety Rules For Mitre Saws
English Additional Safety Rules for Mitre Saws f ) Do not reach behind the fence with either hand closer than 100 mm from either side of the saw blade, to remove wood WARNING: Do not connect to the mains power supply into the unit scraps, or for any other reason while the blade is spinning. -
Page 13: Residual Risks
English • DO NOT USE WARPED BLADES. Check to see if the blade runs true and In spite of the application of the relevant safety regulations and the implementation of safety devices, certain residual risks cannot be avoided. is free from vibration. A vibrating blade can cause damage to the machine These are: and/or serious injury. -
Page 14: Assembly And Adjustments
15 , and into the Your D WALT DWS727 mitre saw has been designed for professional holes on the base. cutting of wood, wood products and plastics. When using the appropriate 3. Ensure the extension is secure by pulling on the extension to verify saw blades, sawing aluminium is also possible. -
Page 15: Features And Controls
English removing accessories, before adjusting or changing set-ups Override the mitre latch button by unlocking the mitre lock knob and or when making repairs. Be sure the trigger switch is in the OFF pushing the mitre detent override downward. To exit the override, push position. -
Page 16: Prior To Operation
English Slide Lock Lever (Fig. J, T) To adjust the left 45° bevel stop: 1. Slide the fence to the full out position before beveling the saw. The slide lock lever 59 places the saw in a position to maximize cutting of base moulding when cut vertically as shown in Figure T. -
Page 17: Operation
English • Install the table extensions to both sides of the saw's base. Refer to adjustable. If the stop time repeatedly exceeds 10 seconds, have the tool Assembling the Table Extensions section. serviced by an authorised D WALT service centre. • Do not attempt to cut excessively small pieces. Always be sure the blade has stopped before removing it from the kerf. -
Page 18: Quality Of Cut
English Non-Through-Cutting (Grooving and Rabbeting) 2. Align the pencil line with the edge of the blade’s shadow. You may have to adjust the mitre or bevel angles in order to match the pencil (Fig. A2) line exactly. Your saw is equipped with a grooving stop 28 ... - Page 19 English Cutting Picture Frames, Shadow Boxes And Other Four-Sided Projects (Fig. Q, R) sQUARE BOX Try a few simple projects using scrap wood until you develop a “feel” for your saw. Your saw is the perfect tool for mitring corners like the one shown in Figure Q.
-
Page 20: Maintenance
English the bevel scale 10 at 33.9°. The chart below gives the proper settings for Bowed Material (Fig. W1, W2) cutting crown moulding. When cutting bowed material always position it as shown in Figure W1 and nOTE: Pretesting with scrap material is extremely important! never like that shown in Figure W2. -
Page 21: Optional Accessories
English Optional Accessories WARNING: Since accessories, other than those offered by D WALT, have not been tested with this product, use of such accessories with this tool could be hazardous. To reduce the risk of injury, only D WALT recommended accessories should be used with this product. Consult your dealer for further information on the appropriate accessories. - Page 24 Belgique et WALT - Belgium BVBA Tel: NL 32 15 47 37 63 www.dewalt.be luxembourg België en luxemburg Egide Walschaertsstraat 16 Tel: FR 32 15 47 37 64 enduser.BE@SBDinc.com 2800 Mechelen Fax: 32 15 47 37 99 Danmark WALT (Stanley Black&Decker AS)


Need help?
Do you have a question about the DWS727 and is the answer not in the manual?
Questions and answers