Table of Contents
Advertisement
Quick Links
Advertisement
Table of Contents

Related Manuals for D-Link KVM-121


Summary of Contents for D-Link KVM-121
- Page 1 Wireless Internet Camera Wireless G USB 2.0 Adapter with 3G Mobile Video...
-
Page 2: System Requirements
• Speakers or Headphones • VGA or Higher Monitor Package Contents D-Link KVM-121 2 Sets of KVM Cables KVM Switch Quick Install Guide If any of the above items are missing, please contact your reseller. D-Link KVM-121 Quick Install Guide... -
Page 3: Hardware Overview
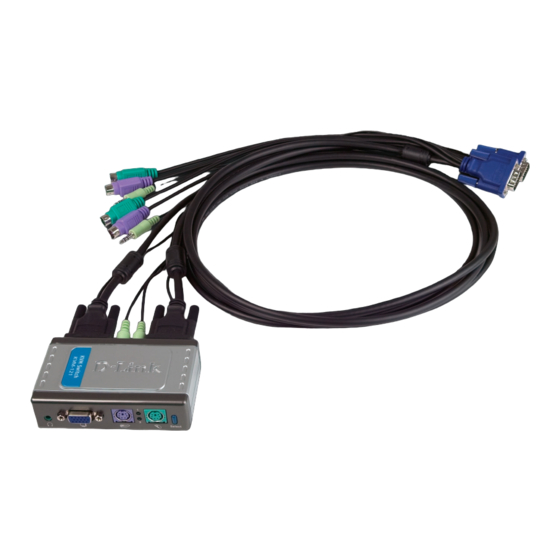
KVM Cables Plug the cables from your keyboard, monitor, sound card, and mouse into the KVM switch, and plug the supplied cables from your KVM switch into your computers. VGA Port Keyboard Port D-Link KVM-121 Quick Install Guide Mouse Port... - Page 4 The KVM-121 is assembled with the supplied KVM cables fastened to the PC 1 and PC 2 ports. Plug the cable from PC 1 into your first computer (Computer 1), and plug the cable from PC 2 into your second computer (Computer 2).
-
Page 5: Hardware Installation
KVM-121. Attach your monitor’s 15-pin VGA connector to the blue VGA port located on the KVM-121. Attach your computer’s 6-pin PS/2 male keyboard connector to the purple keyboard port located on the KVM-121. D-Link KVM-121 Quick Install Guide... - Page 6 KVM-121. Note: Make sure that all your computers are turned OFF before installing the KVM-121 to avoid mouse and keyboard errors when booting up your computers. D-Link KVM-121 Quick Install Guide...
- Page 7 Hardware Installation The following steps apply to both computers that will be used with the KVM-121. Start by attaching the cables connected from the PC 1 port of the KVM-121 to Computer 1. Connect the KVM-121’s included monitor cable (blue coated) to the VGA port located on the back of your computer case.
- Page 8 KVM-121 to Computer 2. Power ON both of your attached computers after you have completed the KVM-121 installation. Once you’ve completed your KVM-121 installation, your connections may appear similar to the diagram below. D-Link KVM-121 Quick Install Guide...
- Page 9 Switches to PC1 only. Switches to PC2 only. signal synchronously. signal synchronously. with audio signal synchronously. with audio signal synchronously. Enable/Disable Beep. Auto-Scan Mode automatically switches between computers every 10 seconds (Monitor Only). Exits Auto Scan Mode. D-Link KVM-121 Quick Install Guide...
-
Page 10: Troubleshooting
If your mouse is not functional, not detected, or there is a mouse error on boot-up, check the following: • Make sure that the mouse is properly connected to the KVM-121. Check that the green coated mouse cable is plugged into the correct PS/2 mouse port (green colored) and not the PS/2 keyboard port (purple colored). - Page 11 KVM-121. • Do not move the mouse or press any mouse buttons when switching from one PC to another. • Try resetting the mouse by unplugging it from the KVM-121 for about 3 seconds and then reconnect. Video If the image on your monitor is not clear, check the following: •...
-
Page 12: Technical Support
Copyright ©2006 D-Link Corporation/D-Link Systems, Inc. All rights reserved. D-Link, the D-Link logo are registered trademarks of D-Link Corporation or its subsidiaries in the United States and other countries. Other trademarks are the property of their respective owners. Maximum wireless signal rate based on IEEE Standard 802.11g specifications. Actual data throughput will vary.
Need help?
Do you have a question about the KVM-121 and is the answer not in the manual?
Questions and answers