Table of Contents
Advertisement
Quick Links
BEFORE YOU BEGIN:
To avoid any confusion with your new
shed build, we strongly suggest that you
unpack and identify each part before you
begin to put it together.
ASSEMBLY
INSTRUCTIONS
YOU SHOULD HAVE ONE PACKAGE:
• 1 cardboard package
TOOLS SUPPLIED:
• 1 riveter
• 3.3mm double ended drillbit
TOOLS REQUIRED:
• Battery or electric drill (drill bits supplied)
• Tape measure
• Ladder
• Non-slip gloves, good shoes and goggles
• A set of helping hands
SCAN TO
WATCH OUR
ASSEMBLY VIDEO
HERE
Some parts have sharp edges and should be handled
very carefully. We recommend the use of protective
gloves and footwear when assembling.
DO NOT attempt to erect this shed in windy weather.
All dimensions are approximate.
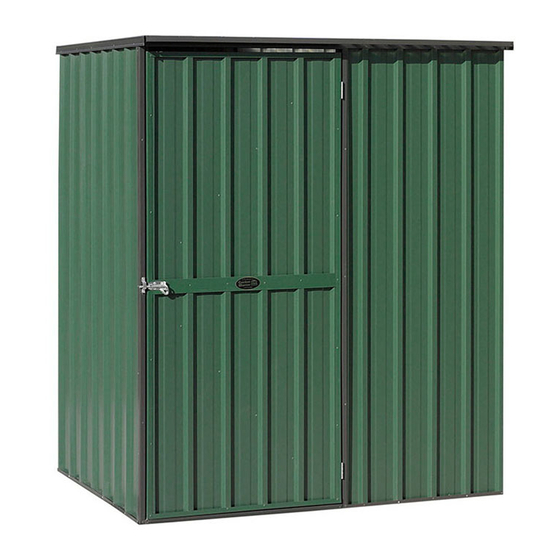
SLOPING ROOF SHED
1530mm wide x 1080mm deep x 1830mm - 1770mm high
25
EST.
1974
YEAR
WARRANTY
GM1511
THIS SHED
WAS PROUDLY
PACKED BY:
Please quote
this code for any
correspondence back
to the supplier
CALL 0508 454 873
for an installer near you
Advertisement
Table of Contents

Subscribe to Our Youtube Channel
Related Manuals for GARDEN MASTER GM1511


Summary of Contents for GARDEN MASTER GM1511
- Page 1 GM1511 SLOPING ROOF SHED 1530mm wide x 1080mm deep x 1830mm - 1770mm high BEFORE YOU BEGIN: THIS SHED WAS PROUDLY To avoid any confusion with your new PACKED BY: shed build, we strongly suggest that you unpack and identify each part before you...
- Page 2 COMPONENTS CHECKLIST Please check the parts carefully and advise immediately if any are damaged or missing. 2 x 1770mm sheets for the back 2 full and 2 half 1830mm-1770mm 2 x 1200mm sheets for the roof sloping sheets (side walls 1 left, 1 right) 1 / 2...
- Page 3 ASSEMBLY VIDEO HERE FITTING CHANNELS CHANNELS WITH CUTOUTS GARDEN MASTER TIP The cutouts go to the inside of the panel to The higher side of the channel goes to the To hinge the door on the opposite side, inside of the shed. It is very important to...
- Page 4 Rivet the channels through the end ribs and every 2nd rib between. Make sure you put at least 1 rivet per sheet up through the underside of the channel into the pan of the sheet. GARDEN MASTER TIP SCAN TO WATCH OUR...
- Page 5 STEP 4: END WALLS YOU WILL NEED: 2 full and 2 half 1830mm - 1770mm Cap 1 sheet with 1065mm channels. sloping sheets (side walls 1 left, 1 right) 1 / 2 1 / 2 Rivet the channels at the corners and every 2nd rib in between. 4 x 1065mm channels (2 per side) 2 rivets up underneath through channel into pan of sheet.
- Page 6 FIT THE DOOR BRACES AND INSTALL SHED Fit the door braces, if not already done so. Check that all filings/swarf is removed. IMPORTANT GARDEN MASTER HINTS & TIPS DIAGRAM 9 IMPORTANT:...
- Page 7 INTERNAL DIMENSIONS RECESSED FLOOR CLAMPS For poured floors with a recess around the perimeter. Available from your shed dealer. INTERNAL DIMENSIONS FOR THE GM1511: FLAT FLOOR CLAMPS For existing concrete only. Water can seep underneath. 1485MM X 1035MM Available from your shed dealer.
- Page 8 What did you like best about your garden shed purchase? Are there any parts of our service that you think we could improve upon? THANKS FOR YOUR HELP! GARDEN MASTER SHED OPTIONAL EXTRAS 1. SHELF BRACKETS 2. TOOL RACKS 3. FLOORS 4.
Need help?
Do you have a question about the GM1511 and is the answer not in the manual?
Questions and answers