
Subscribe to Our Youtube Channel
Related Manuals for Panasonic H-FS35100PP


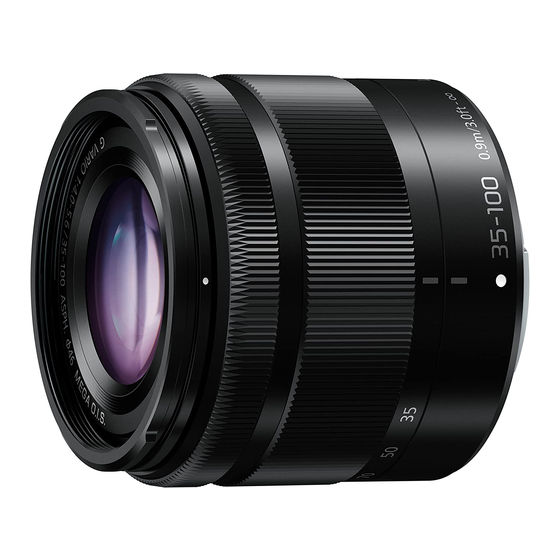
Summary of Contents for Panasonic H-FS35100PP
- Page 1 Order No.DSC1410024CE Interchangeable Lens for Digital Camera H-FS35100PP Model No. H-FS35100E H-FS35100GK © Panasonic Corporation 2014 Unauthorized copy- ing and distribution is a violation of law.
-
Page 2: Table Of Contents
TABLE OF CONTENTS PAGE PAGE 1 Service Navigation------------------------------------------------3 1.1. Introduction --------------------------------------------------3 1.2. Important Notice --------------------------------------------3 2 Operating Guide ---------------------------------------------------4 2.1. Before Use ---------------------------------------------------4 2.2. Cautions For Use-------------------------------------------5 2.3. Components -------------------------------------------------6 3 Service Fixture & Tools -----------------------------------------9 3.1. Service Fixture and Tools --------------------------------9 3.2. -
Page 3: Service Navigation
1 Service Navigation 1.1. Introduction This service manual contains technical information, which allow service personnel’s to understand and service this model. Please place orders using the parts list and not the drawing reference numbers. If the circuit is changed or modified, the information will be followed by supplement service manual. 1.2. -
Page 4: Operating Guide
2 Operating Guide 2.1. Before Use (Information for Your Safety) -
Page 5: Cautions For Use
2.2. Cautions For Use... -
Page 6: Components
2.3. Components 2.3.1. Accessories... - Page 7 2.3.2. Attaching/Detaching the Lens...
- Page 8 2.3.3. Recording Preparations and How to Retract the Lens...
-
Page 9: Service Fixture & Tools
3 Service Fixture & Tools 3.1. Service Fixture and Tools The following Service Fixture and Tools are used for Checking & Servicing for this unit. 3.2. Clean Box • The repair quality is considered, and it is recommended working in the environment of satisfied clean level less than class 10,000 (Federal Standard 209D). -
Page 10: Disassembly And Assembly Instructions
4 Disassembly and Assembly Instructions 4.1. Outline It is recommended dealing with clean box, to keep maintaining the dustproof environment. (Refer to “3.2. Clean Box” section of this service manual for details.) Important: 1. When servicing the enclosure part (refer to Fig. W1), it must be performed inside of satisfied clean level. (Satisfied clean level: Less than class 10,000 (Federal Standard 209D)) As for procedure, refer to the “5 Maintenance”... -
Page 12: Disassembly Procedure
4.2. Disassembly procedure 4.2.3. Removal of the Shading frame 1. Remove the 3 screws (B). Important: It must be performed inside of satisfied clean level. (Satisfied clean level: Less than class 10,000 (Federal Standard 209D)) 4.2.1. Removal of the Decoration Ring 1. - Page 13 4.2.4. Removal of the L mount unit 4.2.5. Removal of the Rear farme unit 1. Remove 1 screw (C) and 3 screws (D). 1. After removing 3 screws (E), remove the Rear farme unit. And, remove the Adjust pin. 4.2.6. Removal of the Lens P.C.B.unit and the Mount contact unit 1.
- Page 14 4.2.7. Removal of the Mount contact unit 4.2.9. Removal of the Zoom drive pin 1. Disconnect 1 connector. 1. Remove 1 screw (G). 4.2.8. Removal of the 7th lens frame unit 1. Remove 3 screws (F). 4.2.10. Removal of the Ring mount base unit 1.
-
Page 15: Assembly Procedure
4.3. Assembly procedure 4.2.11. Removal of the 1st lens holder unit and the Cam barrel unit Important: When tightening the screw, use a torque driver (RFKZ0456) 1. Rotate the Cam barrel unit clockwise when you watch it by ordering the screwing order with specified torque from back. - Page 16 4.3.2. Installation of the Decoration ring 4.3.4. Installation of the Ring mount base unit 1. Please insert the pins of the Decoration ring to the holes of the Filter ring. 1. Tighten 3 screws (H) in numerical order by using the •...
- Page 17 4.3.5. Installation of the Zoom drive pin 4.3.7. Installation of the Mount contact unit 1. Tighten screw (G) by using the torque driver with speci- fied torque.Fix the Zoom drive pin by screw (G). 1. Connect FPC to 1 connector. (Torque Driver : RFKZ0456) (Torque : 9±1N ・...
- Page 18 4.3.9. Installation of the Rear frame unit 4.3.10. Installation of the L mount unit 1. After inserting the Adjust pin, install the Rear farme unit. 1. Tighten 3 screws (D) in numerical order by using the 2. Tighten 3 screws (E) in numerical order by using the torque driver with specified torque.
- Page 19 4.3.11. Installation of the Shading frame 1. Tighten 2 screws (B) in numerical order by using the torque driver with specified torque. (Torque Driver : RFKZ0456) (Torque : 10±1N ・ cm)
-
Page 20: Maintenance
5 Maintenance 5.1. Lens Cleaning 5.1.1. Dust / Dirt on the outer casing part(s) 1. Blow off the dust first, then sweep out the dust from narrower spaces with soft cleaning brush. 2. Wipe up the Outer casing part with the dry fuzz-free cloth. 5.1.2.
Need help?
Do you have a question about the H-FS35100PP and is the answer not in the manual?
Questions and answers