Zanussi ZBB 7266 User Manual
Hide thumbs
Also See for ZBB 7266:
- Specification (5 pages) ,
- Instruction booklet (24 pages) ,
- Specifications (7 pages)
Table of Contents
Advertisement
Quick Links
Advertisement
Table of Contents

Related Manuals for Zanussi ZBB 7266


Summary of Contents for Zanussi ZBB 7266
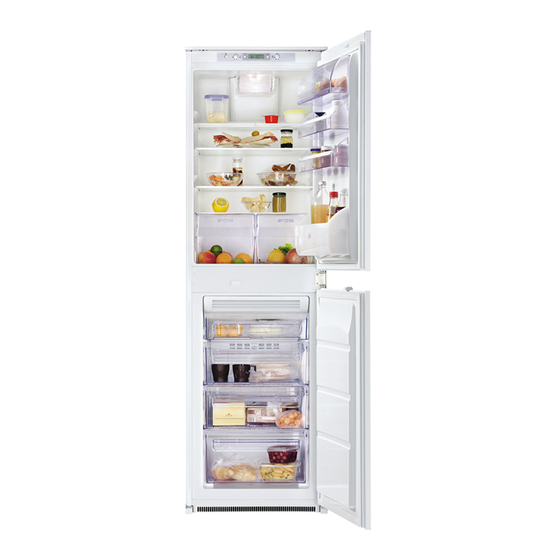
- Page 1 User manual Fridge-Freezer ZBB 7266...
-
Page 2: Table Of Contents
Contents Safety information _ _ _ _ _ _ _ _ _ _ _ _ _ _ _ _ _ _ 2 Care and cleaning _ _ _ _ _ _ _ _ _ _ _ _ _ _ _ _ _ _ 8 Control panel _ _ _ _ _ _ _ _ _ _ _ _ _ _ _ _ _ _ _ _ 4 What to do if…... - Page 3 or damaged power plug may overheat and cause a Care and cleaning fire. • Before maintenance, switch off the appliance and dis- 3. Make sure that you can come to the mains plug of connect the mains plug from the mains socket. the appliance.
-
Page 4: Control Panel
Environment Protection insulation foam contains flammable gases: the appliance shall be disposed according to the applicable regulations This appliance does not contain gasses which could to obtain from your local authorities. Avoid damaging the damage the ozone layer, in either its refrigerant cir- cooling unit, especially at the rear near the heat exchang- cuit or insulation materials. - Page 5 – The display indicates the freezer temperature. Shopping Function In any case, after 10 seconds normal display conditions If you need to insert a large amount of warm food, for ex- are restored. ample after doing the grocery shopping, we suggest acti- vating the Shopping function to chill the products more Functions menu rapidly and to avoid warming the other food which is al-...
-
Page 6: First Use
First use Cleaning the interior Important! Do not use detergents or abrasive powders, as these will damage the finish. Before using the appliance for the first time, wash the inte- rior and all internal accessories with lukewarm water and some neutral soap so as to remove the typical smell of a brand-new product, then dry thoroughly. -
Page 7: Helpful Hints And Tips
Movable shelves Positioning the door shelves The walls of the refrigera- To permit storage of food tor are equipped with a packages of various sizes, series of runners so that the door shelves can be the shelves can be posi- placed at different heights. -
Page 8: Care And Cleaning
• it is advisable to show the freezing in date on each in- • be sure that frozen foodstuffs are transferred from the dividual pack to enable you to keep tab of the storage foodstore to the freezer in the shortest possible time; time. -
Page 9: What To Do If
• disconnect the appliance from electricity supply If the cabinet will be kept on, ask somebody to check it once in a while to prevent the food inside from spoiling in • remove all food case of a power failure. •... - Page 10 Problem Possible cause Solution There is too much frost and ice Products are not wrapped properly Wrap the products better Doors are not shut properly or do not Check if the doors close well and the close tightly gaskets are undamaged and clean The Temperature Regulator may be set Set a warmer temperature incorrectly...
-
Page 11: Technical Data
3. If necessary, replace the defective door gaskets. Con- tact the Service Center. Technical data Dimension of the recess Height 1780 mm Width 560 mm Depth 550 mm Rising Time 25 h Voltage 230-240 V Frequency 50 Hz The technical information are situated in the rating plate on the internal left side of the appliance and in the energy label. - Page 12 As the colours of the wires in the mains lead of this appli- Removing the shelf holders ance may not correspond with the coloured markings Your appliance is equipped with shelf retainers to secure identifying the terminals in your plug, proceed as follows: the shelves during transportation.
- Page 13 Ventilation requirements Installing the appliance Caution! Make sure that the mains cable can move The airflow behind the ap- freely. pliance must be sufficient. min. 50 mm 200 cm Do the following steps: min. 200 cm 44mm If necessary cut the adhe- Install the appliance in the Adjust the appliance in the Attach the appliance to the...
- Page 14 ca. 50 mm 90° 21 mm 90° ca. 50 mm 21 mm Remove the correct part Attach the covers (C, D) to Disconnect the parts (Ha), Install the part (Ha) on the from the hinge cover (E). the lugs and the hinge (Hb), (Hc) and (Hd).
-
Page 15: Environmental Concerns
• The magnetic sealing strip is attached tightly to the the gasket increases when the ambient temperature cabinet. increases. Important! If the ambient temperature is low (for example, in the Winter), the size of the gasket decreases. The size of Environmental concerns negative consequences for the environment and human The symbol... - Page 16 www.zanussi.com/shop...
Need help?
Do you have a question about the ZBB 7266 and is the answer not in the manual?
Questions and answers