Advertisement
676 Quick Start Guide
WHAT'S IN THE BOX
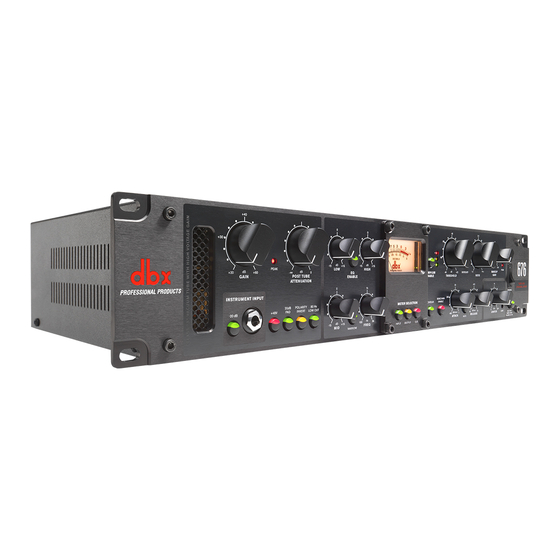
• 676 Tube Microphone Preamp Channel Strip
• Power Cable
• 4 Rack Mount Screws & Washers
REGISTER YOUR PRODUCT
Register your product at
http://dbxpro.com/en-US/support/warranty_
registration.
GET THE OWNER'S MANUAL
Get the owner's manual at
http://dbxpro.com/en-US/
products/676#documentation.
reverse side for connection diagrams).
included IEC power cable, then switch on the front-panel power switch. Now power on all
interconnected equipment.
COMP/LIM ENABLE buttons.
engage the INSTRUMENT INPUT ENABLE button. If connecting to the MIC INPUT jack
on the rear panel, disengage the INSTRUMENT INPUT ENABLE button.
connected to the 676. If connecting a ribbon or dynamic microphone, ensure the +48V
button is disengaged before connecting the microphone.
then lower it slightly so the LED goes out. If the PEAK LED lights when the GAIN control
is set very low, engage the 20dB PAD button then try again.
making sure not to clip the input on the next device. For cleaner tones, lower the GAIN
control and raise the POST TUBE ATTENUATION control. For warmer tones, raise the
Scan codes
GAIN control and lower the POST TUBE ATTENUATION control.
with a QR
scanner app
on your mobile
device to go
80Hz button if the source signal does not contain useful content below 80 Hz.
straight to web
URLs.
taste. If no EQ is required, leave the EQ ENABLE button disengaged.
10
COMPRESSOR / LIMITER output then enable the compressor/limiter with the COMP/
LIM ENABLE button and adjust the compressor/limiter settings to taste.
Enjoy! Thanks for choosing dbx.
© 2015 Harman. dbx Professional Products is a registered trademark of Harman. All rights reserved.
1
Power down interconnecting equipment and make connections to the 676 (see
2
Turn down the GAIN and POST TUBE ATTENUATION controls, connect the
3
Disable the EQ and Compressor/Limiter by disengaging the EQ ENABLE and
4
If connecting a bass or guitar to the INSTRUMENT INPUT jack on the front panel,
5
Engage the +48V button only if a condenser microphone which requires it is
6
With source signal present, raise the GAIN control until the input PEAK LED lights
7
Raise the POST TUBE ATTENUATION control for the desired output level,
8
Engage the POLARITY INVERT button if required for the application. Engage the
9
To use the EQ, engage the EQ ENABLE button then adjust the EQ controls to
To use compression and/or limiting, ensure you're connected to the
Advertisement
Table of Contents

Related Manuals for Harman dbx 676


Summary of Contents for Harman dbx 676
- Page 1 COMPRESSOR / LIMITER output then enable the compressor/limiter with the COMP/ LIM ENABLE button and adjust the compressor/limiter settings to taste. Enjoy! Thanks for choosing dbx. © 2015 Harman. dbx Professional Products is a registered trademark of Harman. All rights reserved.
- Page 2 CONNECTION DIAGRAMS EXAMPLE SETTINGS Connect a favorite signal processor to the PREAMP INSERT jack. Use the Use the below settings as a starting point. For further information on setting PREAMP output in combination with the COMPRESSOR/LIMITER output the controls, please see the 676 owner’s manual available online at dbxpro. for parallel compression applications or to provide an uncompressed backup com.
Need help?
Do you have a question about the dbx 676 and is the answer not in the manual?
Questions and answers