Advertisement
Advertisement
Table of Contents

Related Manuals for Wolf-Guard WS03


Summary of Contents for Wolf-Guard WS03
- Page 1 Version No.:WS-03-EN-V1.0-202004-18414 We own the right of final interpretation...
-
Page 2: Table Of Contents
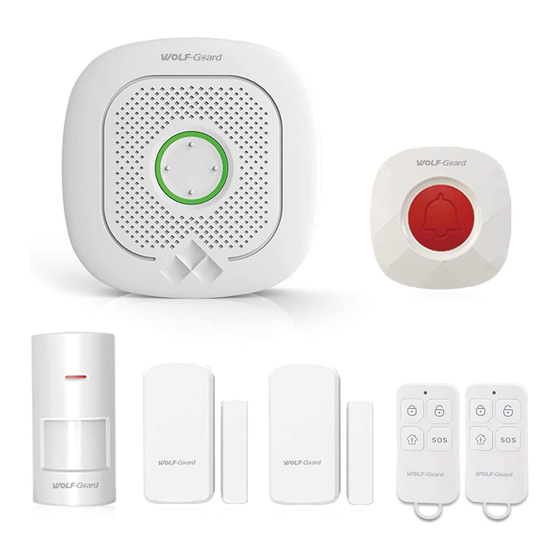
CATALOG The smart security alarm kit is centered on the intelligent security host, and is paired with a PIR detector, 2 door magnetic sensors, a wireless remote controller to build an intelligent Learn Product ..........01 security system. This product can realize anti-theft alarm function Fast Setting ............03 through simple installation and setting, and can also be linked APP Operation ..........09... -
Page 3: Learn Product
away armed. Learn Product Cancel alarm: When the system alarms, short press to cancel the alarm; Smart Alarm Panel: Setting Key Accessory Code: long press for 0.5 ~ 2s, then release the button after 1 beep sound, the indicator light flashes green, Indicator Light and enters the coding state;... -
Page 4: Fast Setting
③ The host enters the WiFi fast configuration mode: First, Fast Setting after the host is powered on, long press the [setting key] for STEP1: APP Download 3 ~ 5s, after beeps 2 sounds and releases the button. The ●In APP Store or Google Play, search "Smart Life" and indicator light flashes cyan quickly, entering the fast download;... - Page 5 long press the Function key and the Setting key for 3s at the same time, the indicator light flashes slowly in cyan. ④Click "Confirm indicator flashing slowly" on APP interface →select the wifi to be connected and enter password→ confirm→connect. Hotspot Mode: If the default fast network connection is unsuccessful, you can select "hotspot mode"...
- Page 6 SETP3: Add detector long press the Setting key for For the products purchased in a kit, detectors have been 0.5 ~ 2s, release the button after the host beeps one sound. added, no need for this step. When you need to add detectors, please choose to add in any of the following ways.
-
Page 7: App Operation
Accessory Attribute Editing: APP Operation Device Control: Slide left Edit accessory name Remove accessories Device enable switch, Click On: Accessories are valid Off: Invalid accessories Home Arm: This mode is suitable for people at home. Trigger the normal defense zone sensors will not alarm; Trigger the other defense zone sensors will alarm. -
Page 8: Setting
Setting: Timing Arm/Disarm Settings: Select [Settings]→ [Timing Settings] to add timing. Can be set timing away arm, timing home arm, timing disarm and etc. ① ② ③ ④ ⑤ ⑥ ⑦ ⑧ ⑨ ①Set timing arm and disarm. ②Set the alarm volume, low, medium, high, mute 4 levels Doorbell Settings: optional, the default is "high". -
Page 9: Extended Wireless Siren
Factory Restore Smart Alarm Host Method 1: Host control Long press the [Setting] key for 10s, then release the button after the host sounds 3 times, the host will enter the Click factory reset state. Note: factory restore will clear the coded sensors and restore all settings to the initial state. -
Page 10: Parameters
PIR detector: Door Sensor: 1. Install on the wall, about 1.8-2.2m above the floor. Use double side tape to fix the door sensor on door or Use screws to fix the bracket to the wall; this installation window. method is suitable for most solid walls. Adjust angle 2. -
Page 11: Product List
Door sensor: Product List Battery model: 3V DC, CR2450 lithium battery Static current: ≤3uA 1. Smart Alarm Panel Alarm current: ≤15mA 2. PIR motion detector Wireless standard: ASK 433.92MHz 3. Door sensor Wireless distance: ≥80m 4. Remote controller Working environment: -20 ℃ ~ + 55 ℃ 5. -
Page 12: Q&A
Q&A Q1: What should I do if the host can not connect to the network? A: Please check if WiFi is normal. Q2: What should I do if my mobile phone can not receive the message push? A: Please check whether the phone is setted not to accept push.
Need help?
Do you have a question about the WS03 and is the answer not in the manual?
Questions and answers