MrCool DIY E Star Series Quick Start Setup Manual
3rd gen do-it-yourself ductless mini-split heat pump a/c
Hide thumbs
Also See for DIY E Star Series:
- Installation & owner's manual (60 pages) ,
- Troubleshooting manual (55 pages) ,
- Owners & installation manual (41 pages)
Table of Contents
Advertisement
Quick Links
Easy Do-It-Yourself installation
with our Quick Connect
Installing the MRCOOL DIY® does not require specialized tools or
training. However, it does require basic technical skills. You are assuming
the risk by handling materials containing refrigerants under pressure,
that if not handled properly, can cause bodily injury. If you do not feel
comfortable conducting this installation process yourself, we recom-
mend you retain the services of a quali ed HVAC professional.
line set
®
DIY
E Star
®
3RD GEN Do-It-Yourself Ductless Mini-Split Heat Pump A/C
SMART CONTROLLER
***************Note****************
This guide is for convenience. Please
refer to the installation manual for
more detailed instructions and
descriptions.
Version Date: 06-08-21
www.mrcool.com
Series
™
Advertisement
Table of Contents

Related Manuals for MrCool DIY E Star Series


Summary of Contents for MrCool DIY E Star Series
- Page 1 Quick Connect line set ® Installing the MRCOOL DIY® does not require specialized tools or training. However, it does require basic technical skills. You are assuming the risk by handling materials containing refrigerants under pressure, that if not handled properly, can cause bodily injury. If you do not feel...
- Page 2 STEP 1 - Inside STEP 3 - Inside 1. Drill a 3.5 inch diameter hole through the wall, at a 1. Locate the cardboard wall template. slightly downward angle (to ensure proper drainage), to accommodate the line set, condensate drain line and 2.
- Page 3 STEP 3 - Continued STEP 4 - Continued 4. Snap the air handler onto the wall bracket by leaning the 2. Install the wall hole finishing cap/seal. Then, carefully bend the piping coming out of the wall hole (from the top towards the wall and hooking it on the top of bracket.
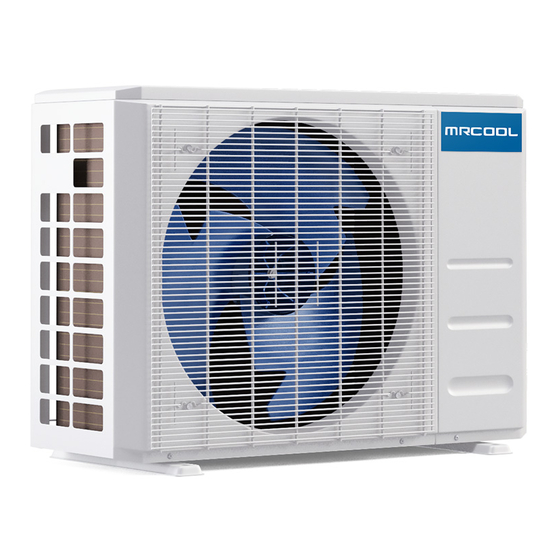
- Page 4 STEP 5 - Outside STEP 6 - Outside 1. Carefully roll the excess tubing and place it behind the 1. Starting with the top valve, using an open-ended wrench, condenser, lying flat on the ground. or crescent (adjustable-type) wrench, remove the brass cap from the valve on the outside unit.
- Page 5 1. Remove the electrical cover. STEP 7 - Outside 2. Wires and terminals that are numbered should be WARNING matched and connected accordingly. BEFORE PERFORMING ANY ELECTRICAL WORK, TURN OFF ALL 3. If the unit is a 115 volt system (12K), hook to terminals POWER TO THE SYSTEM.
- Page 6 1. Install the provided batteries into the remote control. 2. Press the Power button on the remote control. 3. The MRCOOL Series should activate automatically. ® ® 4. To use the MRCOOL Smartphone App, refer to the ® Smart Controller Module instructions included in the box.
Need help?
Do you have a question about the DIY E Star Series and is the answer not in the manual?
Questions and answers