Table of Contents
Advertisement
Quick Links
Advertisement
Table of Contents

Related Manuals for Cansec Zodiac FR100


Summary of Contents for Cansec Zodiac FR100
- Page 1 Zodiac FR100 OPERATOR GUIDE June 2014...
-
Page 2: Table Of Contents
Set Admin ................................. 7 User Management ............................9 Record Management ..........................12 System Setting .............................. 15 System Information............................20 Auto Test ................................ 22 SD Format ..............................22 2013-2014 Copyright Cansec Systems Ltd. All rights reserved. -
Page 3: Introduction
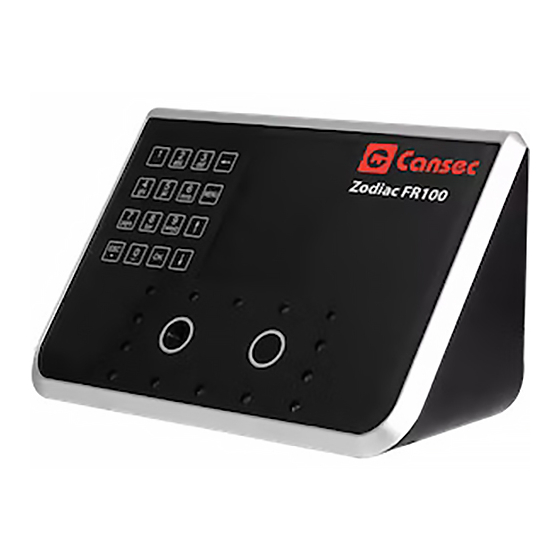
Introduction Congratulations on your purchase of the Zodiac FR100 Face Recognition Reader. This document covers the operation of the Zodiac FR100 face enrollment procedure. The Zodiac FR100 provides an easy, intuitive interface for enrolling users. The optional Zodiac FR100 Data Management software provides a means to synchronize time and replicate as well as back up data to and from one or many Zodiac FR100 readers through an Ethernet connection. -
Page 4: Enrollment Guide
2. A white dashed-line frame appears when the reader fails to detect a face. Adjust facial expression and position accordingly and retry. Progress bar A sold green line frame appears when the reader detects a face successfully. Zodiac FR100 Page 4 of 27 Operator Guide June 2014• Rev. 1.1... - Page 5 4. When wearing eyeglasses, please put them on for the first half of the enrollment process, then take them off for the second half of the enrollment. Progress bar Zodiac FR100 Page 5 of 27 Operator Guide June 2014• Rev. 1.1...
-
Page 6: Getting Started
Keypad Welcome Screen 1. From the reader, press “Esc” button to return to the main welcome screen. 2. Press “Menu” button. Zodiac FR100 Page 6 of 27 Operator Guide June 2014• Rev. 1.1... -
Page 7: Function Menu
1. Select a number (1 to 5) marked as enroll. 2. Follow on-screen instructions for a face scan. 3. When a face scan and the enrollment are done, it will prompt if this newly enrolled Zodiac FR100 Page 7 of 27 Operator Guide June 2014• Rev. 1.1... - Page 8 5. Enter a name for this user. Use the alphanumeric keypad and “OK” buttons to select corresponding letters and use the up and down arrows to select lower or upper case letters. Press “OK” when done. Zodiac FR100 Page 8 of 27 Operator Guide...
-
Page 9: User Management
6. Press 1 to select “Face” as verification method to finish the enrollment. 7. If necessary, enroll additional administrators. USER MANAGEMENT Allows administrators to register, modify or delete users. From the Functions Menu, press “2” to access User Management. Zodiac FR100 Page 9 of 27 Operator Guide June 2014• Rev. 1.1... - Page 10 2. To modify a user’s information press “2” from the User Management menu. Enter the user ID to modify. Press “OK” to search. When found, press “OK” again to confirm. Zodiac FR100 Page 10 of 27 Operator Guide June 2014• Rev. 1.1...
- Page 11 (Allows the user to activate the enable relay activation or press on-board relay after a successful “Esc” to disable relay activation. face authentication. The reader is equipped with an on-board relay.) Zodiac FR100 Page 11 of 27 Operator Guide June 2014• Rev. 1.1...
-
Page 12: Record Management
From the Functions Menu, press 3 to access the audit trail query screen. Zodiac FR100 Page 12 of 27 Operator Guide June 2014• Rev. 1.1... - Page 13 Specify User ID or leave “All” to query all records. Specify Start and End time. Press “OK” to proceed and a list of records will be displayed. Use the up and down arrows to navigate to the next record. Zodiac FR100 Page 13 of 27 Operator Guide...
- Page 14 “3” to enable audit trail auto upload to host computer. 4. From the Record Management menu, press “4” to disable audit trail auto upload to host computer. Zodiac FR100 Page 14 of 27 Operator Guide June 2014• Rev. 1.1...
-
Page 15: System Setting
SYSTEM SETTINGS System Settings allow system administrators to set various operational parameters such as IP address, Wiegand output types (standard 26-bit or Cansec 37-bit), system or site code, date and time with optional day light saving time option. Zodiac FR100... - Page 16 From the System Setting menu, press “1” to set the volume for the reader’s voice prompt. Select an available value (1 to 4) for the volume level. Zodiac FR100 Page 16 of 27 Operator Guide June 2014• Rev. 1.1...
- Page 17 Press “2” to set the optional Wiegand format (0 to 255) or press password. This password (1 to 8 “2” to select Cansec 37-bit Wiegand digits) prevents unauthorized format (0 to 32767). Enter the network access to the reader.
- Page 18 From the System Setting menu, press “4” to select Access Control. Press “1” to enable or disable the reader tamper option, or press “2” to set the unlock time for the onboard relay. Zodiac FR100 Page 18 of 27 Operator Guide...
- Page 19 Enter the number of seconds (1 to alarm or press “2” to disable reader 60) for the relay to remain energized. tamper alarm. Applicable if reader is standalone. Zodiac FR100 Page 19 of 27 Operator Guide June 2014• Rev. 1.1...
-
Page 20: System Information
It also displays the audit trail capacity and the number of audit entries currently recorded in the system. From the Function menu, press “5” to access the System Info menu. Zodiac FR100 Page 20 of 27 Operator Guide... - Page 21 Press “1” to display the number of registered users and audit trail record information. Press “2” to display the IP address, MAC address and the version information of the reader. Zodiac FR100 Page 21 of 27 Operator Guide June 2014• Rev. 1.1...
-
Page 22: Auto Test
From the Functions Menu, press “7” to access the SD Format menu. Press “OK” to proceed with formatting or press “ESC” to cancel. Zodiac FR100 Page 22 of 27 Operator Guide... - Page 23 3. Export All Users Note: User information such as ID and face template will be exported. Press 3 to export all users to a file named USERALL.TXT Zodiac FR100 Page 23 of 27 Operator Guide June 2014• Rev. 1.1...
- Page 24 The user list is manually created on a PC in the following format: The User ID followed by a tab key then followed by the User Name Example: 15234 Cansec The file must be saved with the name USERLIST.TXT 8.
- Page 25 3. Upon successful face authentication, an access granted message will be displayed along with just the user name and the user ID. Example: User name is Cansec and User ID is 15234 as shown: Zodiac FR100 Page 25 of 27 Operator Guide June 2014•...
- Page 26 4. Upon an unsuccessful face authentication, an access denied message will be displayed: Zodiac FR100 Page 26 of 27 Operator Guide June 2014• Rev. 1.1...
- Page 27 To center the green detection frame Frame boundary o Upper boundary is a bit above eye brow o Lower boundary is a bit below lower lip Press Press when done Zodiac FR100 Page 27 of 27 Operator Guide June 2014• Rev. 1.1...
Need help?
Do you have a question about the Zodiac FR100 and is the answer not in the manual?
Questions and answers