
Related Manuals for real living WESTBROOK A103001601


Summary of Contents for real living WESTBROOK A103001601
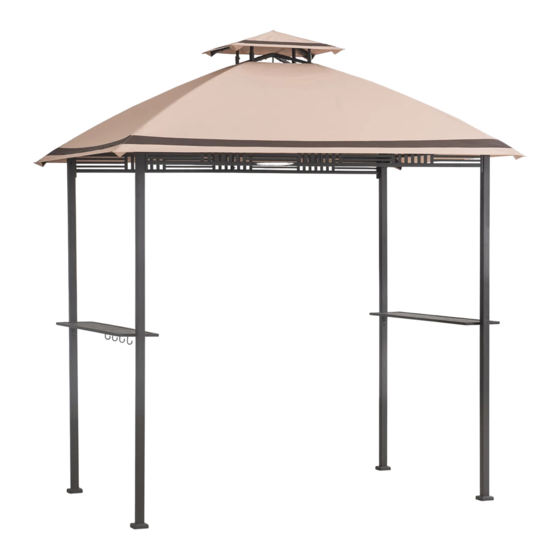
- Page 1 WESTBROOK 5X8 GRILL GAZEBO ASSEMBLY INSTRUCTION ITEM#: A103001601 SKU# 810452411 Need help? We are here for you! 1(866)578 – 6569 24/7 • Toll Free...
-
Page 2: Warranty
GENERAL BEST PRACTICES FOR ASSEMBLY: • Please read and understand this entire manual before attempting to assemble or install the product. • Before beginning assembly of product, make sure all parts are present. Compare parts with package contents list and hardware contents list. -
Page 3: Parts List
PARTS LIST Label Part Number Description Part Image P000200238 Post(1) P000200239 Post(2) Small Top P000500616 Connector Big Top P000500617 Connector Slant Beam For P000601899 Small Roof Slant Beam For P000601900 Big Roof P000400531 Long Screen P000400532 Short Screen P002100178 Table Top 1 P002100179 Table Top 2 P005800086... -
Page 4: Hardware List
HARDWARE LIST Label Part Number Description Part Image H010030030 Bolt M6*15 Flat Washer H050010025 H010030023 Bolt M6*35 H040010004 Nut M6 Stake ¢ H070010005 6*230 Spring H050020017 Washer M6 H090030002 Wrench M6 H090010017 Wrench M6 4/16... -
Page 5: Helpful Hints
HELPFUL HINTS • Tools needed and not included • Separating parts before starting Provided in hardware pack How many people needed for the installation work 5/16... - Page 6 STEP 1 Assembled View: Secure short screen (H) to the post (A/B) using bolt (AA), spring washer (FF) and flat washer (BB), tighten with wrench (Z1), cover with cup (GG). 6/16...
- Page 7 STEP 2 Assembled View: Secure long screen (G) to the post (A/B) using bolt (AA), spring washer (FF) and flat washer (BB), tighten with wrench (Z1), cover with cup (GG). 7/16...
- Page 8 STEP 3 Assembled View: Secure the upper end of slant beam for big foof (F) to the big top connector (G) using push pin, then secure the lower end to the post (A/B) using bolt (CC), washer (DD) and nut (DD), tighten with wrench (Z1), cover with cup (GG).
- Page 9 STEP 4 Assembled View: Spead the big canopy (Q) to the roof, but do not tighten at this step. 9/16...
- Page 10 STEP 5 Assembled View: Connect the slant beam for small roof (E) to the small top connector (C) using push pin. 10/16...
- Page 11 STEP 6 Assembled View: Spread the small canopy (P) to the slant beam for small roof (E) and tighten using the 4 corner pockects. 11/16...
- Page 12 STEP 7 Assembled View: Put the assmebled small roof to the big roof, connect the slant beam for small roof (E) and slant beam for big roof (F) using the push pin. Screw the hook (N) to the big top connector (D).
- Page 13 STEP 8 Assembled View: Tighten the corner pockects without the pull ring to the end of slant beam for big roof (F) first, and then tighten the corner pockects with the pull ring to the end of slant beam for big roof (F).
- Page 14 STEP 9 Assembled View: Secure the big hook (L) to the table top (K) using bolt (AA) and washer (BB), tighten with wrench (Z1) and cover with cup (GG). 14/16...
- Page 15 STEP 10 Assembled View: Lock the table top (J/K) to the U-plate of the post (A/B) using bolt (AA) and washer (BB), tighten with wrench (Z1) and cover with cup (GG). 15/16...
- Page 16 STEP 11 Assembled View: Secure the gazebo to the ground using stakes (EE). 16/16...
Need help?
Do you have a question about the WESTBROOK A103001601 and is the answer not in the manual?
Questions and answers