
Related Manuals for DRAX REDON RX9200


Summary of Contents for DRAX REDON RX9200
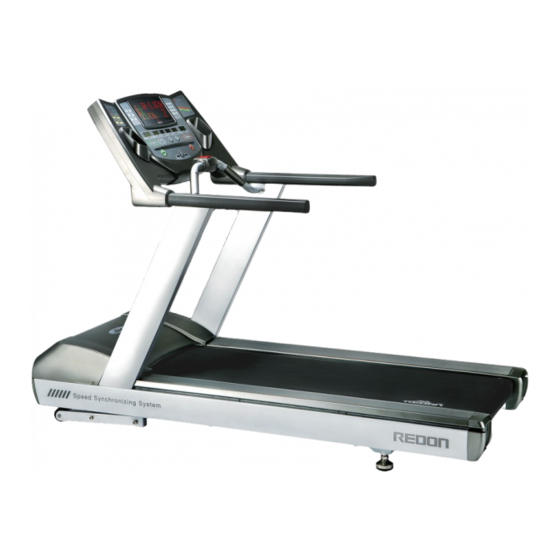
- Page 1 V1.3 USER’S MANUAL RX9300 / RX9200 Series 3&%0/ Be sure to read the manual before using the product in order to use safely and correctly. Please keep user manual at a place to be available easily.
-
Page 2: Table Of Contents
CONTENTS GETTING STARTED INSTALLATION - PRECAUTIONS - PART NAME - HOW TO MAKE INSTALLATION - GROUNDING INSTRUCTIONS - CENTERING THE BELT USING THE TREADMILL - DISPLAY CONSOLE - USING WORKOUTS SPECIFICATIONS MAINTENANCE LIMITED WARRANTY... -
Page 3: Getting Started
• Never operate a REDON if it has damaged power cord or electrical plug, or if is has been dropped, damaged, or even partially immersed in water. Contact DRAX INC. Customer Support Services. • Position this product so the power cord plug is accessible the the user. -
Page 4: Installation
INSTALLATION PRECAUTIONS _ The treadmill should be installed on a flat place with even leveling. If the treadmill is placed on an unstavle pad or carpet, the belt may not be correctly arranged, and will be a cause to be overloaded. In such a case, be sure to use the machine after you place the machine on a firm and flat object such as plywood. -
Page 5: How To Make Installation
REDON HOW TO MAKE INSTALLATION _ Please set a suitable place to install REDON according to the following requirements : (1) A place where the base is flat. (if the base is not even condition, it may cause vibrations) (2) Please place the power cord at a secluded place. (3) Open the motor cover, insert the support and lock with M12 screw. -
Page 6: Grounding Instructions
GROUNDING INSTRUCTIONS _ This product must be grounded. If it should malfunctions or breaks down, proper grounding provides a path of least resistance for the electric current, which reduces the risk of shock to anyone touching or using the equipment. Each unit is equipped with an electrical cord, which includes an equipment grounding conductor and a grounding plug. -
Page 7: Centering The Belt
REDON CENTERING THE BELT _ After the treadmill has been installed and leveled, the belt must be checked to confirm proper tracking. First, plug the power cord into an appropriate outlet and turn the treadmill ON. The first person stands on the sides of the treadmill and straddles the belt, not standing on it at this time. -
Page 8: Using The Treadmill
USING THE TREADMILL DISPLAY CONSOLE _ The computerized display console is easy to use. It allows an individual to follow the progress of a workout. The on-board computer allows a workout to be tailored to individual fitness capabilities and goals while providing a unique means of measuring fitness improvement from one workout to the next. - Page 9 REDON ① FND WINDOW Displays a matrix of LED lights displaying the current position and the upcoming terrain. While striding, the light columns move across the screen from right to left. The higher the column of lights, the greater the incline and workout intensity. ②...
- Page 10 ⑤ SPEED Press these keys to increase or decrease the belt speed. The adjacent window above keys displays the input. In addi- tion, any of these keys may be pressed to begin a workout or programming. ⑥ INCLINE Press these keys to increase or decrease the incline of the treadmill deck.
- Page 11 REDON ⑫ SPEED SYNC Press this key to use automatic speed control system. Speed Sync Exciting Speed Sync Comfortable High speed variation using full speed Low speed variation using 10km/h limitation. speed limitation. ⑬ WORKOUT MODE Press this key to choose workout mode. - MANUAL : Goal workout.
-
Page 12: Using Workouts
USING WORKOUTS _ Selecting the REDON workout is as easy as pushing a key. The following are preprogrammed workouts for this product. QUICK START is the fastest way to begin exercising, and allows the user to start a manual workout by pressing a single key. - Page 13 REDON FAT BURN is a workout offering a low intensity way to burn fat. The Fat Burn workout will automatically change the resistance level to maintain the heart rate at 65% of theoretical maximum. FAT BURN SET WEIGHT SET TIME ENTER SET AGE SET HEART RATE...
- Page 14 CARDIO MODE is a higher intensity workout emphasizing cardiovascular benefits and maximum fat burning for more fit users. The Cardio Workout will automatically change the effort level to maintain the heart rate at 80% of the theoretical maximum. CARDIO SET WEIGHT SET TIME ENTER SET AGE...
- Page 15 REDON PROGRAM MODE is an interval training workout consisting of a combination of hills and valleys proven to provide effective, time-efficient cardiovascular results. HILL 1 HILL 2 HILL 2 PROGRAM SET WEIGHT RUN 1 RUN 2 ENTER INTERVAL 1 INTERVAL 2 START ENTER MARATHON MODE...
-
Page 16: Specifications
SPECIFICATION REDON Spec RX9200 RX9200S RX9300 RX9300S Speed Range 0.8 ~ 16km/h (0.5 ~ 10 mph) 0.8 ~ 20km/h (0.5 ~ 12.4 mph) 0.8 ~ 20km/h (0.5 ~ 12.4 mph) 0.8 ~ 16km/h (0.5 ~ 10 mph) Speed Syncronizing System™ ●... -
Page 17: Maintenance
- Check the power cord is connected properly at both ends. - Remove the power cord from the power supply and inspect it for damage. - If the problem continues contact DRAX INC. Customer Support Center. Notice Always only use the grounding type power cord that is supplied with the exercise equipment. - Page 18 Do not attempt to disassemble this exercise equipment. Only use authorized service providers to service this equipment. Do not operate this exercise equipment if damaged or if any abnormal noises are heard. Please Contact DRAX INC. Customer Support Center for assistance.
- Page 19 REDON Please use a soft, light cloth when you clean the exterior of product. Notice Rather than cleaning the product directly, clean it by using a vacuum cleaner after using a cloth. • Product Management Schedule Please follow the following schedule for maintenance of product and prevention of defects. Component Weekly Monthly...
-
Page 20: Limited Warranty
DRAX. 2. DRAX is not responsible or liable for indirect, special or con sequential damages arising out of or in connection with the use or performance of the product or damages with respect to any economic loss, loss of property, loss of revenues or profits, loss of enjoyment or use, costs of removal, installation or... - Page 21 REDON MEMO...
- Page 22 Designed For Your Health & Happiness We design for your healthy living and happiness...
- Page 23 REDON...
- Page 24 REDON V1.3 RX9300 / RX9200 Series DRAX Inc. 26, Jeonpa-ro 62Beon-gil, Manan-gu, Anyang-si, Gyeonggi-do, 14086, KOREA Tel : +82-31-459-8530 Fax : +82-31-459-8531 E-mail : drax@draxfit.com www.draxfit.com...
Need help?
Do you have a question about the REDON RX9200 and is the answer not in the manual?
Questions and answers