Table of Contents
Advertisement
Quick Links
Advertisement
Table of Contents

Related Manuals for Ciara Astro PB60S


Summary of Contents for Ciara Astro PB60S
-
Page 2: Table Of Contents
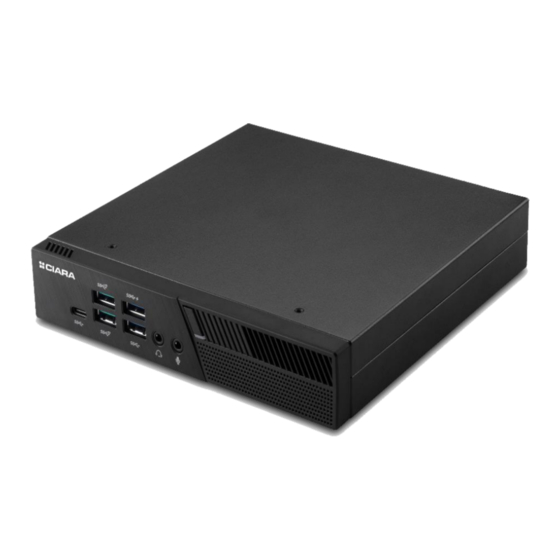
CIARA Astro PB60S disassembly guide ......................3 Astro PB60S Casing ..........................4 Astro PB60S Power adapter and power cord ..................4 Astro PB60S processor fan and heatsink ....................5 Astro PB60S processor .......................... 5 Astro PB60S memory ..........................6 Astro PB60S SATA SSD .......................... 6 Astro PB60S M.2 SSD .......................... -
Page 3: Ciara Astro Pb60S Disassembly Guide
2- Remove all data (which will remove all user data but it will keep the OS) CIARA Astro PB60S disassembly guide Just about every part of the CIARA Astro PB60S is recyclable. This guide will show you how to disassemble the following various parts in order to bring them to a recycler: 1. -
Page 4: Astro Pb60S Casing
1- To remove the cover, first remove the screw at the back. 2- Then slide the panel forward and remove it. 2. Astro PB60S Power adapter and power cord The adapter cannot be disassembled and is recyclable. The power cord is also recyclable but must be disposed of separately in accordance with the EU WEEE Directive Annex VII. -
Page 5: Astro Pb60S Processor Fan And Heatsink
3. Astro PB60S processor fan and heatsink 1- Unplug the fan from the appropriate terminal. 2- Unscrew the four screws and remove the fan and heat sink module. 4. Astro PB60S processor 1- Open the socket lever by pushing the lever down and away from the socket, lift the load plate. -
Page 6: Astro Pb60S Memory
You should be able to remove the memory bar. 6. Astro PB60S SATA SSD 1- Unscrew the four screws and remove the plate. 2- Unplug the connector from the SATA port. 3- Unscrew the four screws to remove the SSD from the... -
Page 7: Astro Pb60S M.2 Ssd
7. Astro PB60S M.2 SSD 1- Unscrew the retaining screw, lift the end of the disc and remove it from the slot M.2. 8. Astro PB60S WiFi module 1- Unplug and remove the two antenna cables connected to the Wi-Fi module are deployed inside the box. -
Page 8: Astro Pb60S Motherboard
DEL circuit. 2- Unplug the cable from its header. 3- Unscrew the six screws and remove the motherboard. 10. Astro PB60S motherboard battery 1- Battery is located to the back side of the motherboard. You need to completely remove the motherboard from the chassis to get access to the battery. -
Page 9: 11. Exploded View Diagram
11. Exploded view diagram You will find below two exploded view diagrams, one with tags and one without. For further clarity on assembling/disassembling the Astro PB60S system, please watch the provided video at https://mtlbpcloud2.hypertec-group.com/index.php/s/9o7kNwMeSWcZBK9...
Need help?
Do you have a question about the Astro PB60S and is the answer not in the manual?
Questions and answers