Table of Contents
Advertisement
Quick Links
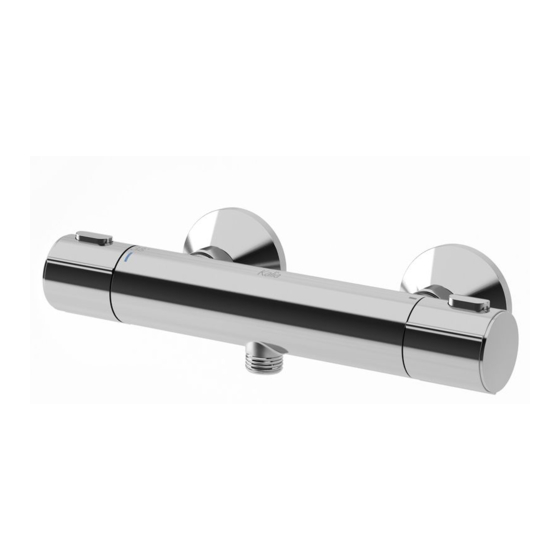
BF1216
Valve Thermostatique Externe
External Thermostatic Valve
BF1217
Valve Thermostatique Externe
avec bec
External Thermostatic Valve
with spout
www.KaliaStyle.com
Instructions d'installation - Garantie
Installation Instructions - Warranty
Numéro de série/Serial number
Conserver ce guide après l'installation car il contient des informations utiles
pour le service et la garantie.
Keep these instructions after you have finished the installation, it contains useful
information regarding service and warranty.
09/21
102463_RevB
Advertisement
Table of Contents

Related Manuals for Kalia BF1216


Summary of Contents for Kalia BF1216
- Page 1 BF1216 Valve Thermostatique Externe External Thermostatic Valve BF1217 Valve Thermostatique Externe avec bec External Thermostatic Valve with spout www.KaliaStyle.com Instructions d’installation - Garantie Installation Instructions - Warranty Numéro de série/Serial number Conserver ce guide après l’installation car il contient des informations utiles pour le service et la garantie.
-
Page 2: Parts Diagram
BF1216 - VALVE THERMOSTATIQUE EXTERNE Schéma des pièces Parts Diagram Instruction Part list_Shower Faucets Liste des pièces Parts List Valve Externe BF1217 * Numéro de pièce Qté totale Description Part Number Total qty Barre thermostatique externe avec bec/ External thermostatic bar with spout body Clapet anti-retour / Check valve Écrou de fixation/Mounting nut... - Page 3 BF1217 - VALVE THERMOSTATIQUE EXTERNE AVEC BEC Schéma des pièces Parts Diagram Instruction Part list_Shower Faucets Liste des pièces Parts List Valve Externe BF1216 * Numéro de pièce Qté totale Description Part Number Total qty Barre thermostatique externe / External thermostatic bar body Clapet anti-retour / Check valve Écrou de fixation/Mounting nut...
-
Page 4: Outils Et Matériaux Nécessaires
Outils et matériaux nécessaires Necessary Tools and Materials Tournevis Phillips et plat Flat and Phillips screwdriver Crayon Pencil Ruban à mesurer Measuring tape Ruban d’étanchéité Thread sealant pour filetage tape Pince multiprise Ajustable ranch Étape 1 - Installation du coude d’alimentation avec contrôle de volume Visser le manchon fileté... -
Page 5: Étape 3 - Test D'étanchéité
Step 2 - Installation of the external Étape 2 - Installation de la valve externe valve Important : Assurez-vous de purger les Important : Make sure that all supply lignes d’approvisionnement d’eau, avant lines have been flushed through before d’installer la valve externe. installing the external valve Visser les unions de la valve externe aux Screw the valve unions into the wall fittings... -
Page 6: Guide De Dépannage
Guide de dépannage Troubleshooting Guide Avant toute intervention, couper Before any operation, turn off the water l’alimentation d’eau et ouvrir le robinet and turn the faucet on to release the pressure if required. pour libérer la pression si nécessaire. Le débit de l’eau est faible ou Water flow is low or non-existent. - Page 7 Guide de dépannage Troubleshooting Guide Changement de la cartouche de control Changing the volume control cartridge: du volume: Étape 1: Step 1: - Retirer le Capuchon ( d’extrémité de la - Remove the ( snap on ) handle cap using poignée en utilisant un tournevis plat.
- Page 8 Guide de dépannage Troubleshooting Guide Changement de la cartouche Changing the thermostatic cartridge: thermostatique: Step 1: Étape 1: - Remove the (snap on) handle cap using a - Retirer le Capuchon d’extrémité de la flat head screwdriver in notch. - Using a Phillips screwdriver, unscrew poignée en utilisant un tournevis plat.
- Page 9 Guide de dépannage Troubleshooting Guide Ajustement de la temperature de la Cartridge temperature adjustment: cartouche: Step 1: Étape 1: - Remove the (snap on) handle cap using a - Retirer le Capuchon d’extrémité de la small flat head screwdriver in notch (fig.8). poignée en utilisant un petit tournevis plat - Using a Phillips screwdriver, unscrew the (Fig.
-
Page 10: Entretien Et Nettoyage
Kalia. your Kalia product. Damages resulting from inappropriate handling are not Les dommages par un traitement inapproprié... -
Page 11: Garantie
(1) year from the initial date of purchase propriétaire/utilisateur, l’entrepreneur ou le constructeur. by the owner/end-user, contractor or builder from an authorized dealer. If the product is sold by Kalia Inc. as a display item, a one RESTRICTIONS COMMERCIALES (1) year warranty applies. - Page 12 Imprimé en Chine / Printed in China 102463_RevB...
Need help?
Do you have a question about the BF1216 and is the answer not in the manual?
Questions and answers