Advertisement
Quick Links
INTENDED USE OF THE M1017 SENSOR IS TO MEASURE THE AMOUNT OF LIQUID PROPANE INSIDE A PROPANE
TANK MEETING THE SPECIFATIONS BELOW, UNDER THE CONDITIONS LISTED BELOW.
USE OF THIS DEVICE IN A MANNER OTHER THAN STATED IN THIS MANUAL, MAY RESULT IN IMPAIRMENT OF
MEASUREMENT METHOD
FLUID
TANK TYPES
TANK SIZES
Envelope Dimensions
Mounting location
Suitable for these locations
OPERATING TEMPERATURE RANGE
TEMPERATURE CODE
BATTERY
HUMIDITY RANGE
MAX ALTITUDE
EXPLOSION HAZARD-BATTERIES MUST ONLY BE CHANGED IN AN AREA FREE OF IGNITIBLE CONCENTRATIONS.
www.mopeka.com
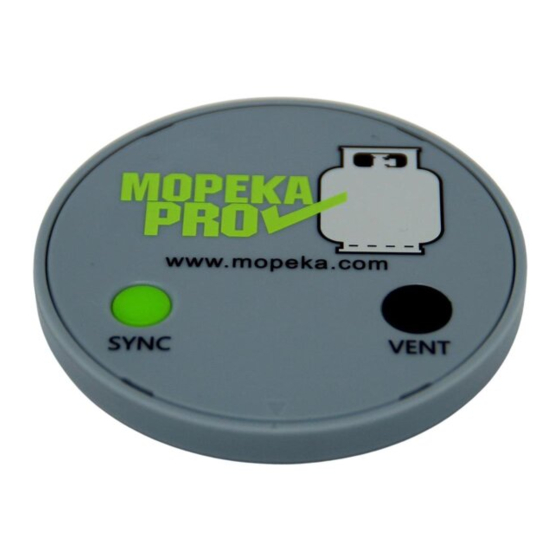
Pro Sensor Models M1017--- (Propane)
THIS DEVICE IS INTENDED FOR OUTDOOR USE ONLY.
THE DESIGNED SAFETY PROTECTION AND THUS AN UNSAFE CONDITION.
Ultrasonic
Propane
Steel or Aluminum
Not intended for use on composite cylinders.
Horizontal and Vertical Tanks Up to 48-inch fluid height
73 mm Diameter x 7.3 mm Thickness (2.87 x 0.29 inches)
Tank Bottom
Steel Tanks use magnet version
Aluminum tanks require collars attached with pre-applied adhesive
Other mount devices also available
CLASS I, DIVISION 2, GROUP D
CLASS I, ZONE 2, GROUP IIA
-30° TO 55°C
T6
ONE, CR2032 COIN CELL (3V)
0 - 100%
4000m
THIS DEVICE IS NOT TO BE REPAIRED OR OTHERWISE MODIFIED.
MOPEKA PRODUCTS LLC
MAILING ADDRESS: 445 FM 1983, COLORADO CITY, TX 79512
support@mopeka.com
WARNING
SPECIFICATIONS
WARNING
WARNING
www.mopeka.com
Page 1 of 14
M200004E
Advertisement


Need help?
Do you have a question about the Pro Sensor and is the answer not in the manual?
Questions and answers