Table of Contents
Advertisement
Quick Links
Default Username and Password: Administrator/ no password
1. Start Installation
Please note that the Accessory Kit contains the following items:
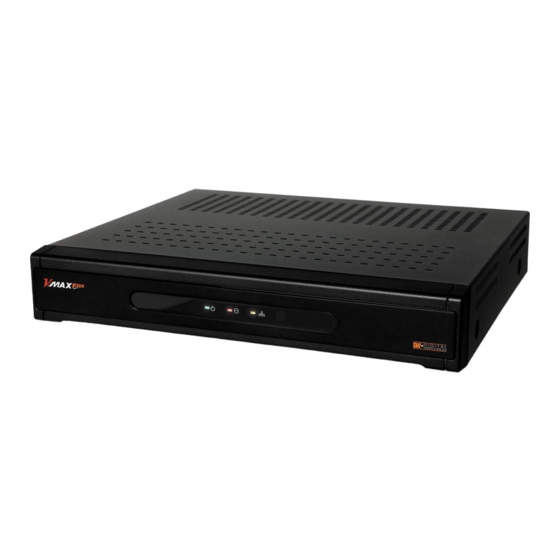
DVR Unit
DC Power Adapter
Power Cord
Back Panel Connections
[HD-SDI BNC Input 1~4] [Audio In 1~4]
Video Input
Connect HD-SDI camera to 'HD-SDI video in' with a regular BNC
cable to minimize video noise.
• LOCK (Green LED): Turned on when the camera is connected
properly.
• ERR (Red LED): Turned on when an error is detected in data
receiving.
You may still get a live image from the camera even though the error
light is ON.
* Use RCA for audio inputs. All channels need an external pre-amplifier
* Spot output : 2 spot outs with CVBS output.
5. Formatting the Hard Drive
It is necessary to format the DVR's HDDs before setting a recording schedule
to guarantee the proper functionality of the HDDs. To format the DVR's HDDs,
go to Menu > Record > Storage.
1. All available HDDs will be displayed
in the table.
2. To format an HDD, select it from the
table, and press the 'Format' button.
6. Record setup
The DVR starts recording automatically when the DVR boots-up. The default
recording setup is maximum recording speed and standard picture quality. To
adjust the DVR's recording options: go to Menu > Record > Record.
1. All connected channels will display the current FPS, quality, and resolution.
2. Use the arrows to change the recorded frames per second.
3. Use the drop-down menu to select the image quality. The higher the
quality, the larger the file size will be.
4. Use the drop-down menu to select the resolution. The higher the
resolution, the larger the file size will be.
5. Select whether to overwrite data once the HDD is full.
6. Check the box next to 'Use Emergency Record' to enable the Emergency
Recording option.
7. Set the DVR to automatically delete recorded data every X days by turning
the 'Auto Deletion' option ON, and selecting the number of days.
8. You can also setup different recording schedules for different cameras,
different hours of the day, and different days of the week. Go to Menu >
Record > Schedule to setup recording schedules.
www.digital-watchdog.com
Quick Setup Guide
Remote Control
Quick Setup
Guide
CD (User Manual
Software)
[RS485, RS232,
[Spot Output]
[Audio Out]
Sensor & Alarm]
[VGA Output]
[HDMI Output]
[Network Port]
Tel: 866.446.3595
DVR Installation Safety Tips
1. Make sure the cameras and the monitors are properly connected to the DVR.
2. The DVR should be placed in a dust and moisture free environment. It must
never be exposed to direct sunlight. Server room temperature is highly
recommended to reduce the chance of overheating.
3. During the boot process, the DVR should not be interrupted by pressing any
buttons on the mouse or remote control. Do not unplug the power adapter
or turn the DVR off during the boot process. A UPS (Uninterruptable Power
Supply) is highly recommended to prevent malfunctioning during a power
outage.
2. Login
To enter the DVR setup menu, you will need
an ID & password. To Change the default
password, go to MENU > System > User and
change or set password. Default username
and password: Administrator/ no password.
3. Main Menu & Navigation
The Main Menu (Setup Menu) system includes six (6) sub-menus: System,
Device, Display, Record, Network, & Event. To access the Setup Menu, right-
click anywhere on the screen and select 'Setup Menu'.
Use the USB mouse to navigate the DVR's main menu and popup options or
use the included IR Remote Control.
[DC Power]
4. Date & Time Setup
It is recommended to setup the date & time on the DVR before you setup a
recording schedule to prevent any data loss.
To setup the DVR's date & time: go to Menu > System > Date & Time
1. Select the appropriate time zone
2. If applicable, check the 'Use Daylight
savings Time' to enable that feature.
Set the beginning and ending time
for daylight savings.
3. Choose the date display format.
4. Choose the time display format.
5. Click 'OK' to save, or 'Cancel' to discard the changes.
6. If necessary, setup the DVR to sync with an NTP server under the NTP tab.
7. Network Setup
To setup the DVR's network settings, go to Menu > Network.
• In Address, select the network connection type.
Select DHCP if your network supports DHCP and you would like the DVR to
assign itself an IP Address automatically based on the network settings.
Select Static if your network does not support DHCP, and you would like to
access your DVR remotely over the internet. Manually enter all the information.
Please contact your network administrator for more information on your
network requirements.
a.
IP Address: Enter IP address using the arrow buttons.
b. Subnet Mask: Enter Subnet Mask using the arrow buttons.
c.
Gateway: Enter Gateway using the arrow buttons.
d. DNS: Enter the IP address of a DNS server.
ID and Password are required in ADSL(with PPPoE) type.
• In Port, select the appropriate port number for external access to the system.
The port list shows necessary ports to be opened for each operation.
a.
Network Port: Set port for DVR Remote Client. Default is: 10101.
b. Web Port: Set port for Web Remote Client. Default is: 80.
c.
Default TCP port is 10101 but it can be set from 1500 to 32000 if necessary.
sales@dwcc.tv
Technical Support Hours: 9:00AM to 9:00PM Eastern Time, Monday thru Friday
Advertisement
Table of Contents

Subscribe to Our Youtube Channel
Related Manuals for DW VMAX HD FLEX


Summary of Contents for DW VMAX HD FLEX
- Page 1 Quick Setup Guide DVR Installation Safety Tips Default Username and Password: Administrator/ no password 1. Make sure the cameras and the monitors are properly connected to the DVR. 2. The DVR should be placed in a dust and moisture free environment. It must 1.
- Page 2 Quick Setup Guide OSD Icons 8. Registering a DDNS • The Dynamic Domain Name Server allows you to connect to your DVR using a URL : Press this menu button to open main menu. rather than an IP Address. If your DVR is setup to DHCP, a DDNS address will : Display HDD usage.
Need help?
Do you have a question about the VMAX HD FLEX and is the answer not in the manual?
Questions and answers