Table of Contents
Advertisement
Quick Links
iCAM- MR6422X Quick Start
v1.2, 01/2021
Packing List
includes following items:
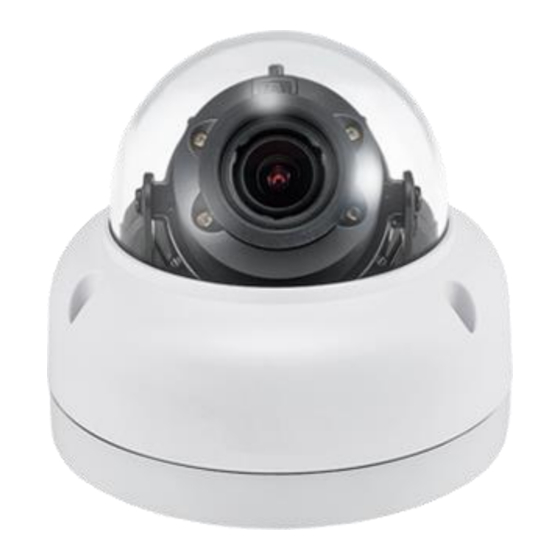
IP Camera iCAM-MR6422X
(inserted in)
Alignment Sticker X 1
iCAM-MR6422X x 1
4 GB Micro SD Card x 1
x 3,
Quick Start x 1
Screws and Anchor Set
Hex Key (Allen Key) x 1
Technical Resources
How to search for drivers, manuals and spec information on ICP DAS website.
For Mobile Web
For Desktop Web
P.1
Advertisement
Table of Contents

Summary of Contents for ICPDAS iCAM-MR6422X
- Page 1 MR6422X Quick Start v1.2, 01/2021 Packing List includes following items: IP Camera iCAM-MR6422X (inserted in) Alignment Sticker X 1 iCAM-MR6422X x 1 4 GB Micro SD Card x 1 x 3, Quick Start x 1 Screws and Anchor Set...
- Page 2 Part Description & Dimensions 單位: mm Bottom bracket Upper cover Transparent cover Lens RJ-45 Ethernet connector (support PoE) Power jack (DC12V ±10%) Micro SD card slot Factory default button...
- Page 3 Hardware Installation 1) Retrieve the camera and remove the bottom bracket from the upper cover with a hex key (PIC.1). Use the included screws through the holes marked as “a”, and fix the camera in the desired location (PIC.2&3). 2) Attach the Ethernet and power cables to the RJ-45 connector and the DC-in connector, respectively...
- Page 4 Connect the RJ-45 Ethernet cable with a waterproof connector o First, remove the waterproof connector and unscrew the waterproof nut. Insert the Ethernet cable and connect to the RJ-45 connector with proper tools (PIC.5). Then, tighten the waterproof connector and nut before the RJ-45 connector is connected to the camera (PIC.6).
- Page 5 System Architecture For connecting IP Camera to your network, please choose one of the following system architectures: (1). Use DC12V power adaptor and network switch connected to a network. (2). Connected to the network using a PoE switch. (3). Use PoE power injector and network switch connected to the network.
- Page 6 Reset to Factory Defaults Reset the hardware to factory defaults, please follow these steps: 1. Press and hold “Factory default button” for more than 10 seconds until the Len LED flashes once, then release the button. 2. Wait for 40 seconds, then the network LED light will turn off, and go back on again.
- Page 7 Configuring IP Addresses via Web Interface Set your PC Address the same network segment as the default IP address (192.168.0.200). Key in the default iCAM IP address in the web browser and follow the steps below: 1. Login to the iCAM by key in the default username “admin” and password “pass”.
- Page 8 Internet Properties & Security Settings Make sure your Internet browser allows the ActiveX plug-in to work on your computer. Set Download Signed ActiveX controls to “Prompt”and Run ActiveX controls and plug-ins to “Enable”. You can set this option through Control Panel→ Network and Internet→Manage Browser Add-ons→Internet Properties→Security→Costom Level.
Need help?
Do you have a question about the iCAM-MR6422X and is the answer not in the manual?
Questions and answers